


This one is for editors who cut on a laptop — wedding films, corporate work, YouTube, documentary assemblies — and are tired of a timeline three tracks tall because the bins, the effects panel and the scopes have eaten the rest of the window.
What goes on each screen
Editing has one layout problem: the timeline wants width, and the picture wants to be left alone. Everything else is negotiable.
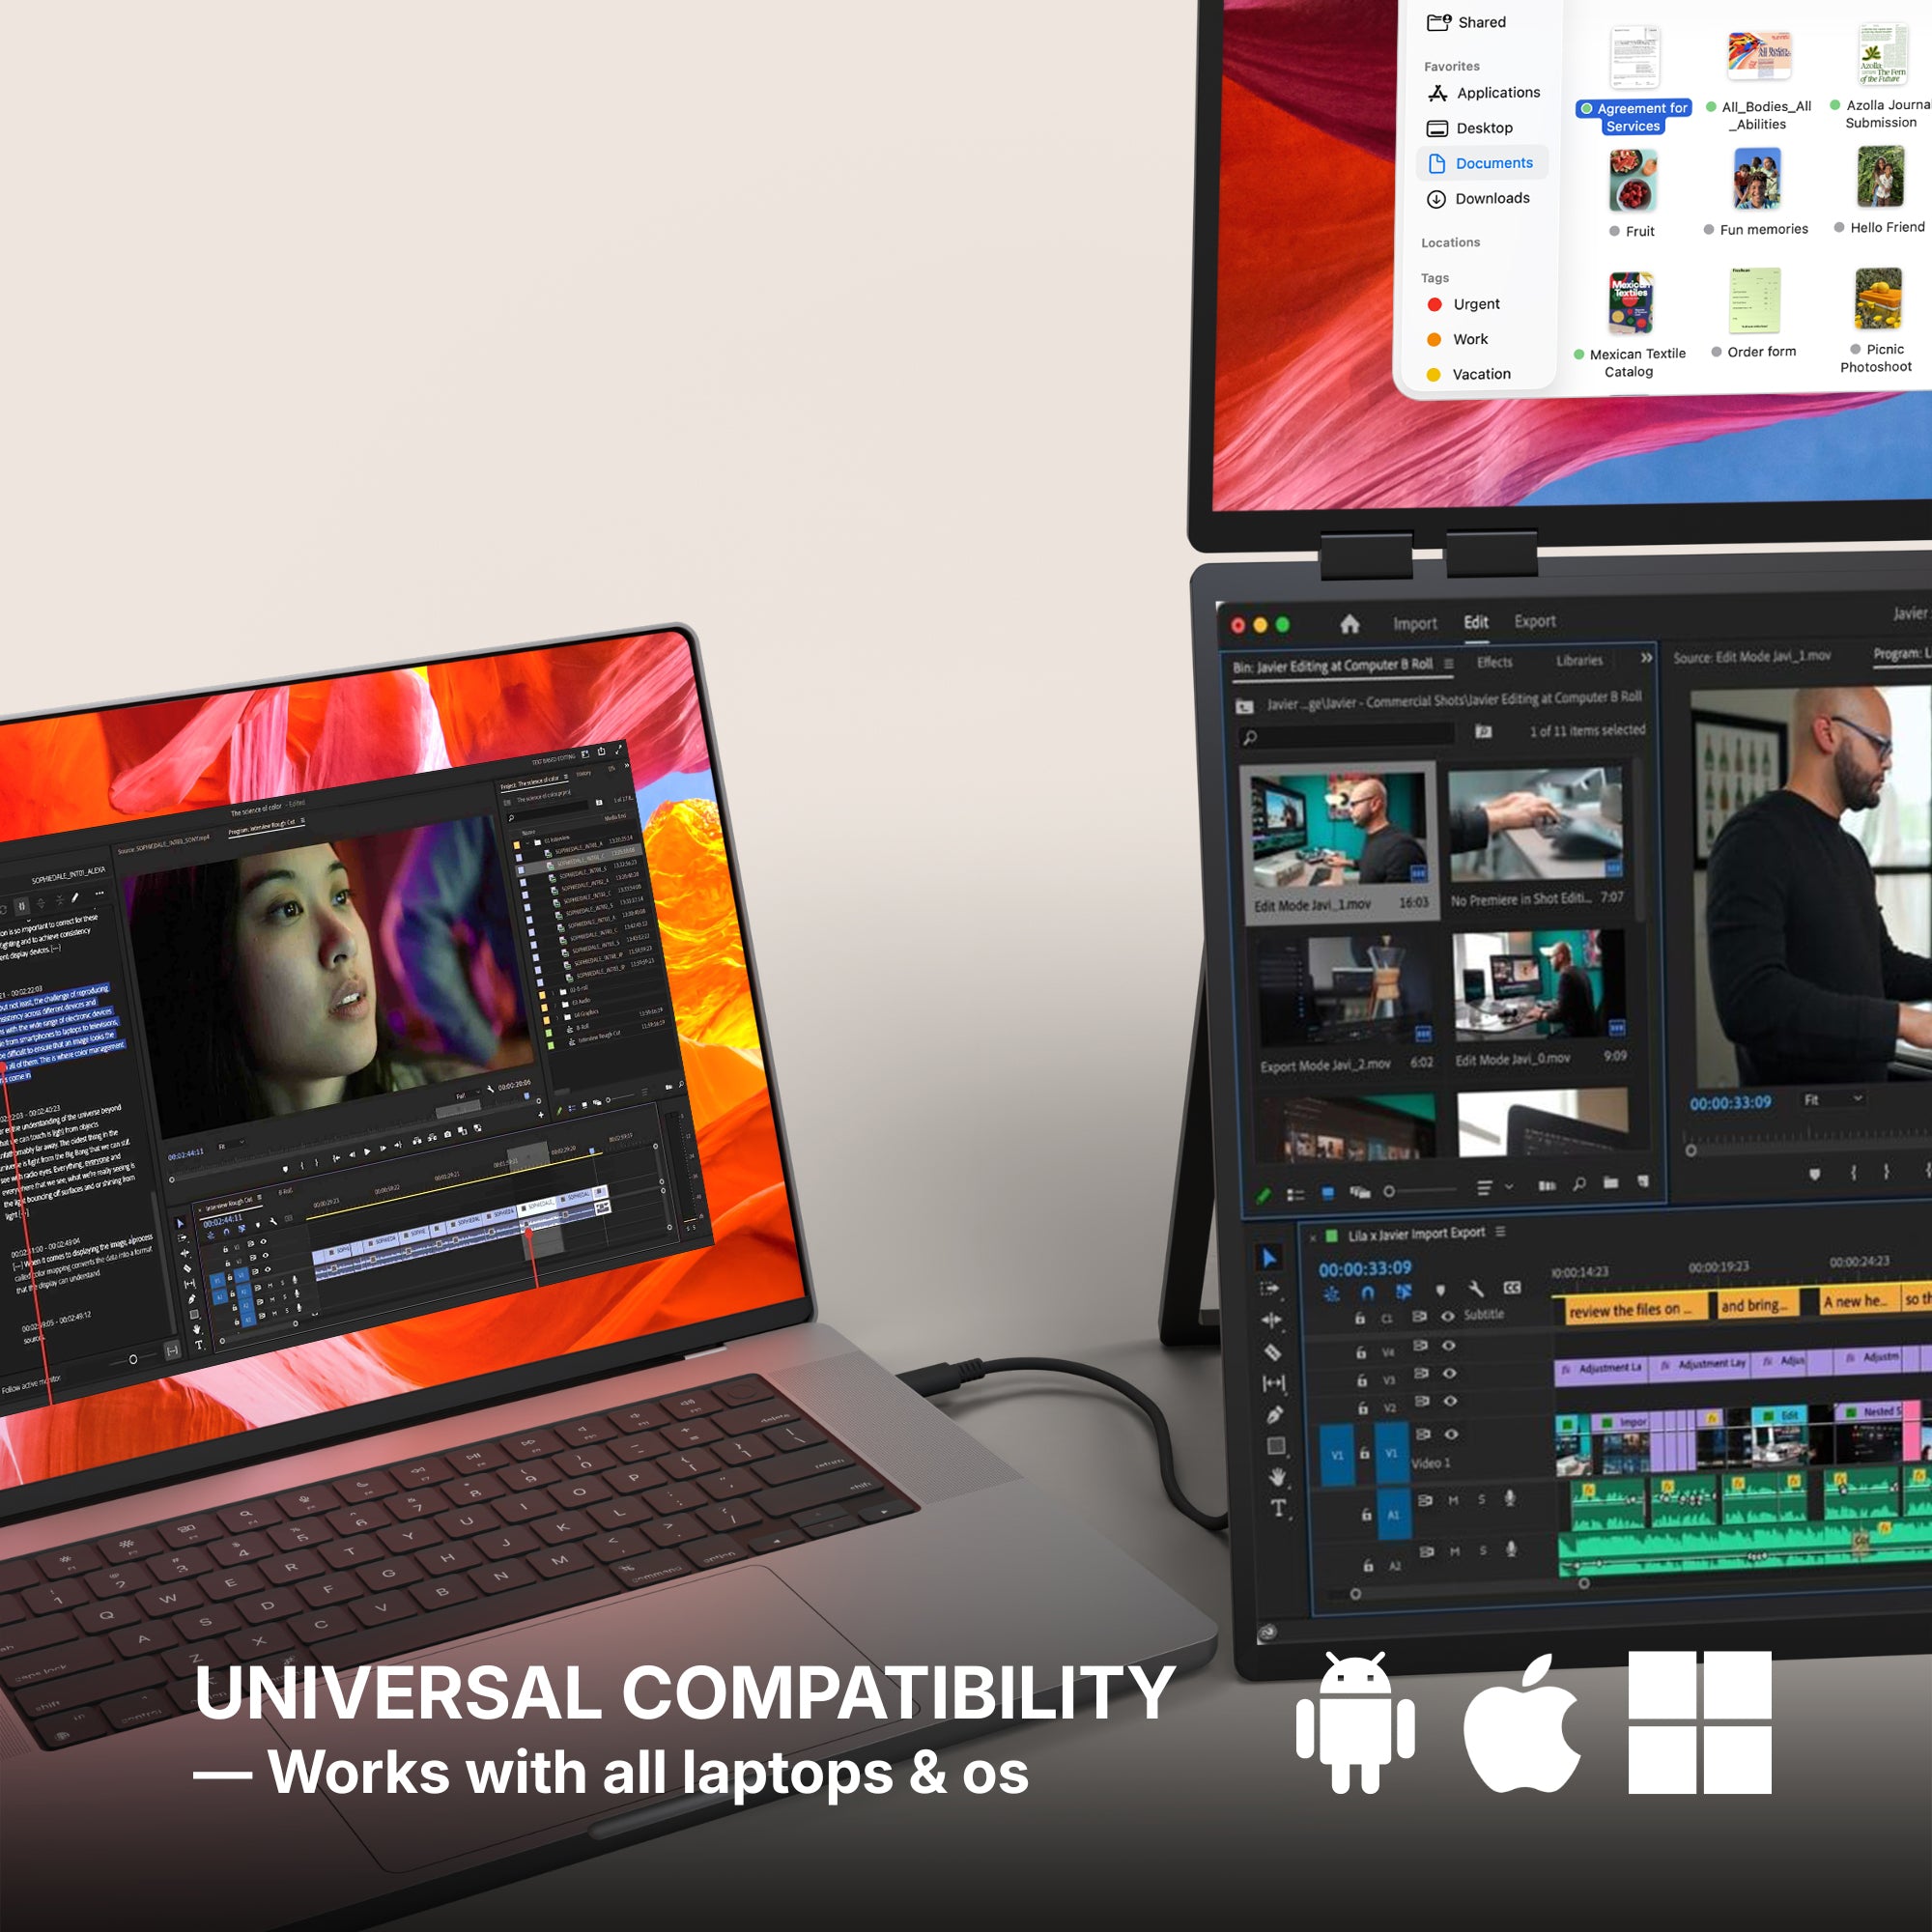
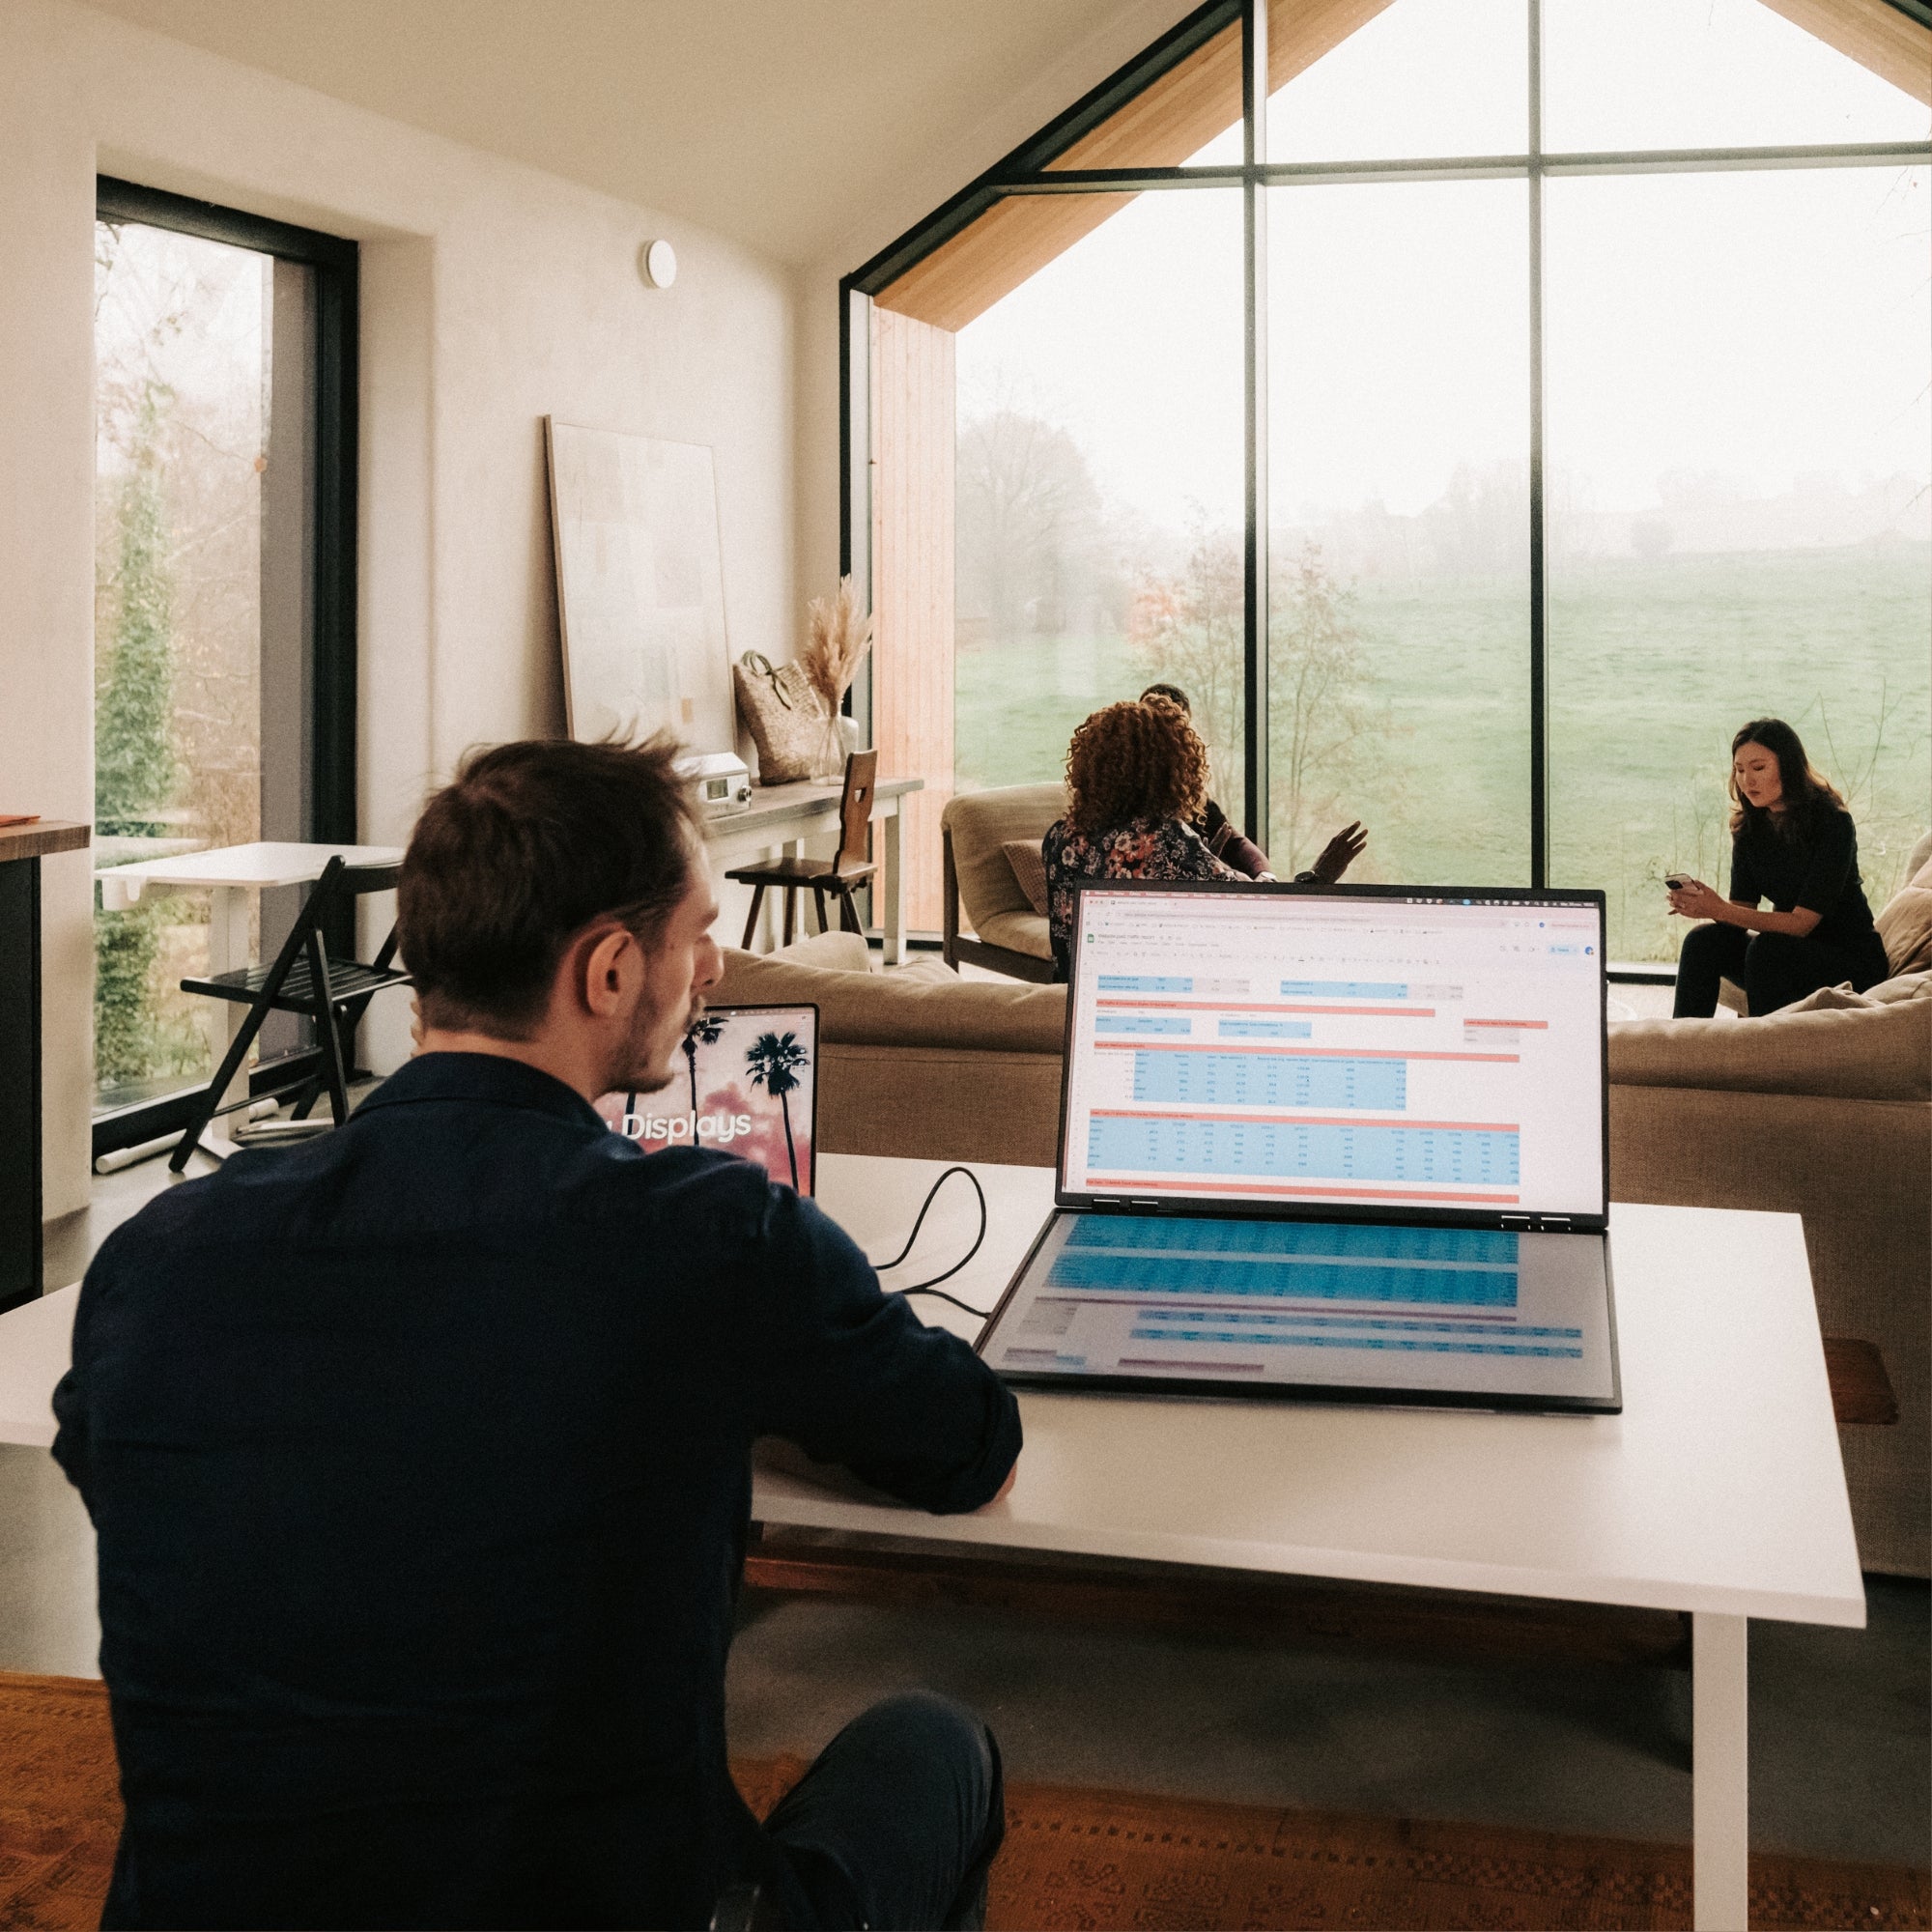
- The wide screen — the timeline, full width. This is the whole point. A timeline that runs edge to edge across a wide panel shows you the shape of the cut without zooming in and out all day. Give it the horizontal space and stack your tracks vertically underneath.
- Your main display — the program monitor, clean. The picture you are actually judging, with nothing docked around it. No overlays, no safe-area guides you forgot to switch off, no panel columns pushing it out of centre.
- The side screen — bins, effects, scopes, inspector. Media pool, effects library, audio meters, the inspector, the render queue. Things you set and read, not things you watch.
If you only have one extra panel, the timeline gets it. Bins can live in a tab you toggle. A cramped timeline cannot be toggled away.
The software settings that make it usable
DaVinci Resolve. Workspace → Dual Screen → On splits the interface across two displays immediately, and it is the fastest win in this article. Workspace → Video Clean Feed sends the program image out to a chosen display with no interface on top of it, which is exactly what you want for the picture screen. Once the panels sit where you want them, Workspace → Layout → Save Layout As lets you name the arrangement, and Load Layout brings it back after you unplug. If you cut on the Cut page, note that its two-level timeline already assumes width — it is far more useful on a wide panel than on a laptop screen.
Premiere Pro. Work in Window → Workspaces, not in dragged-around panels you will lose. Drag any panel out by its tab while holding Ctrl (Cmd on macOS) to float it as its own window, put it on the second screen, then Window → Workspaces → Save Changes to This Workspace. The single most useful key here is the accent grave key (`): it maximises whichever panel your cursor is over and restores it again, so a timeline that lives on a side screen can go full-frame for a trim and come straight back.
Final Cut Pro. Window → Show in Secondary Display gives you three separate choices — Viewers, Browser, or Timeline — and the one to pick is Timeline. Sending the timeline to the wide panel leaves the viewer and browser where they were and gives the cut its width. Save the result with Window → Workspaces → Save Workspace as.
One setting to get right on the panels themselves. Match the brightness of the extra screens to your main display rather than running them brighter. A brighter side panel will make you grade against it without noticing.
What these screens will not do for you
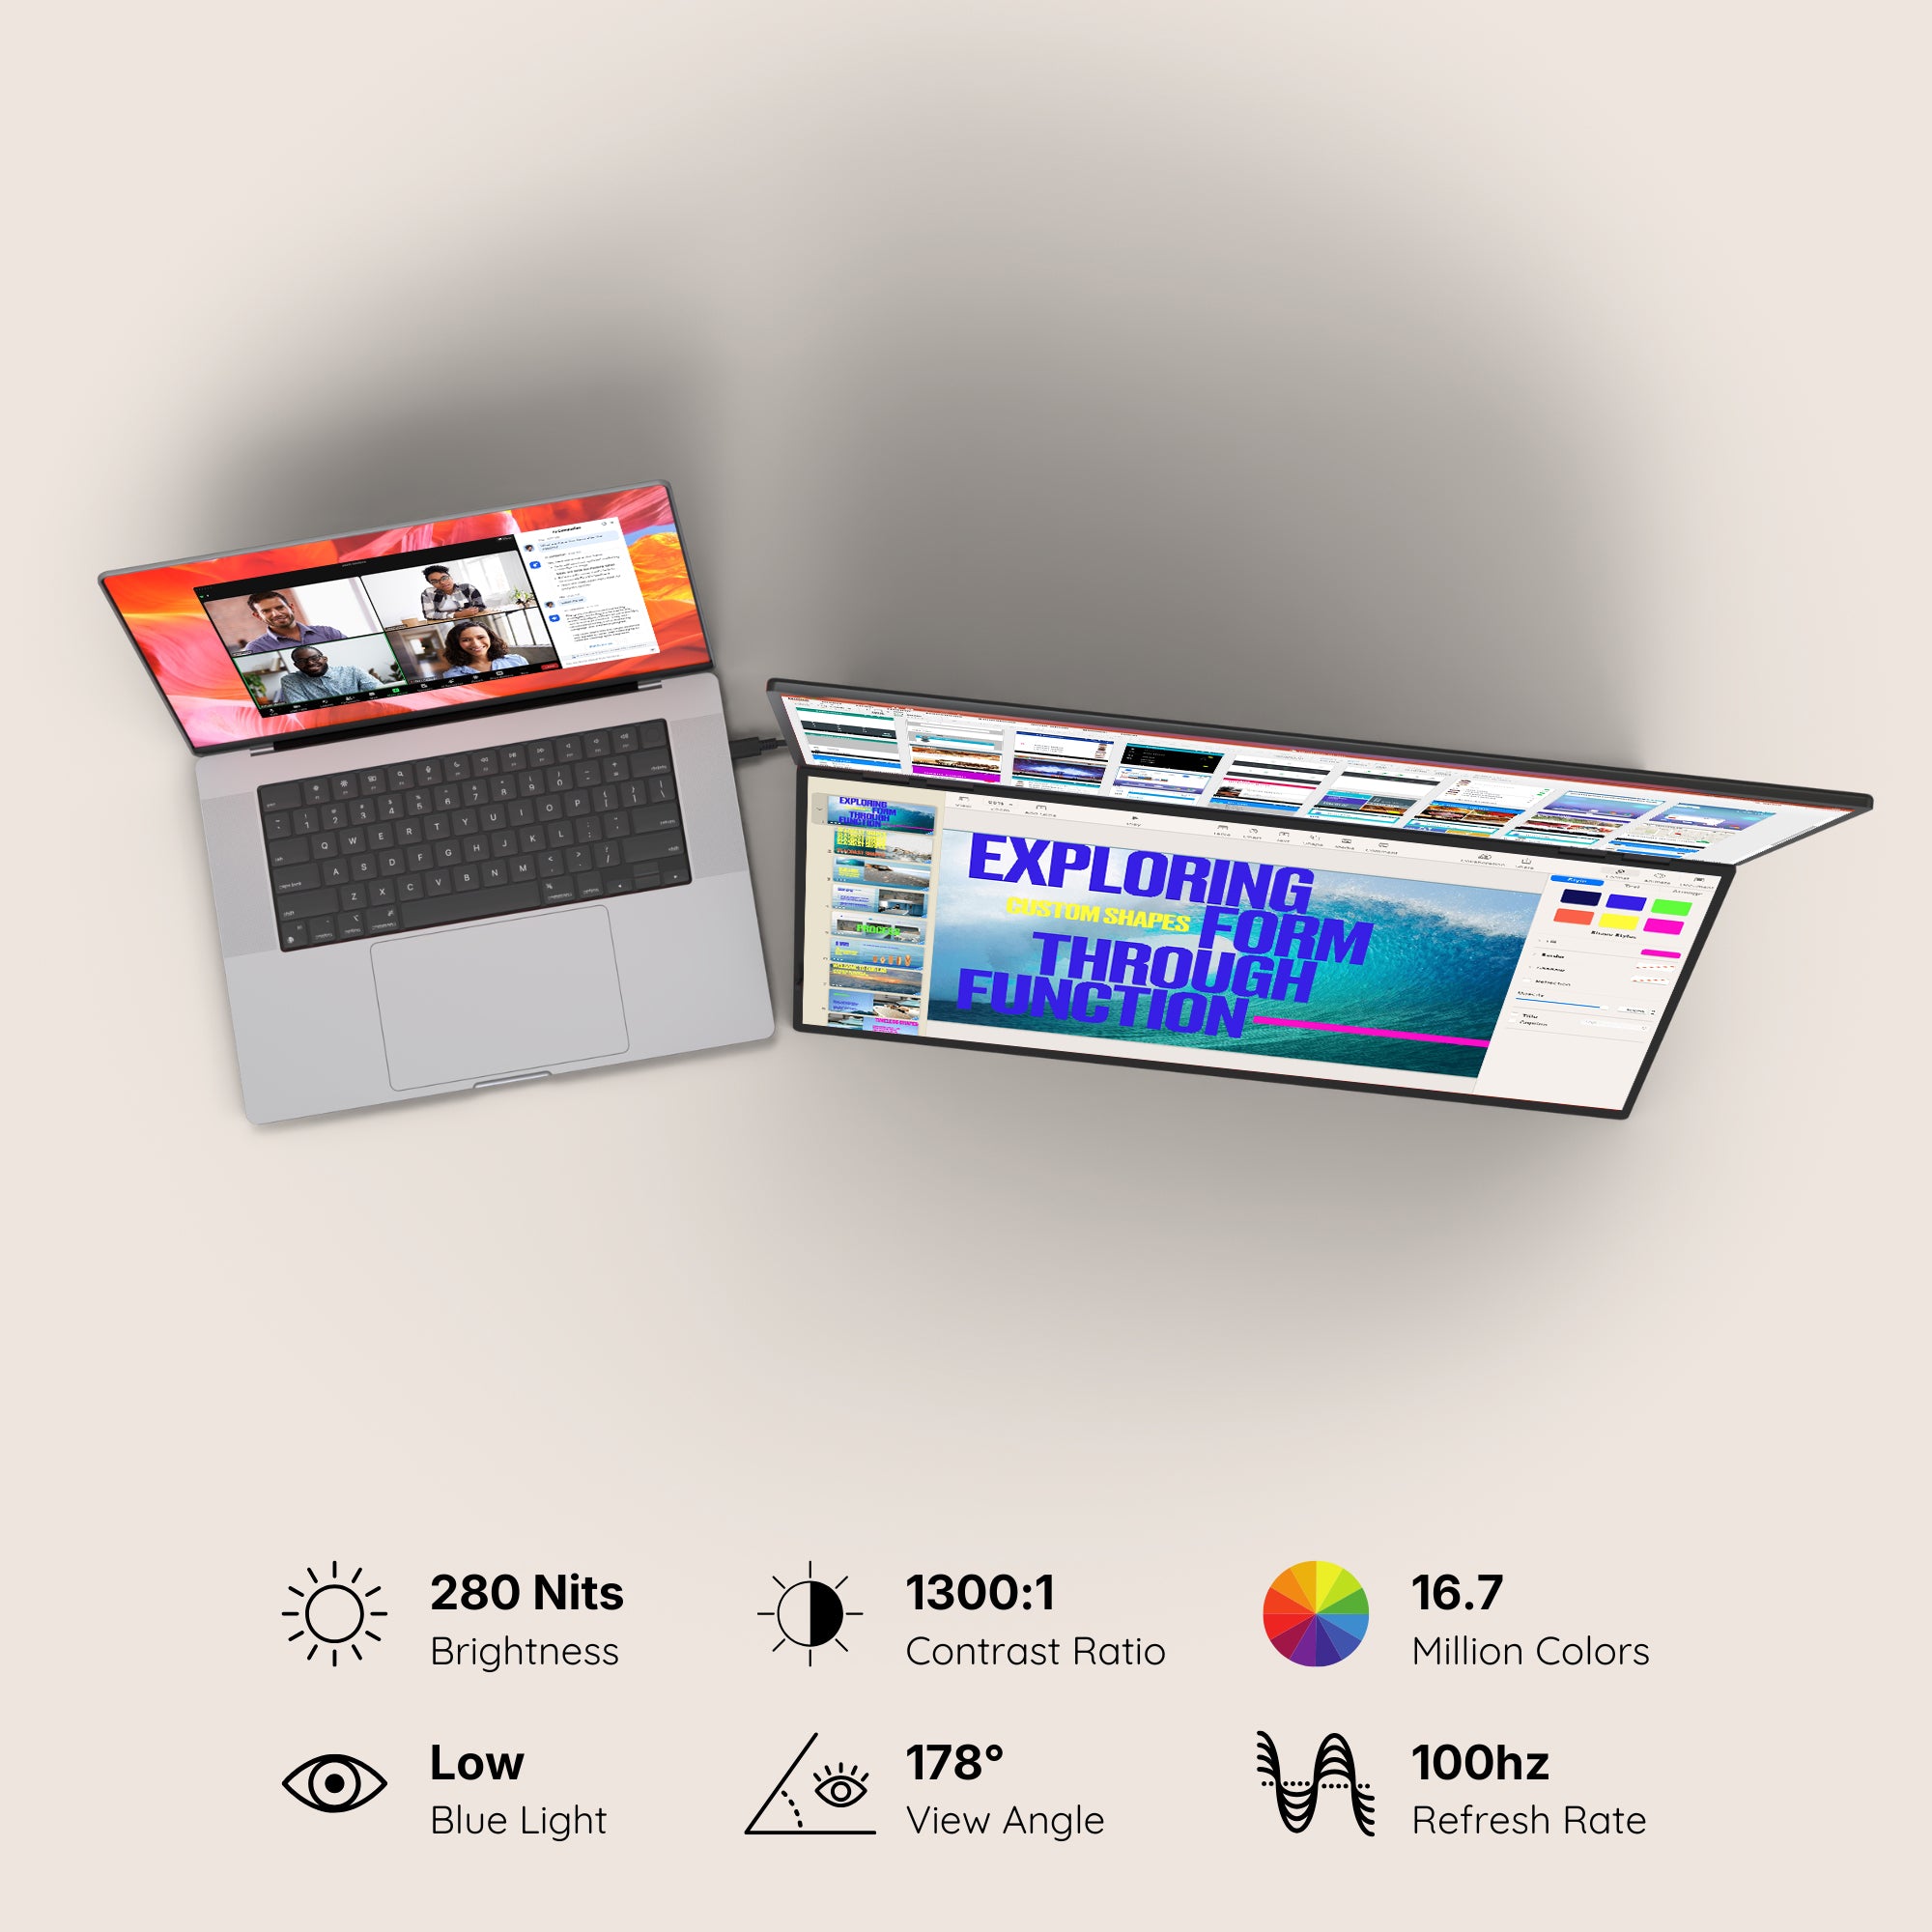
Plainly: do not grade on them. No product in our catalogue declares a colour gamut — not sRGB coverage, not DCI-P3 — and brightness across the range runs from 280 to 350 nits. None of them is a reference monitor, and none of them should be treated as one. Use them for the edit — timeline, bins, sync, review passes, client-facing playback where "is this the right take" is the question. Keep the colour decisions on a display you have profiled, and if a job needs a signed-off grade, it needs a reference monitor and a proper output path, not a bigger desktop.
The second honest limit: screen space does not shorten a render. Your bottleneck is the processor, the graphics card and the speed of the drive your media sits on. More panels give you fewer window switches per hour. They give you exactly zero extra frames per second.
The setup we recommend, and the cheaper one
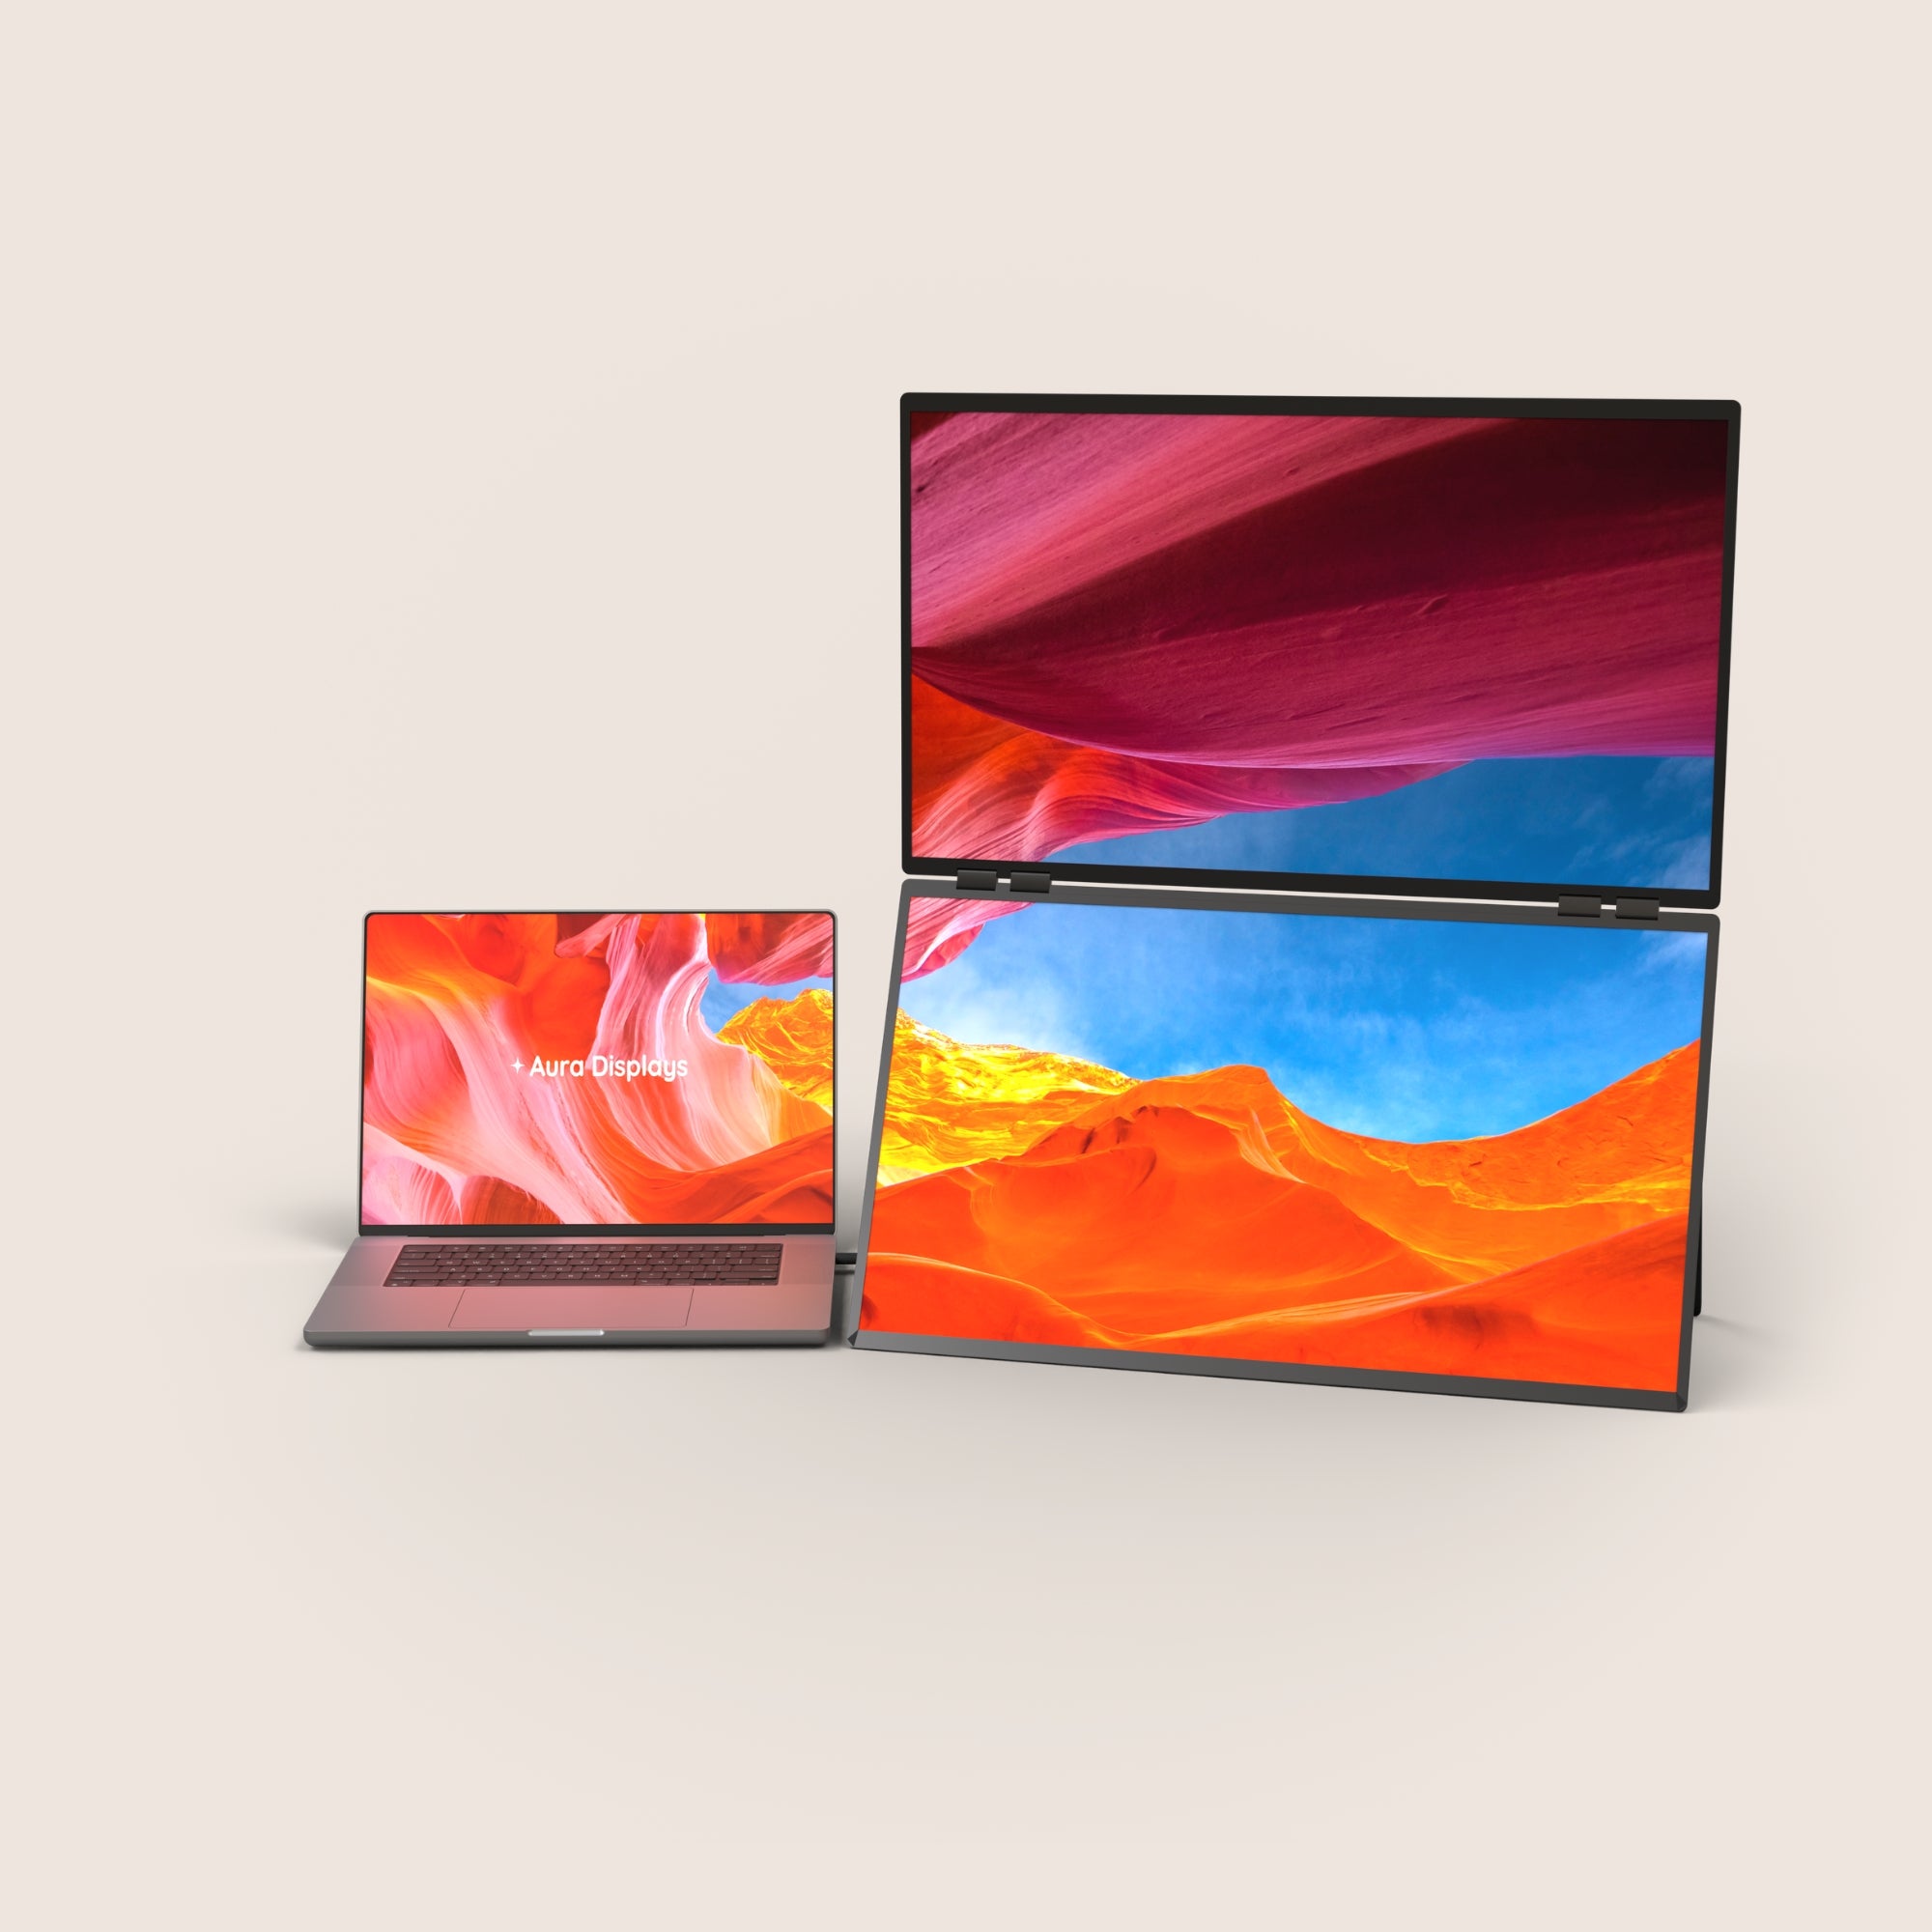
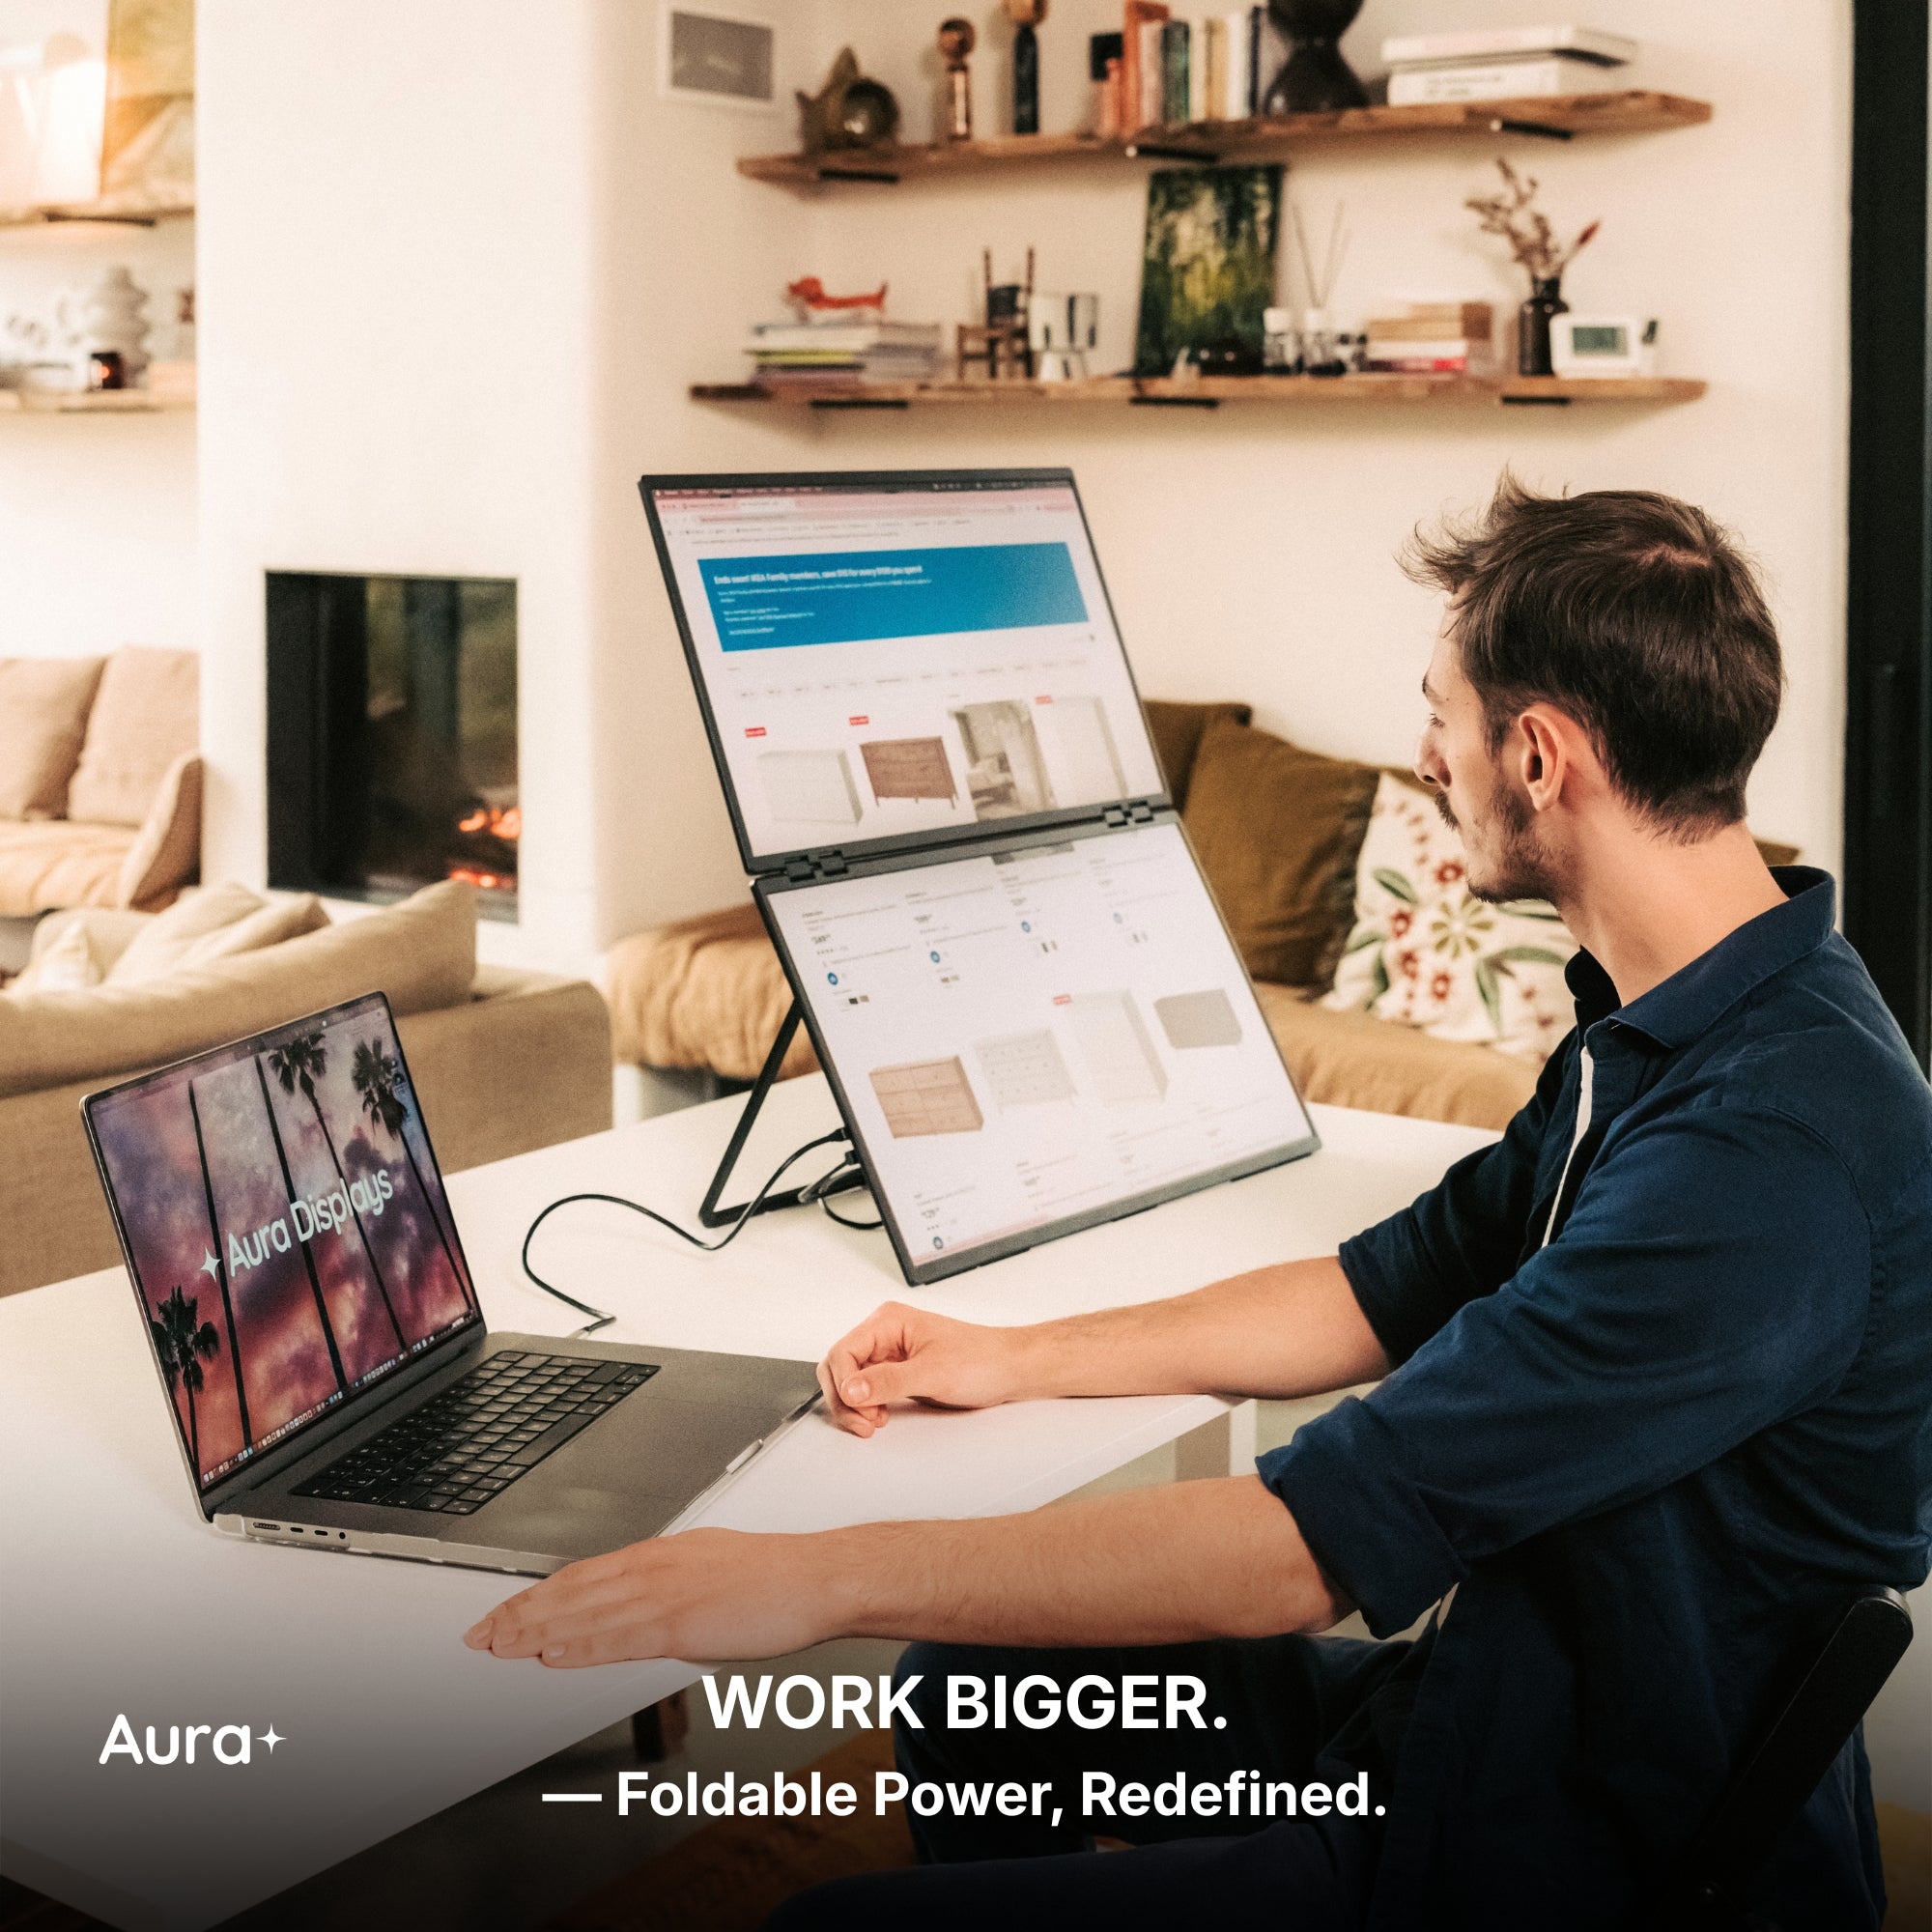
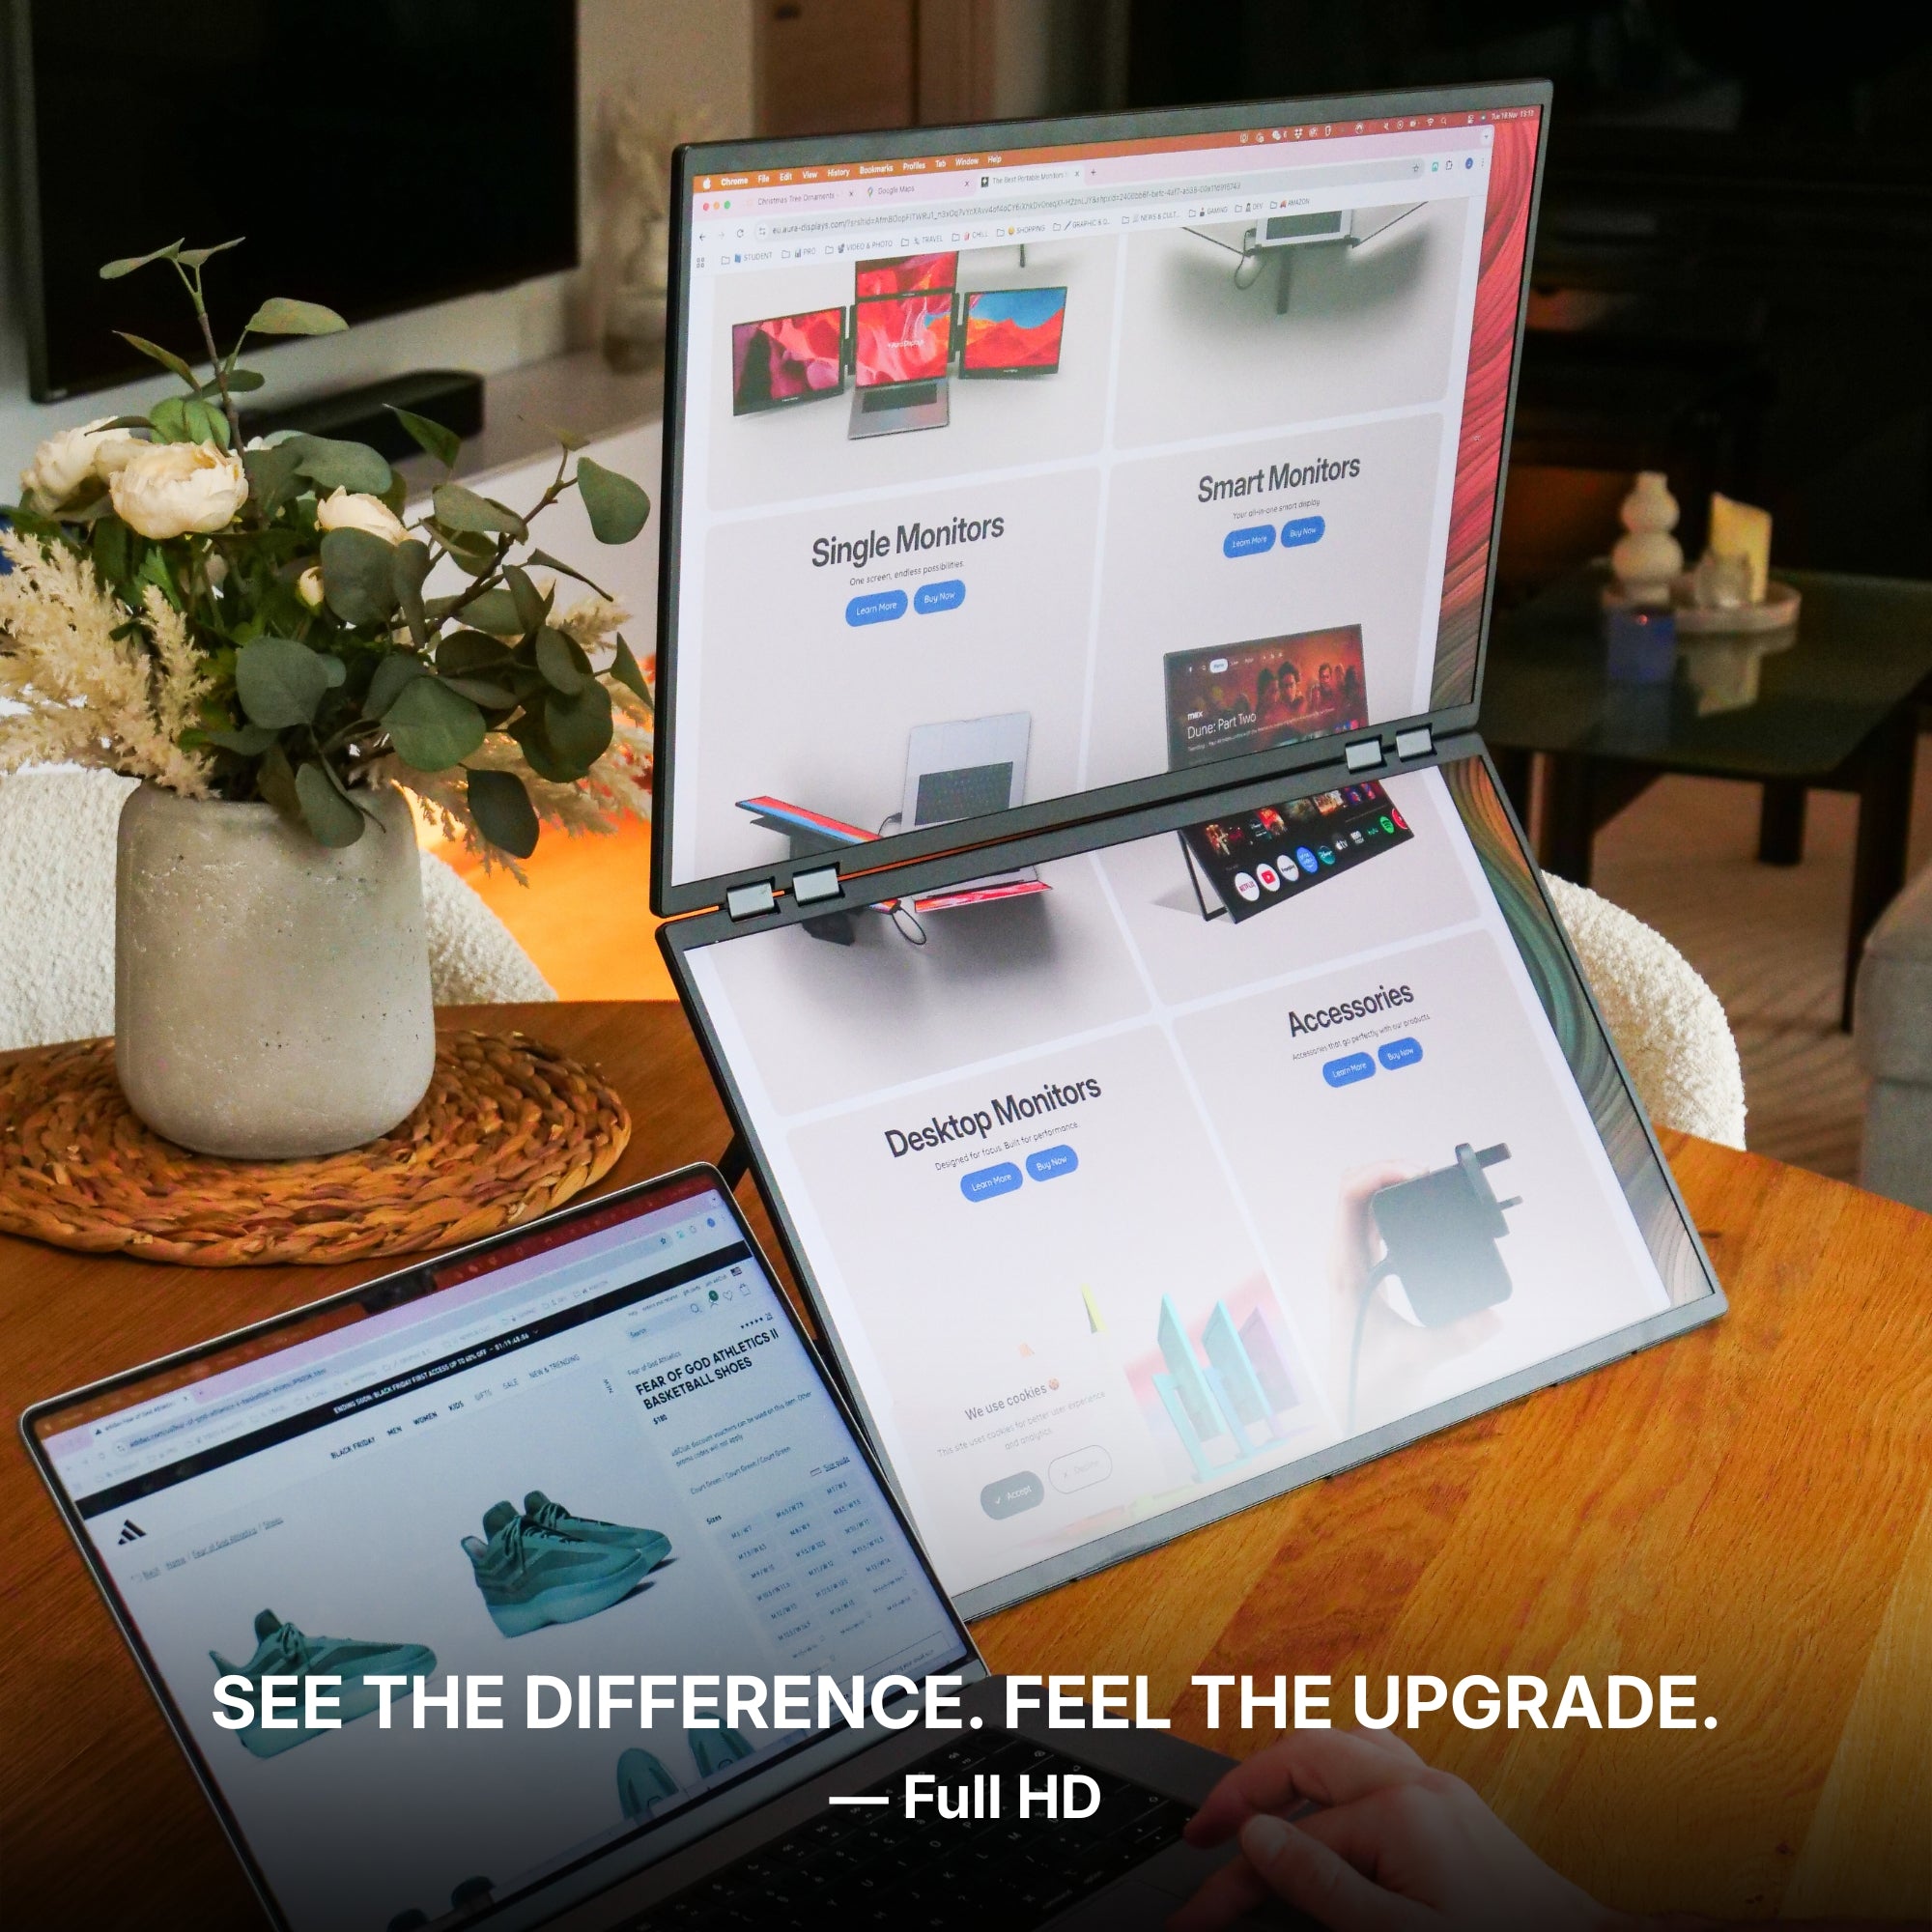
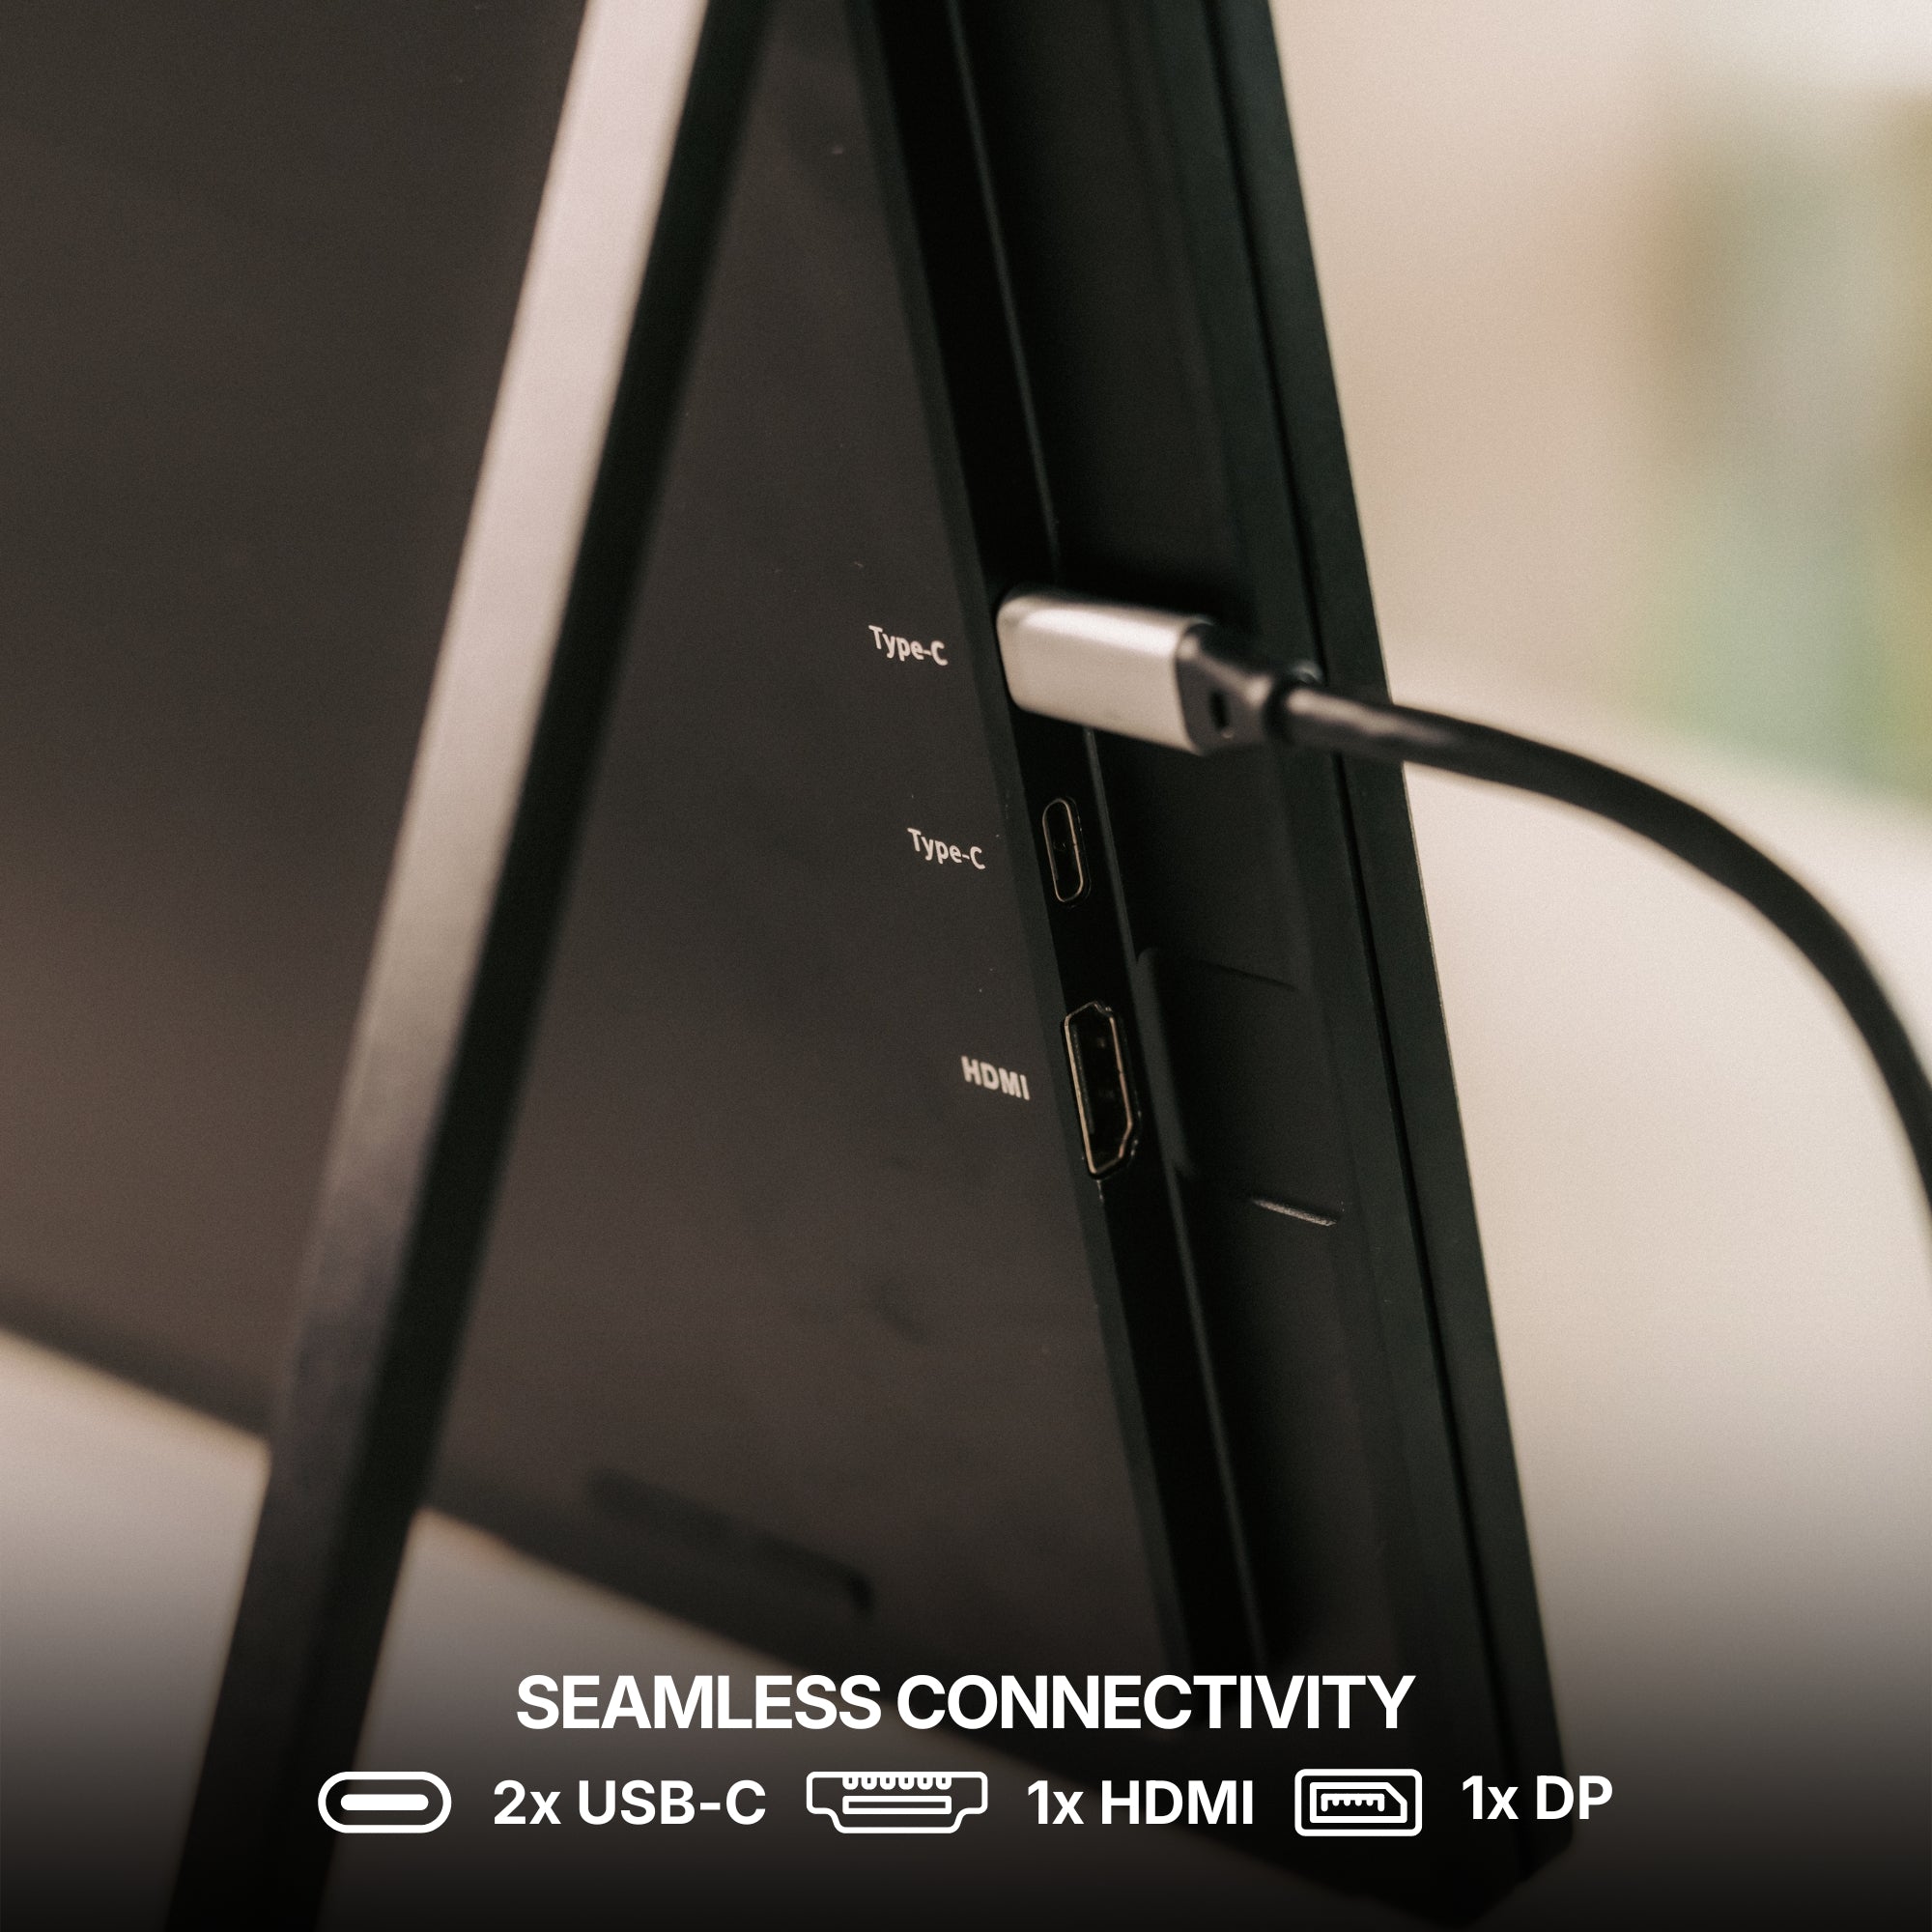
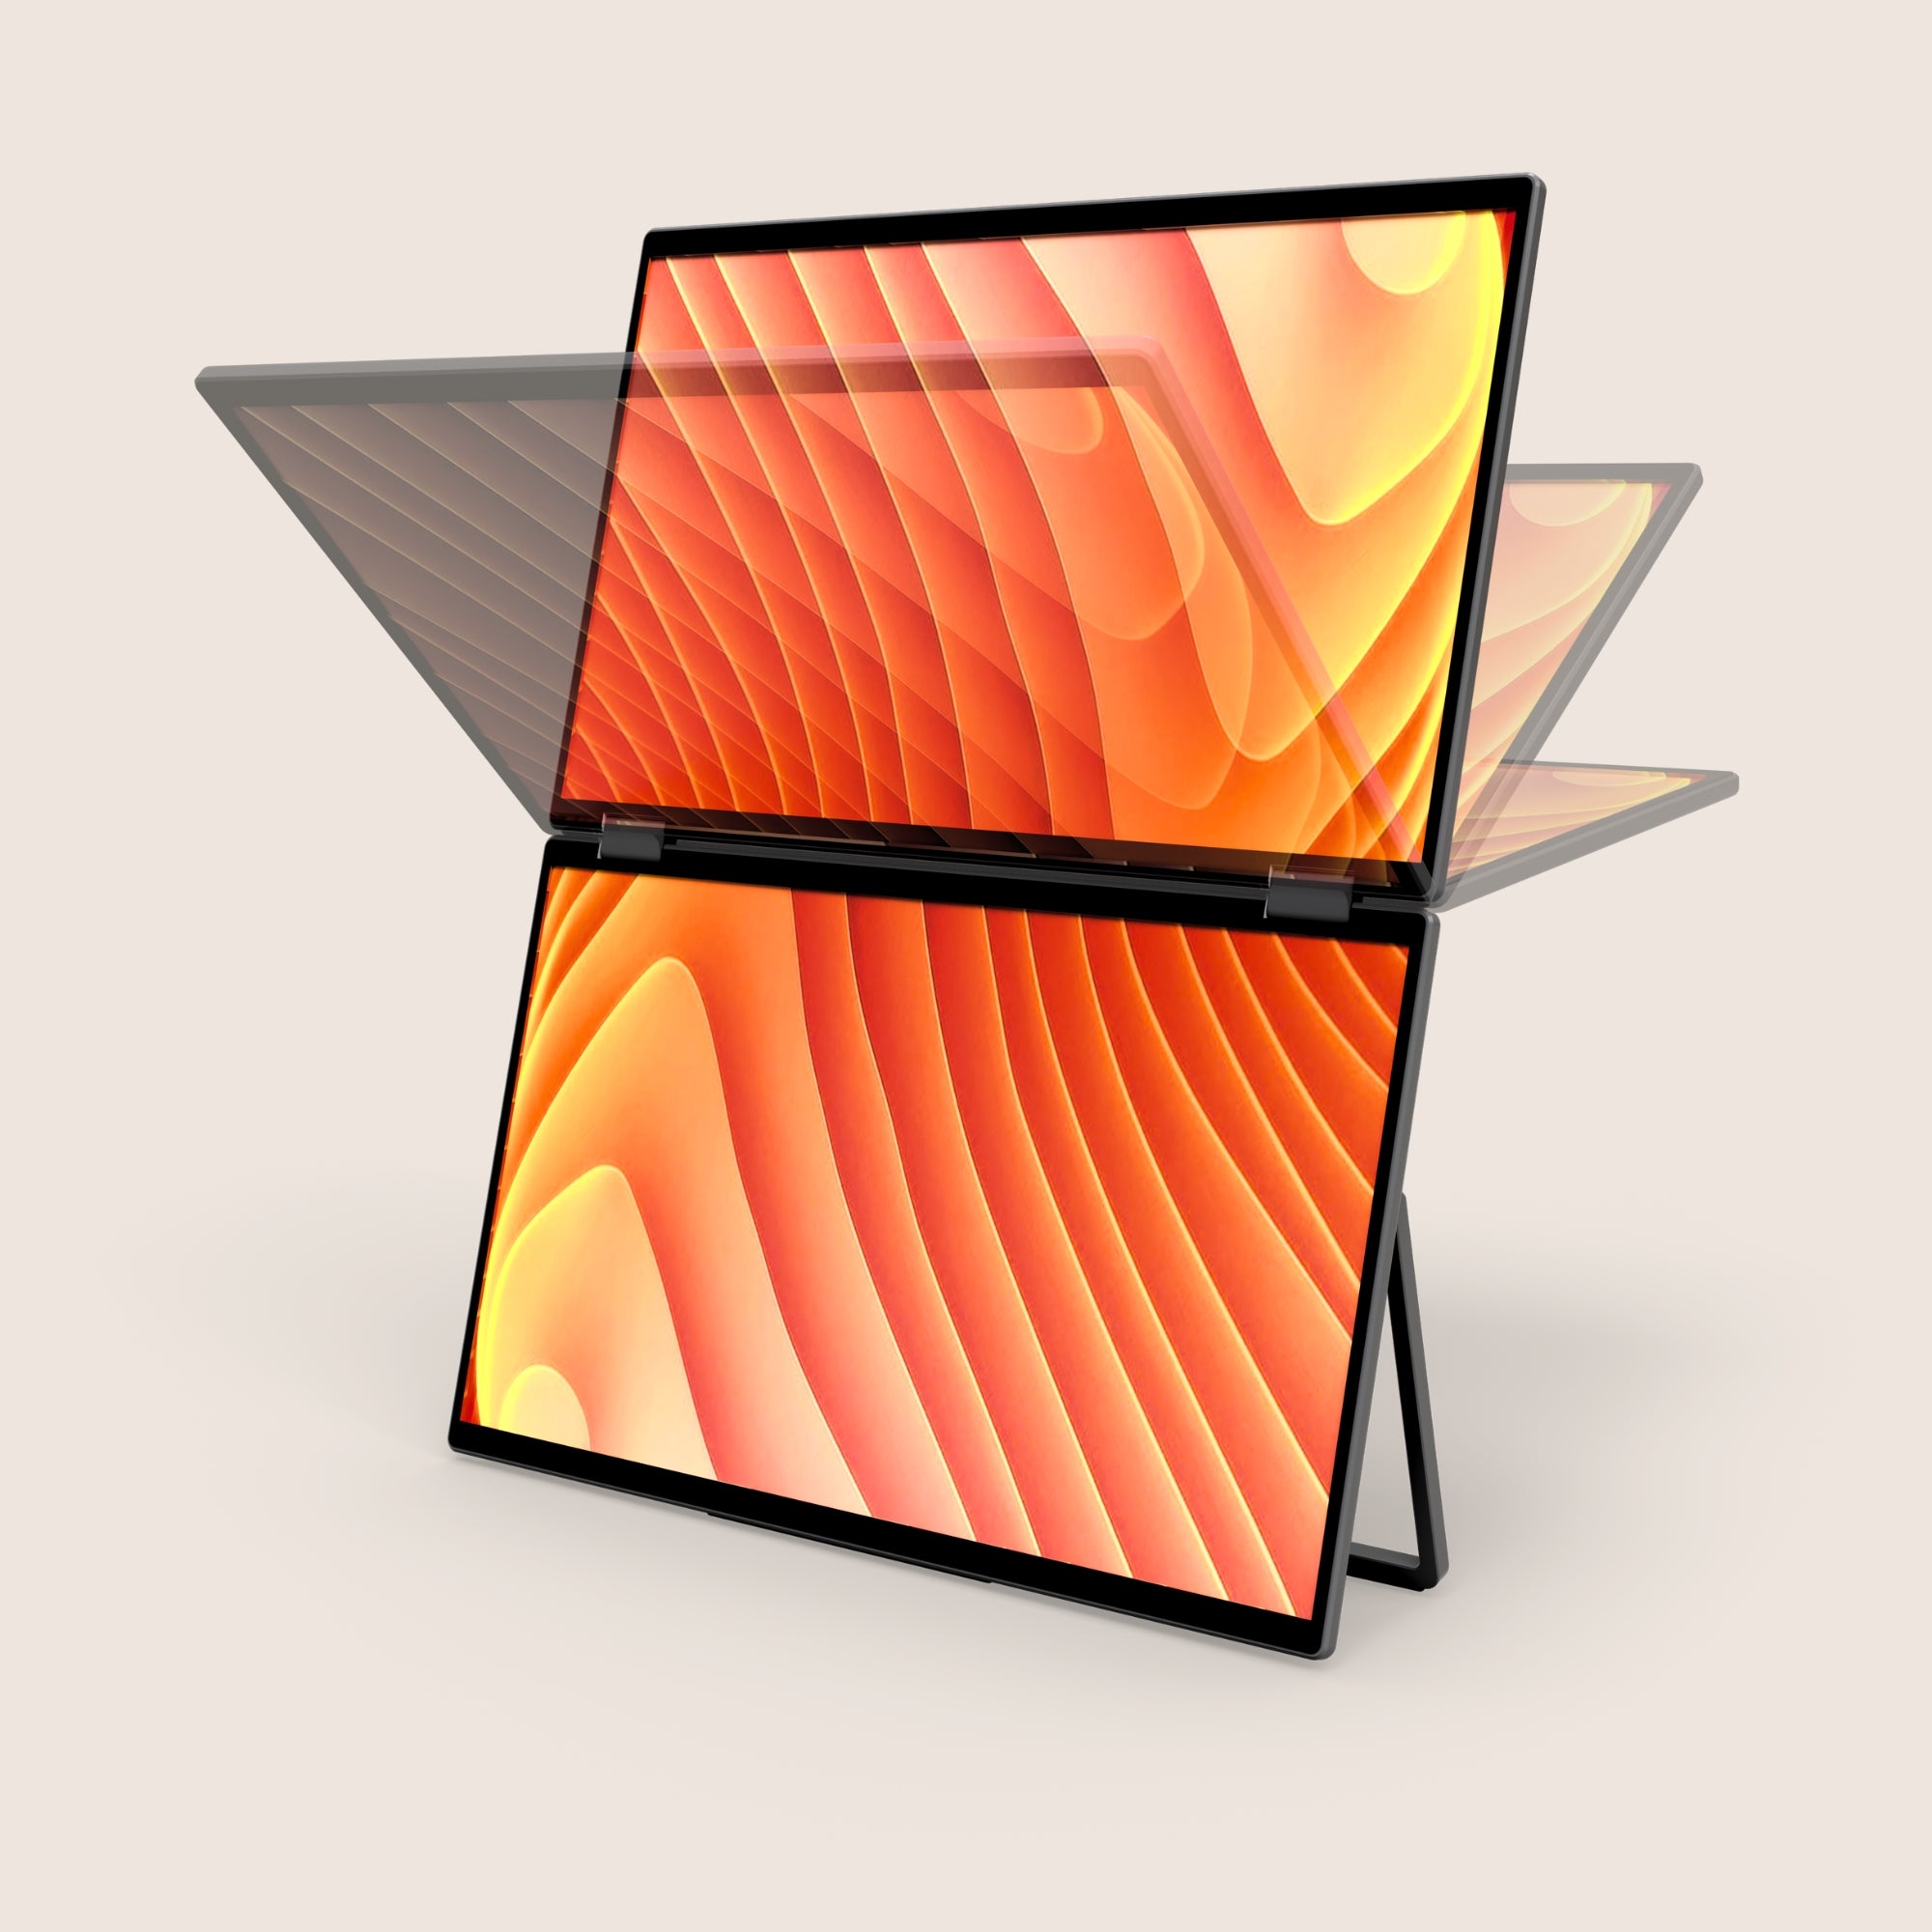
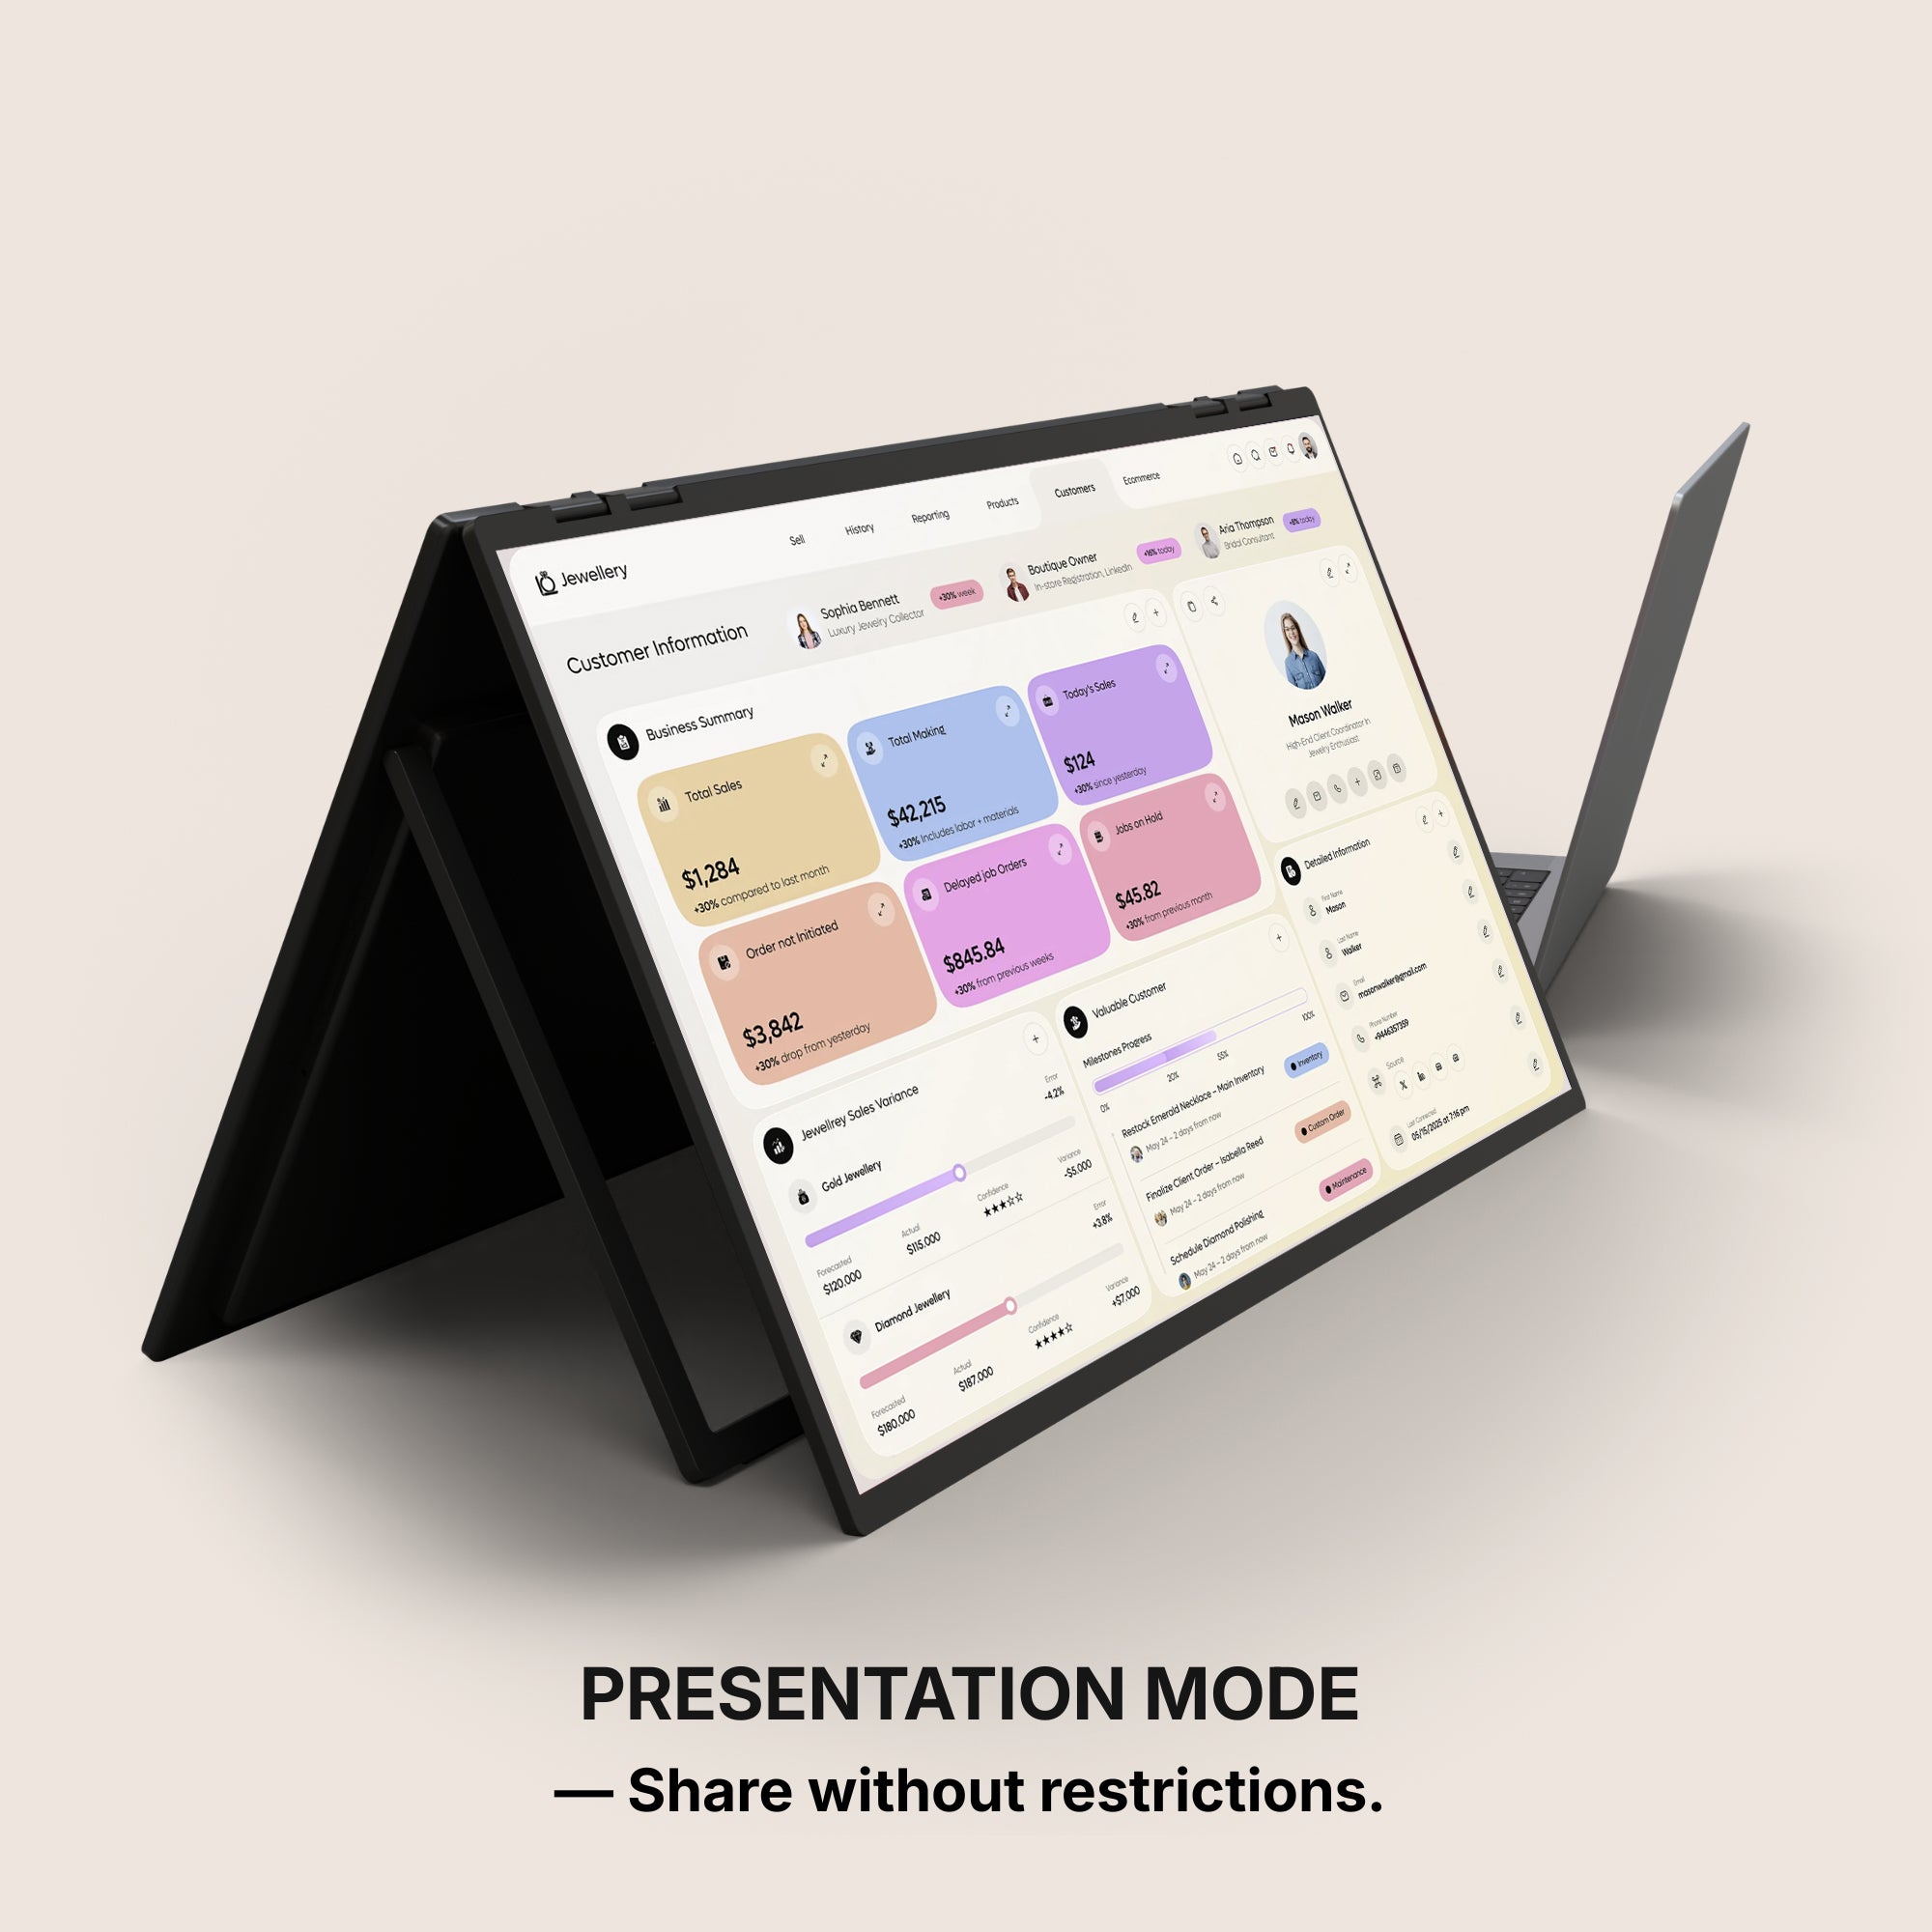
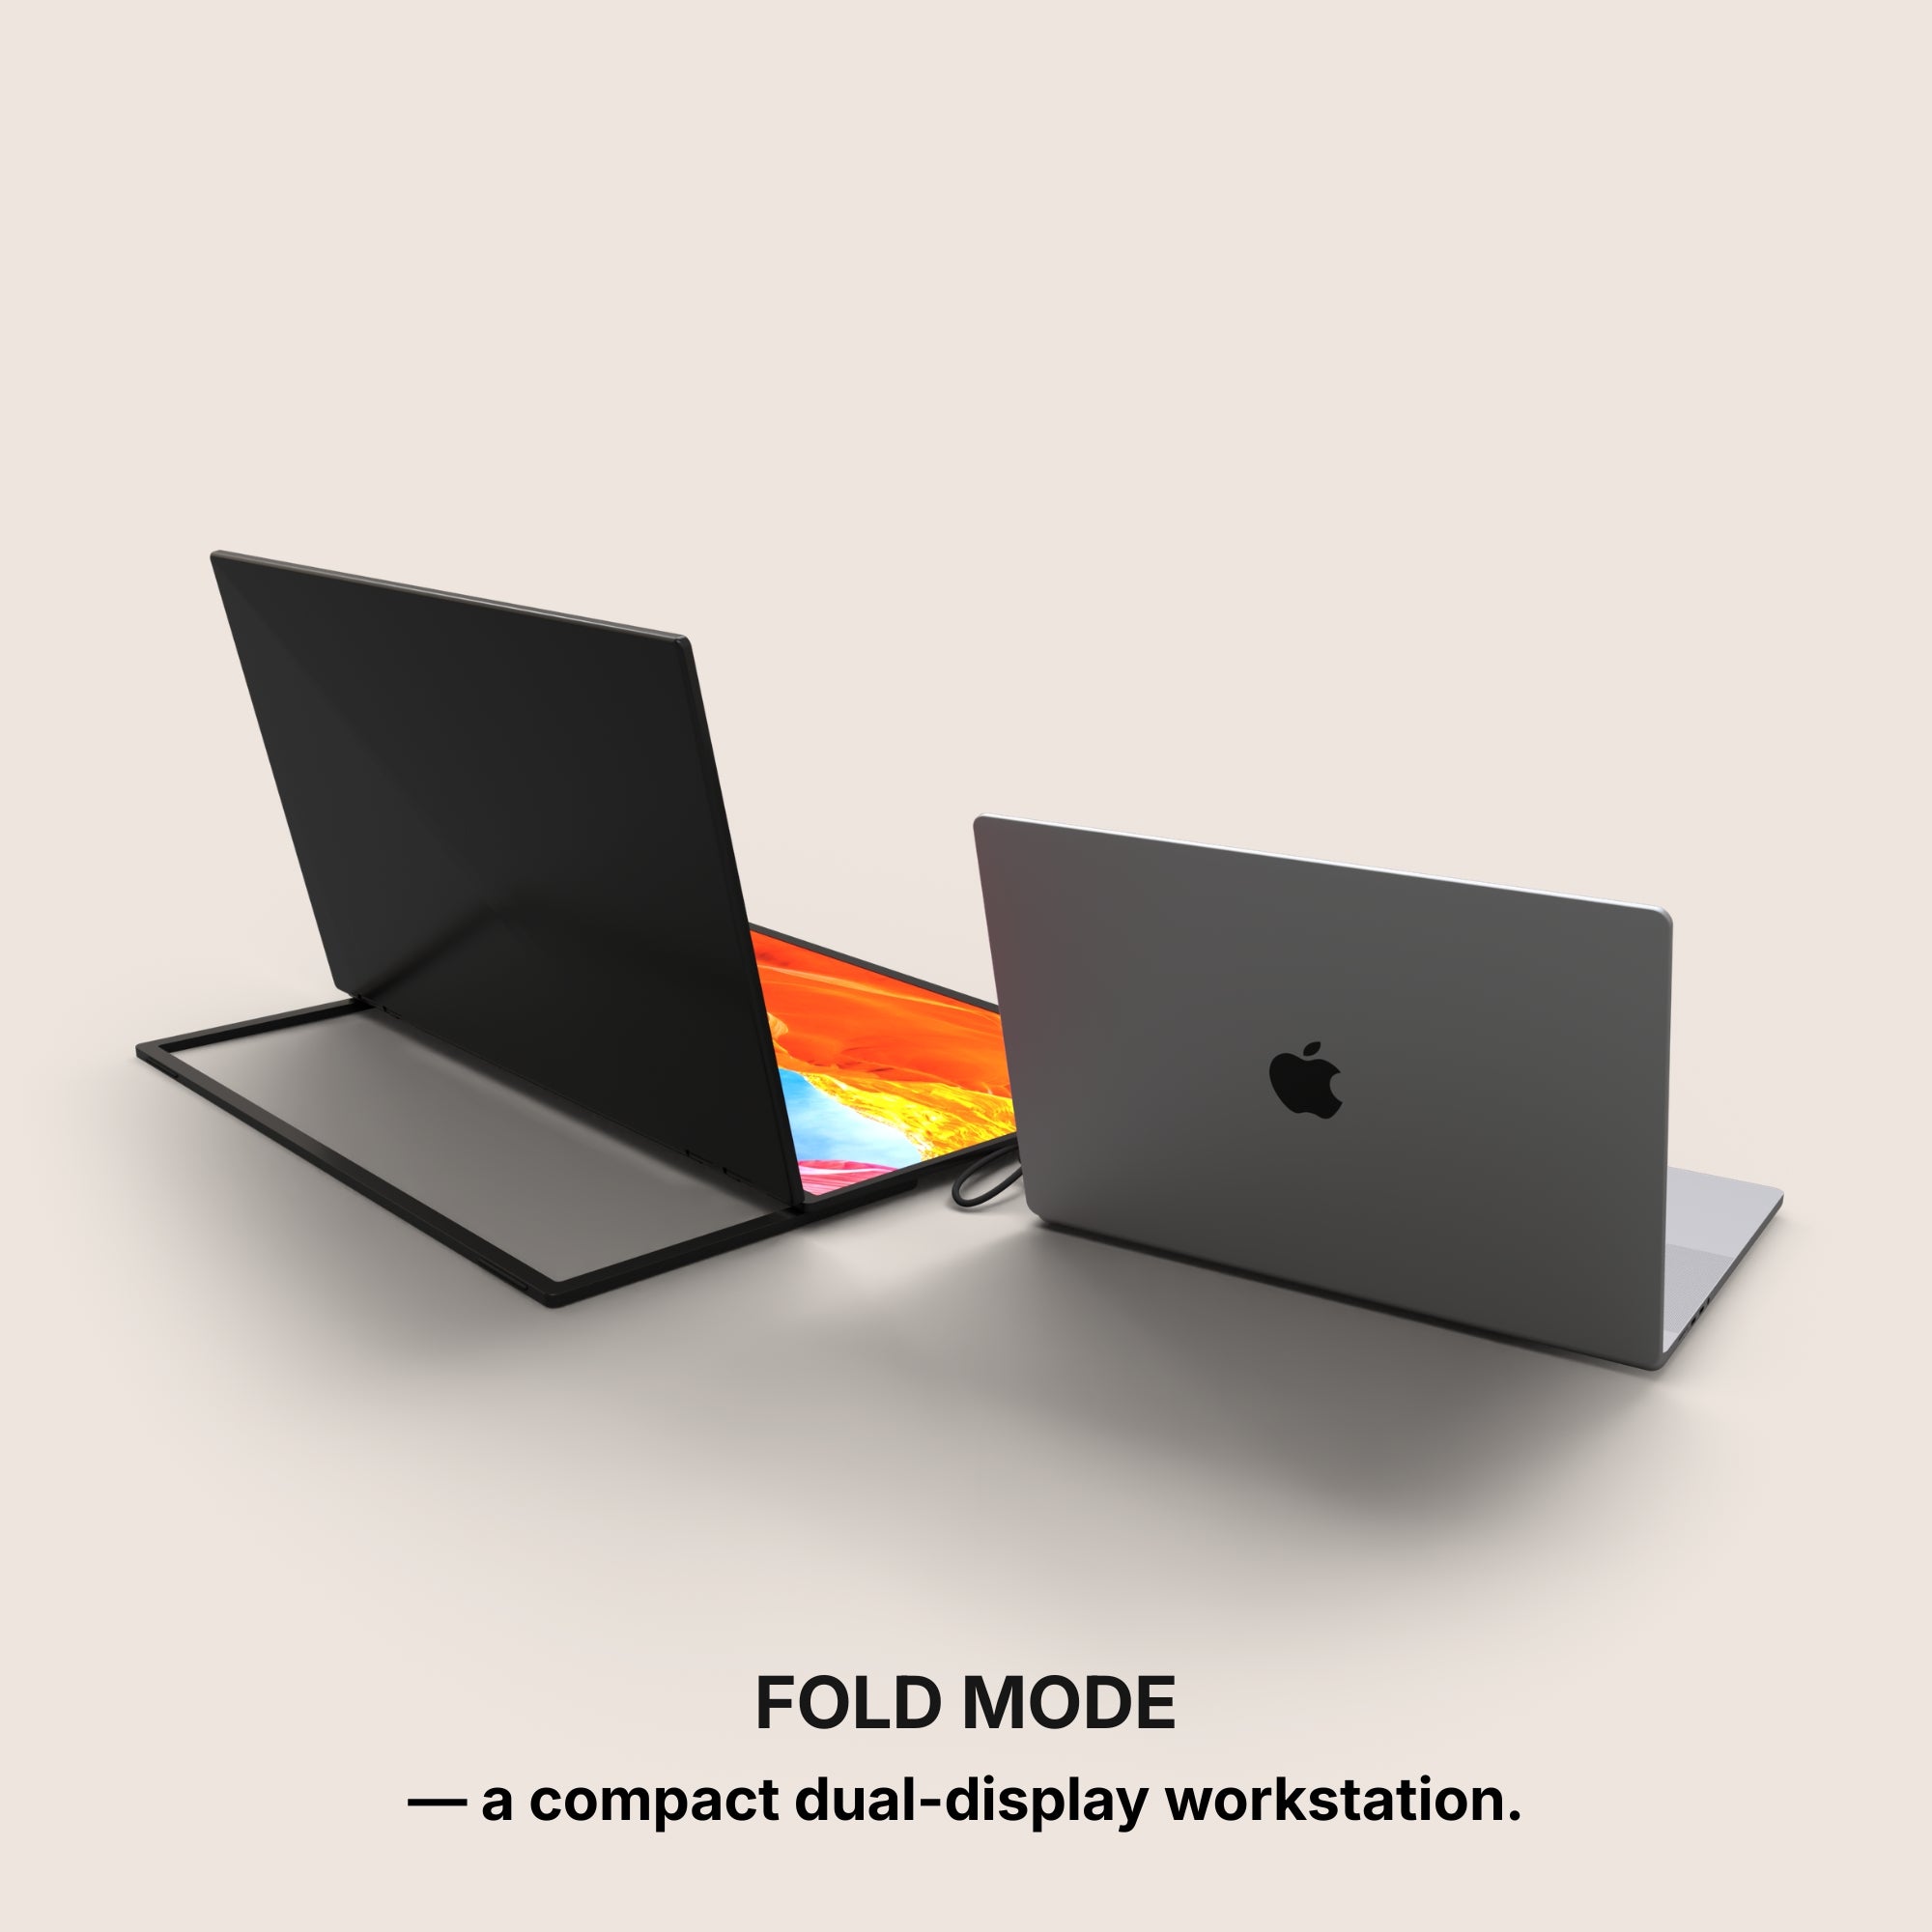
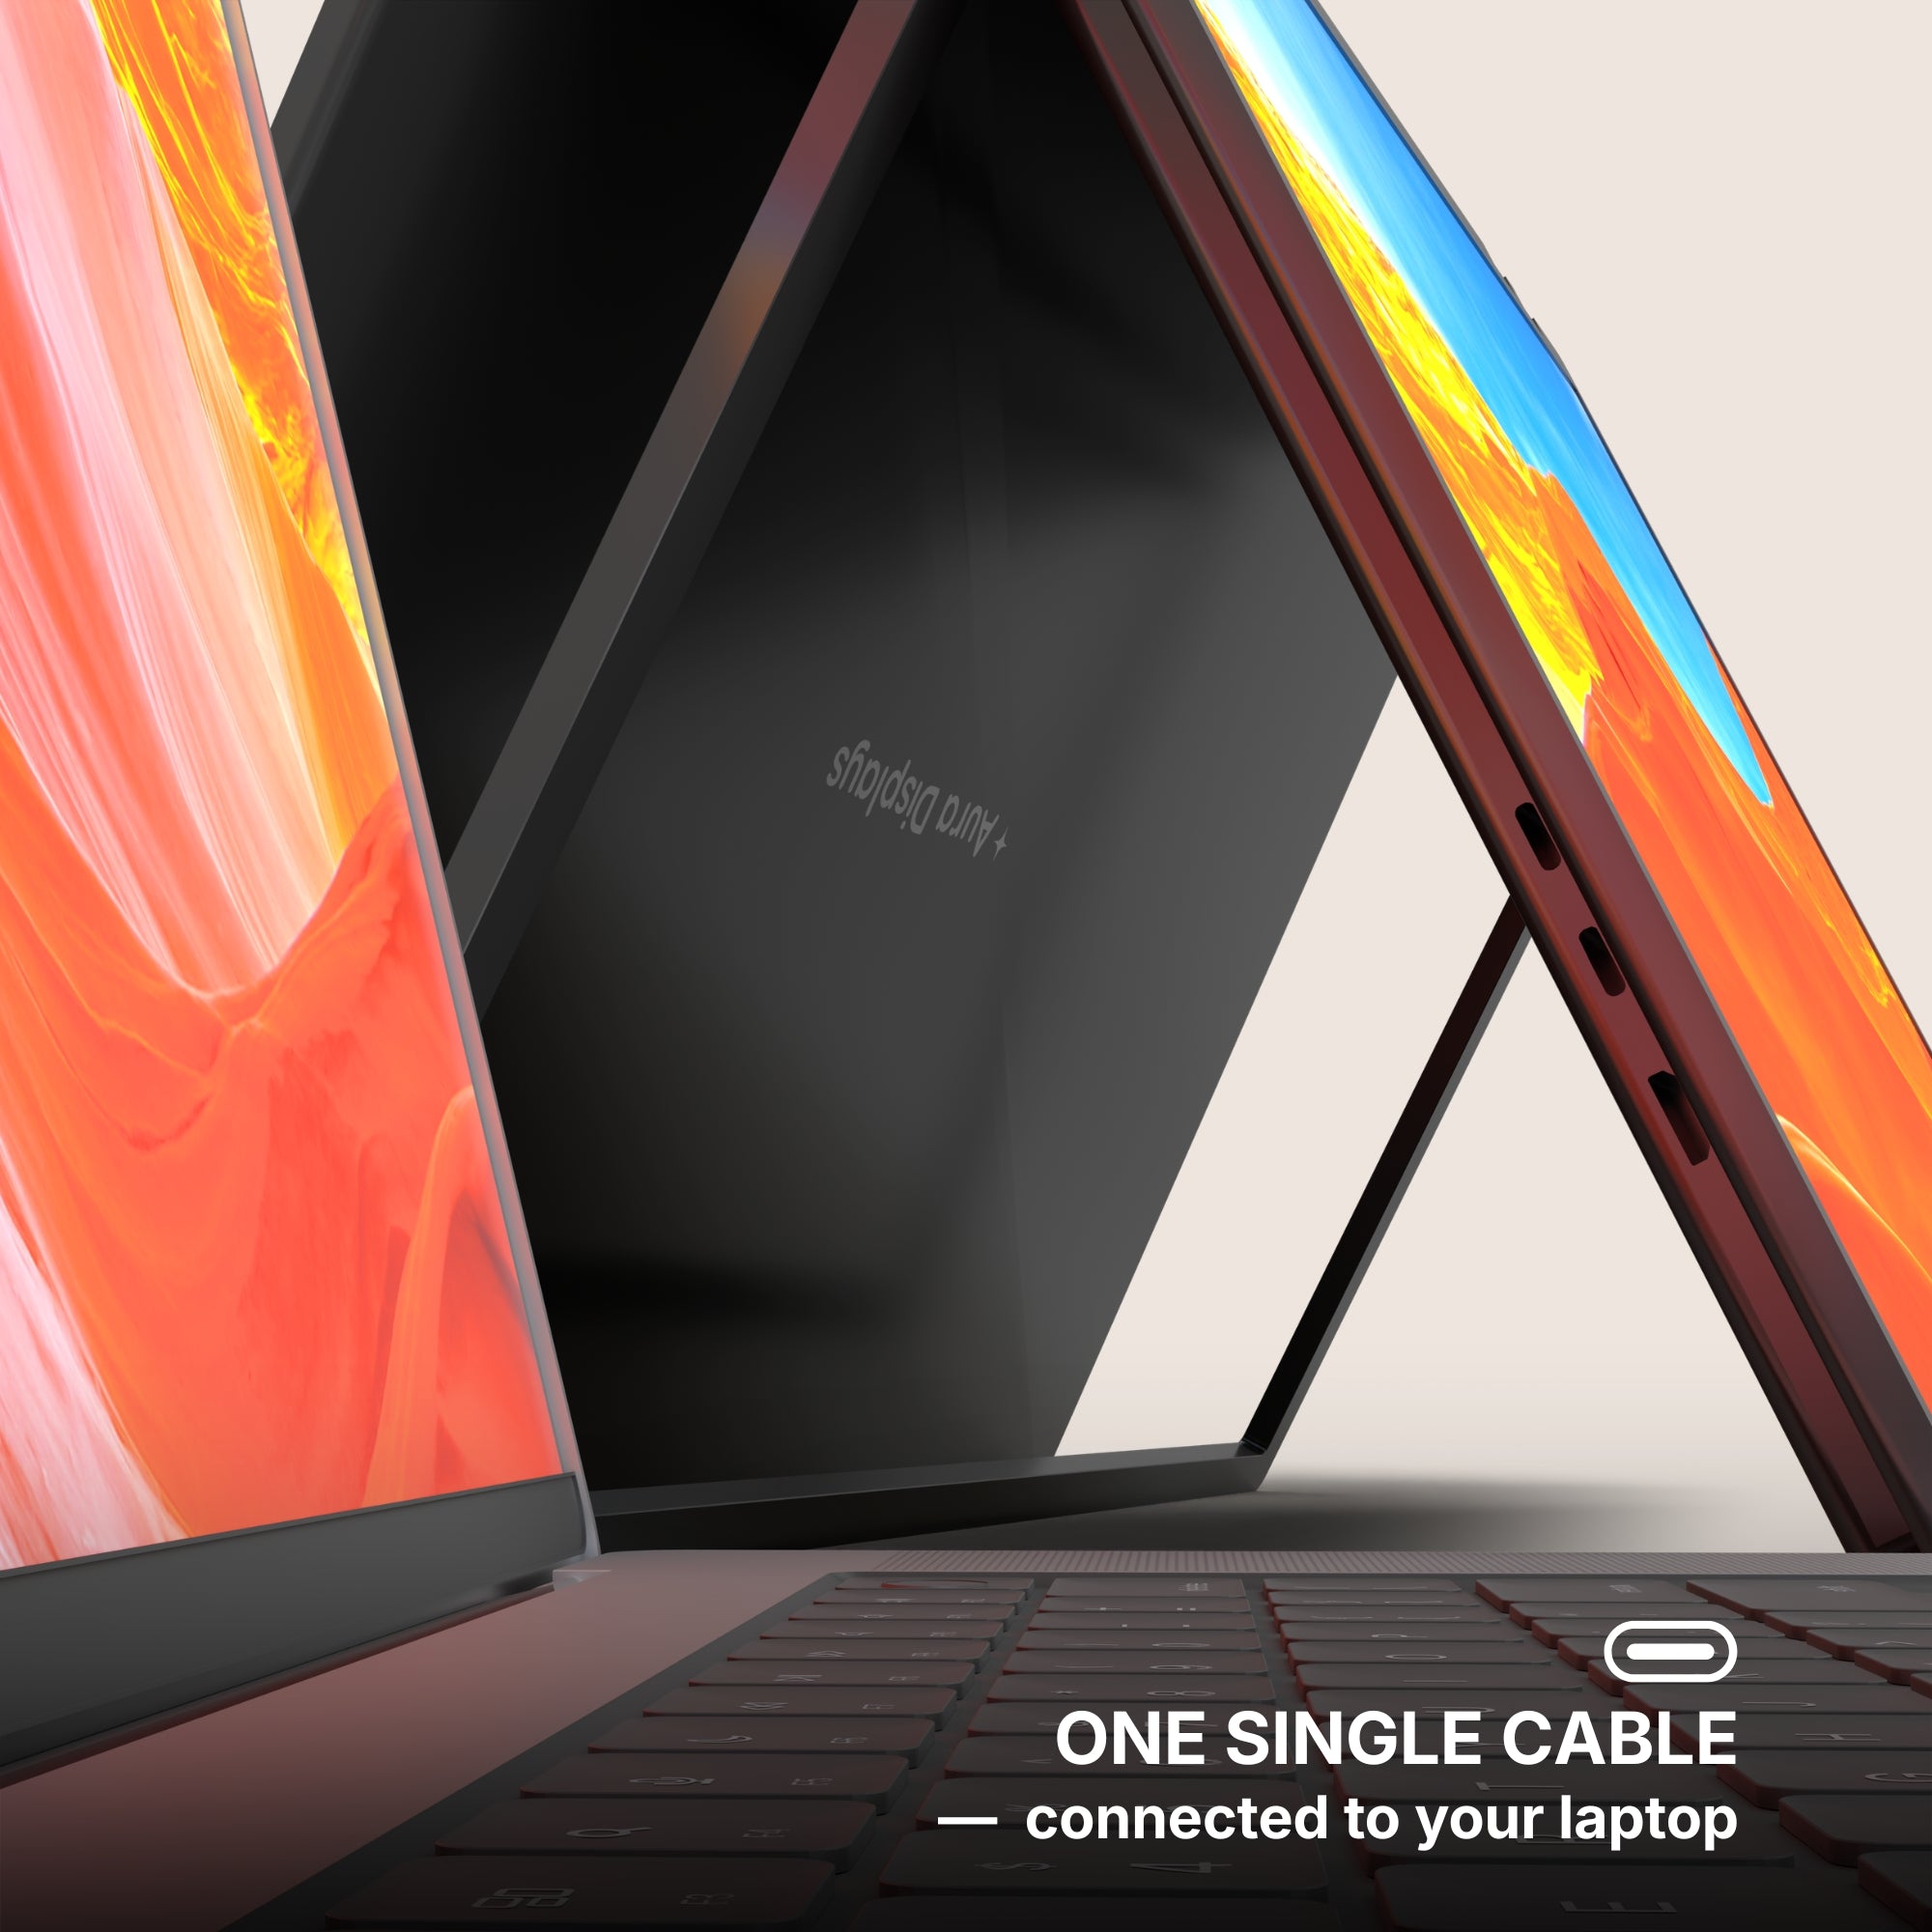
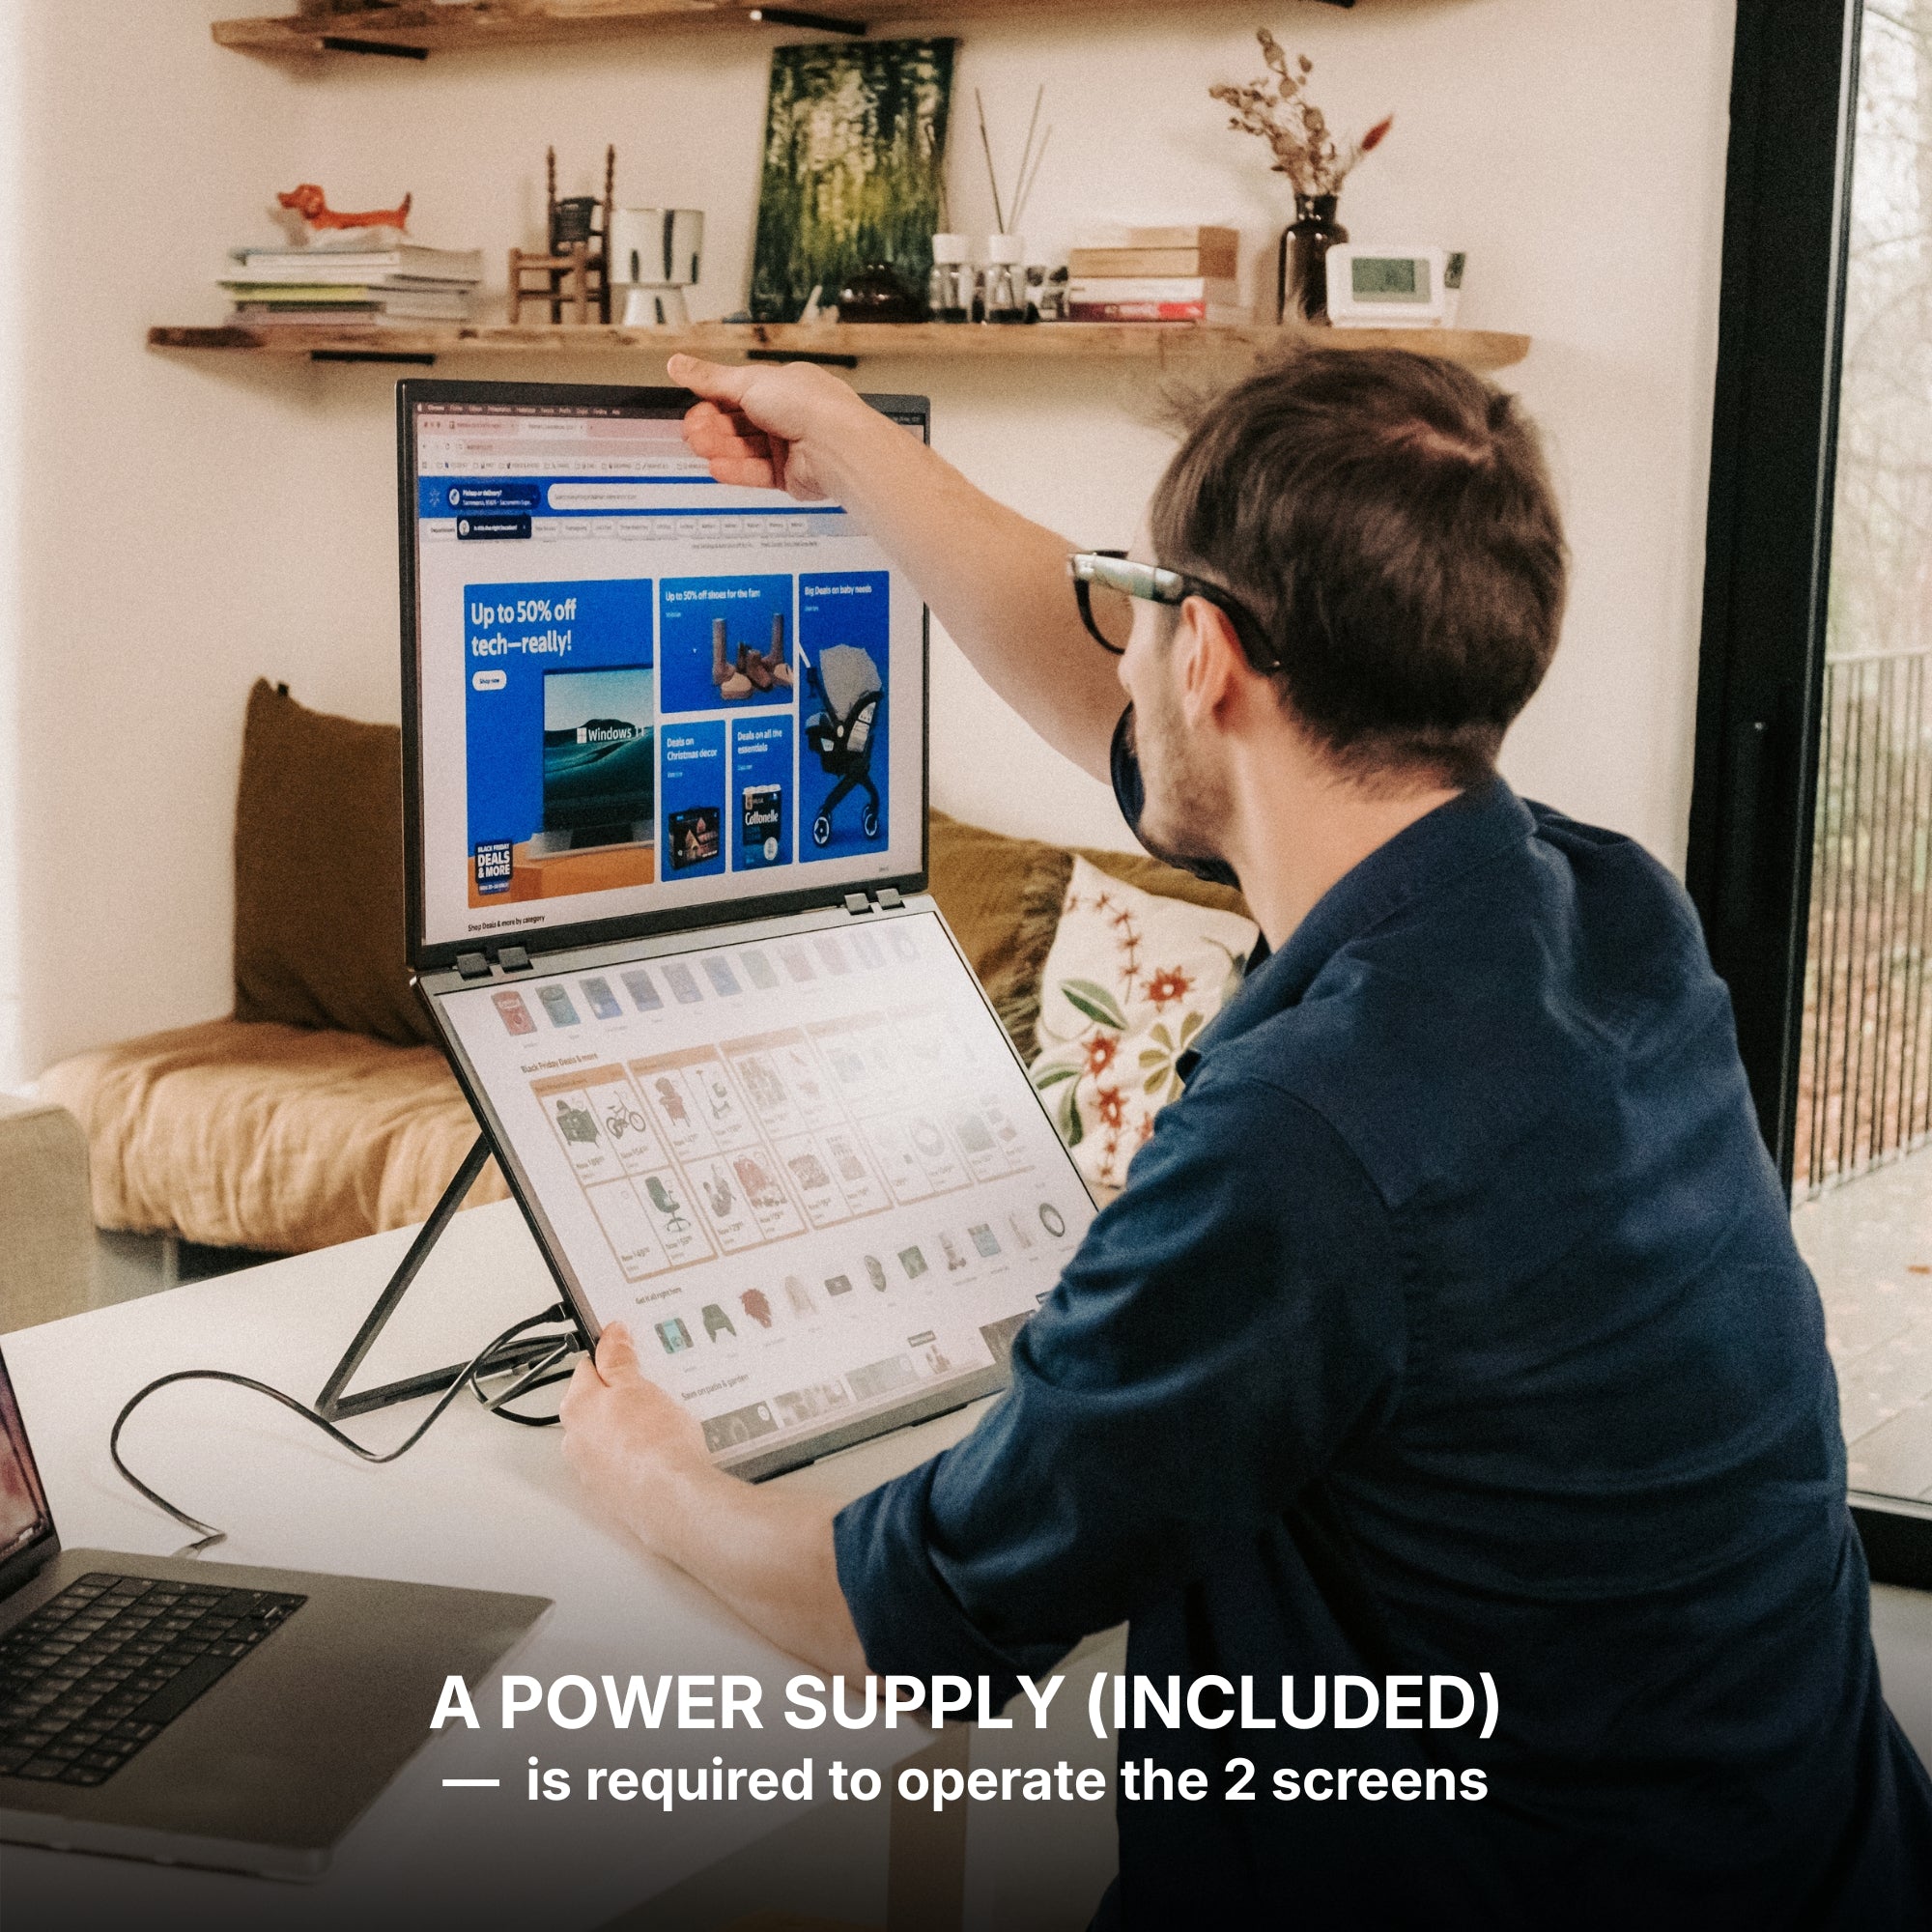
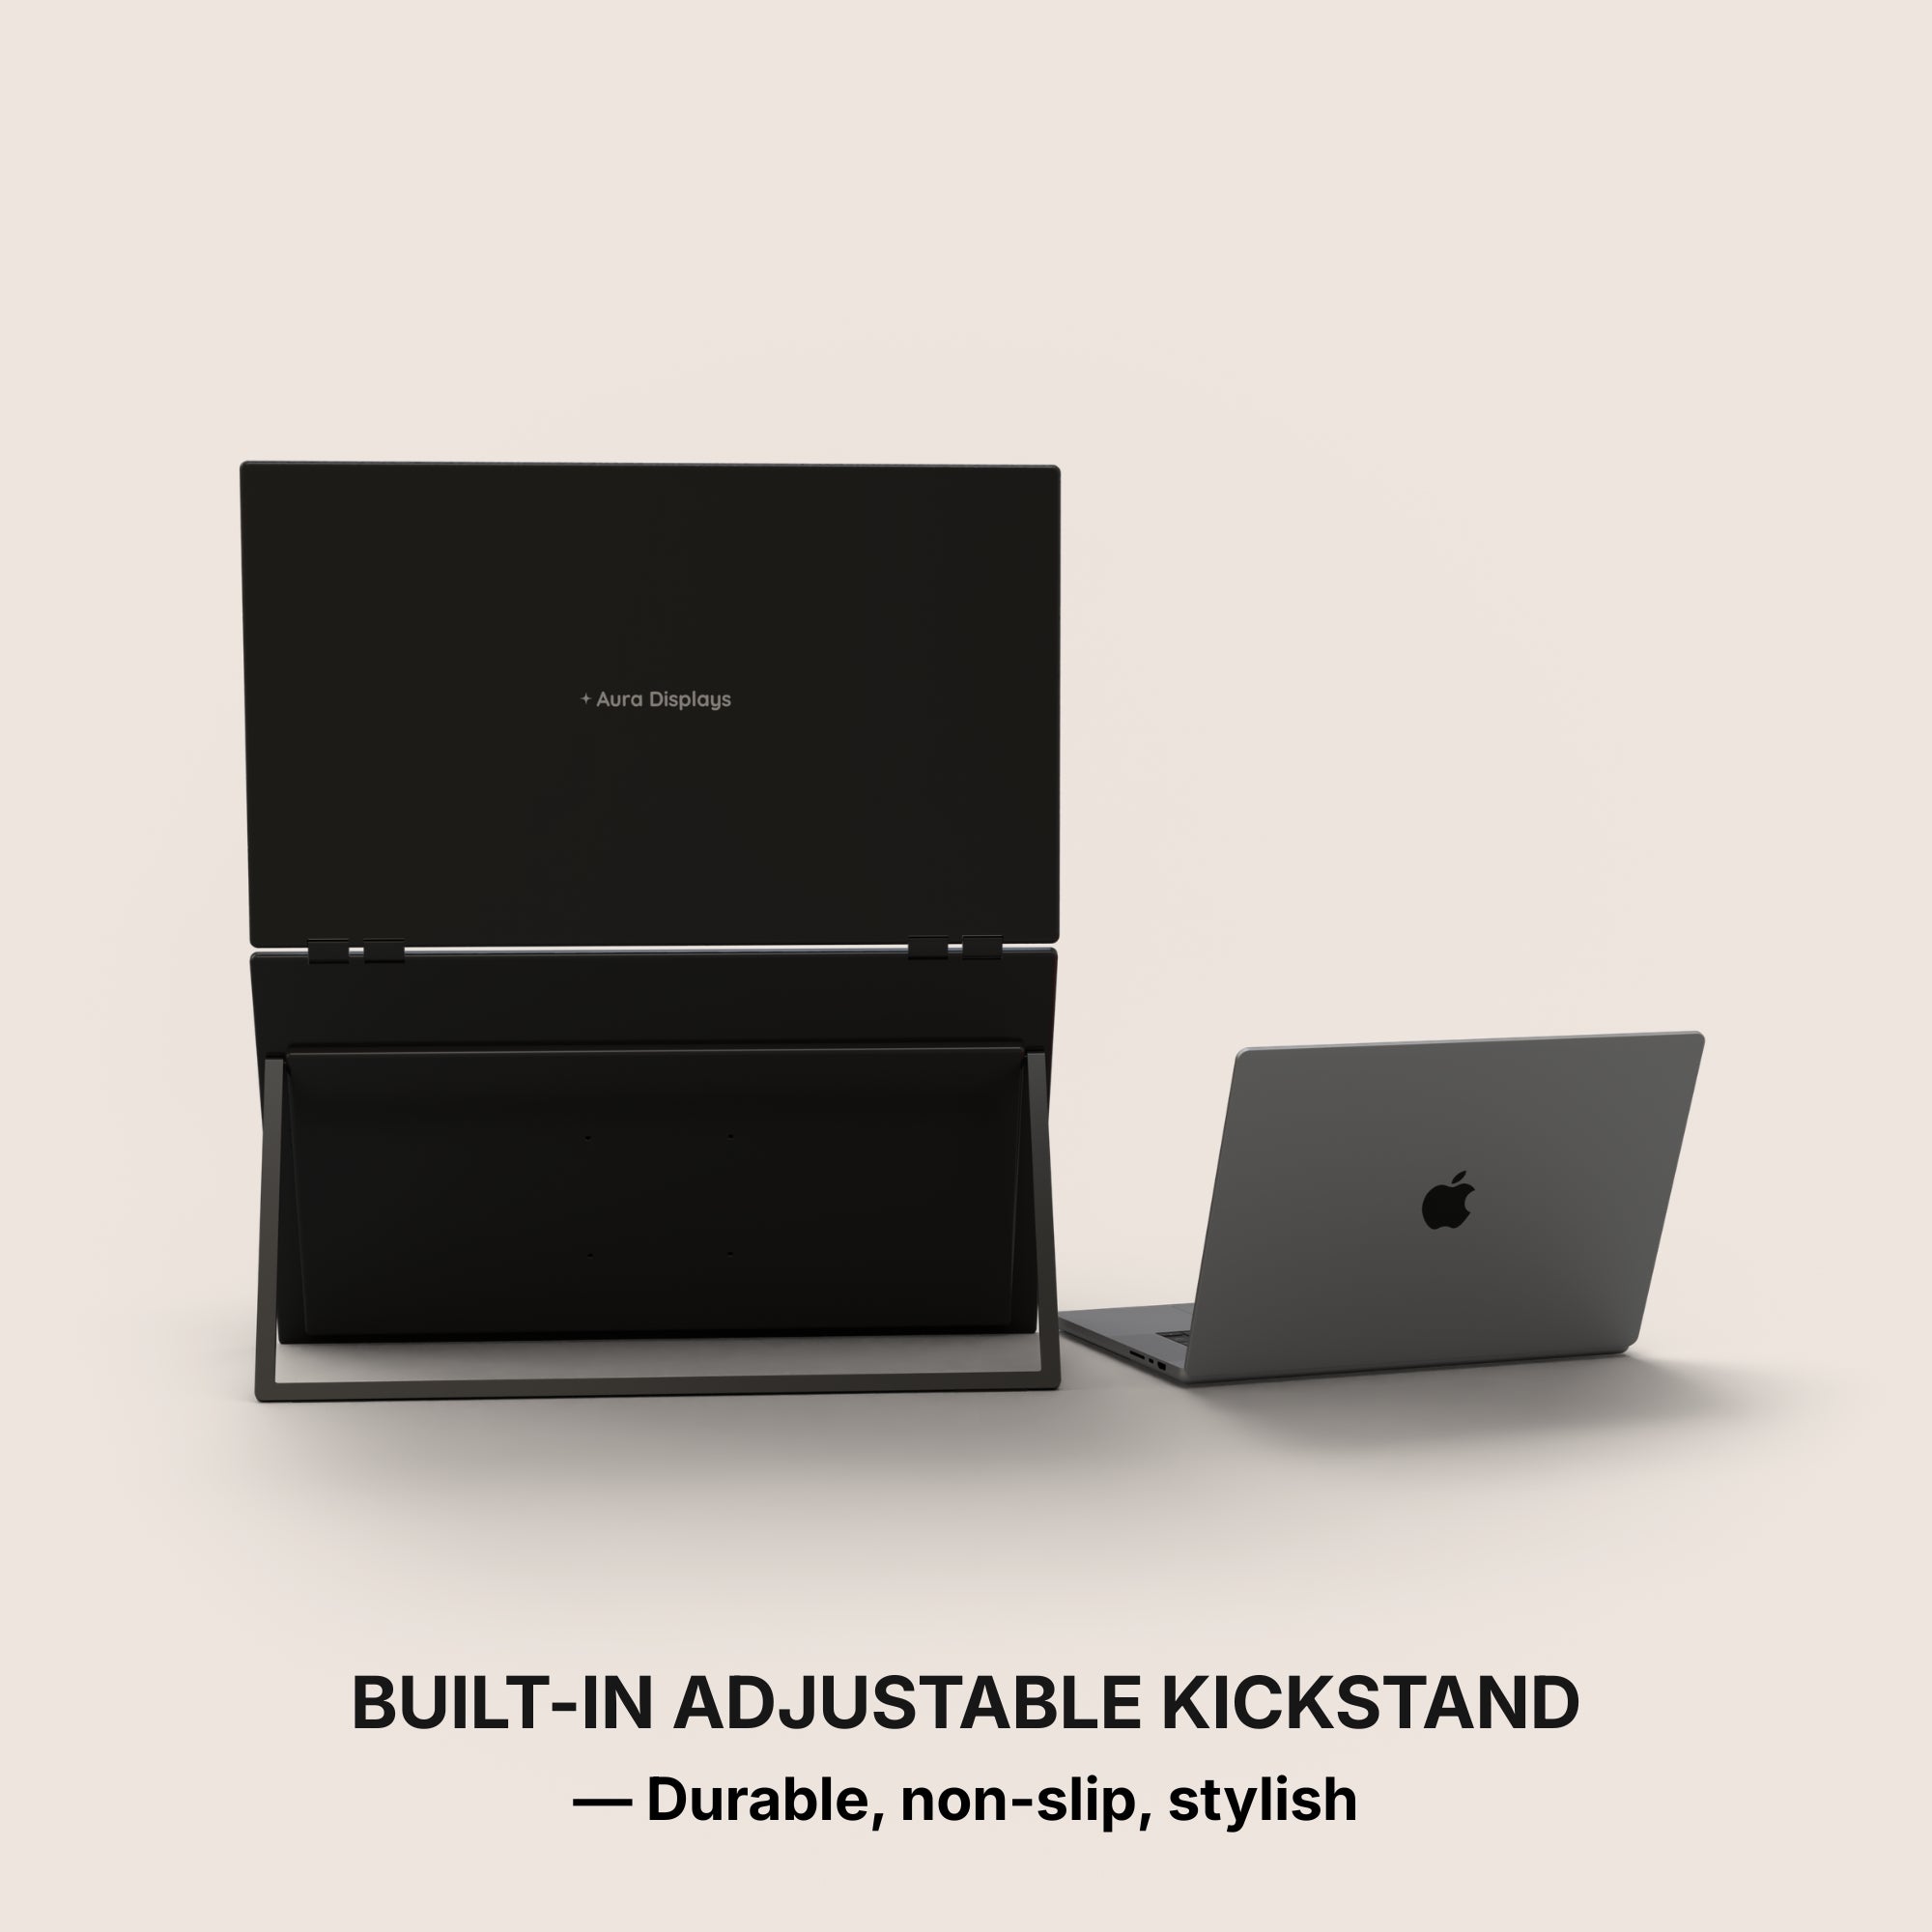
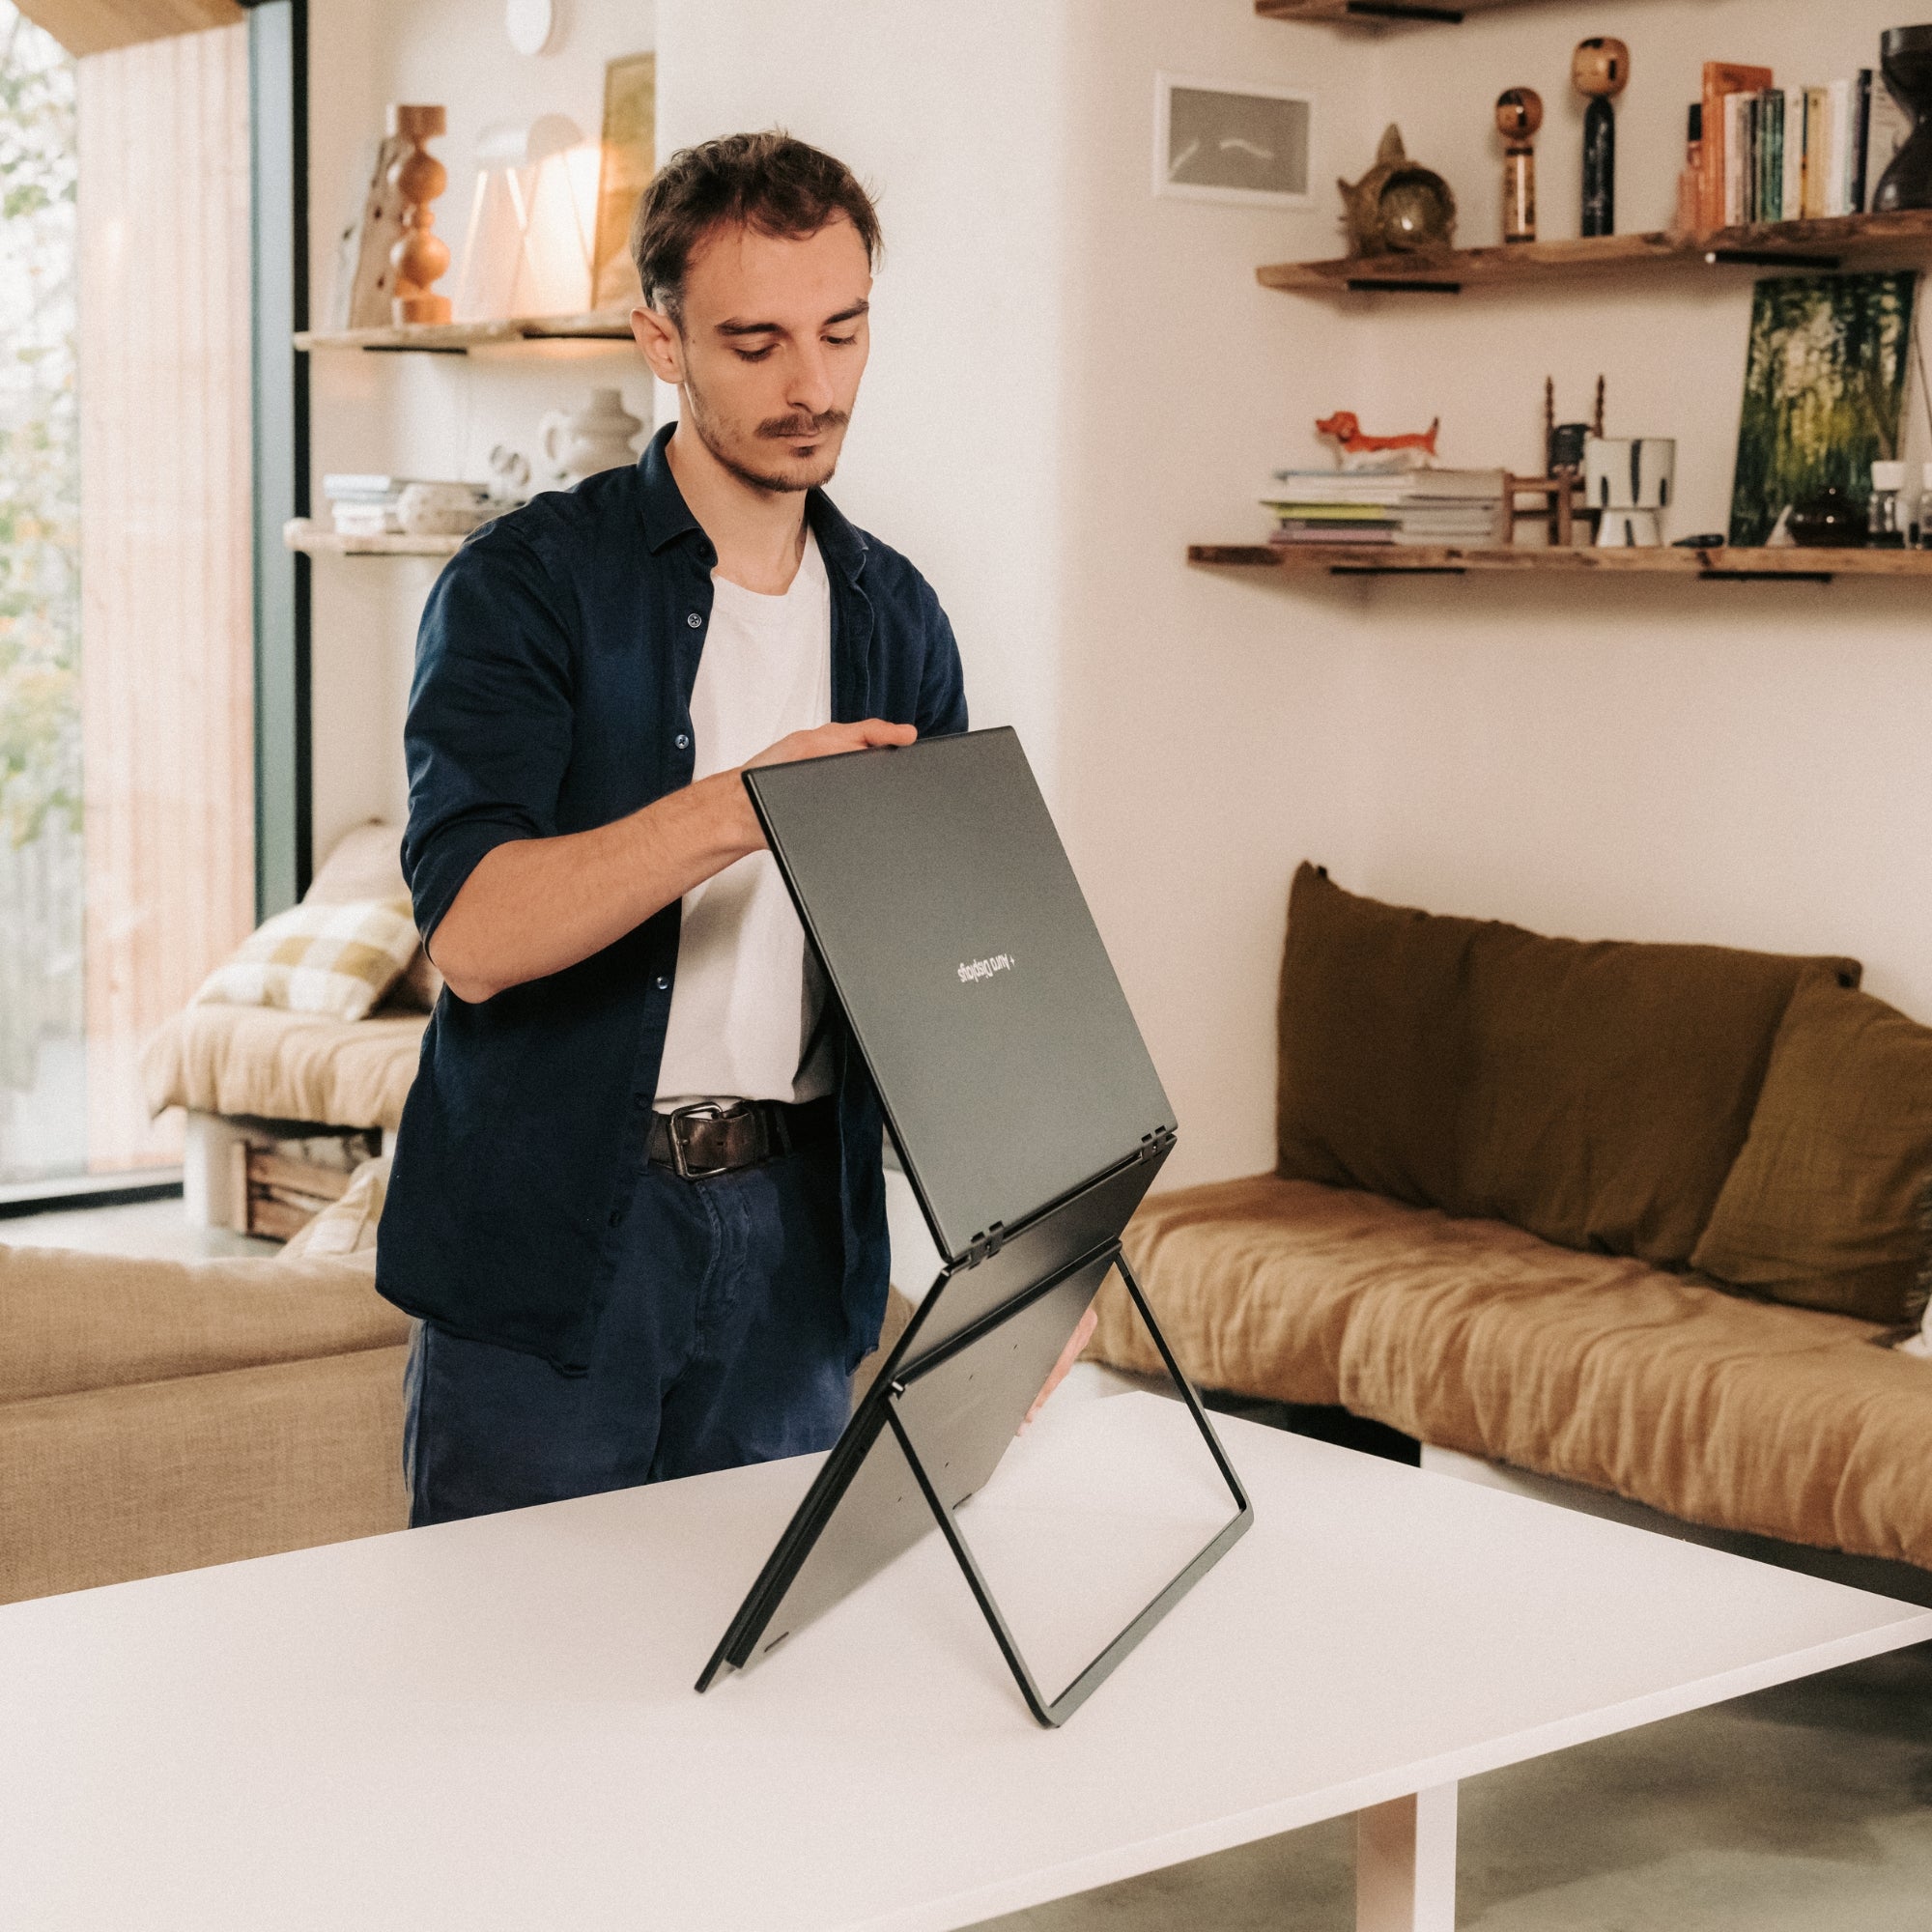
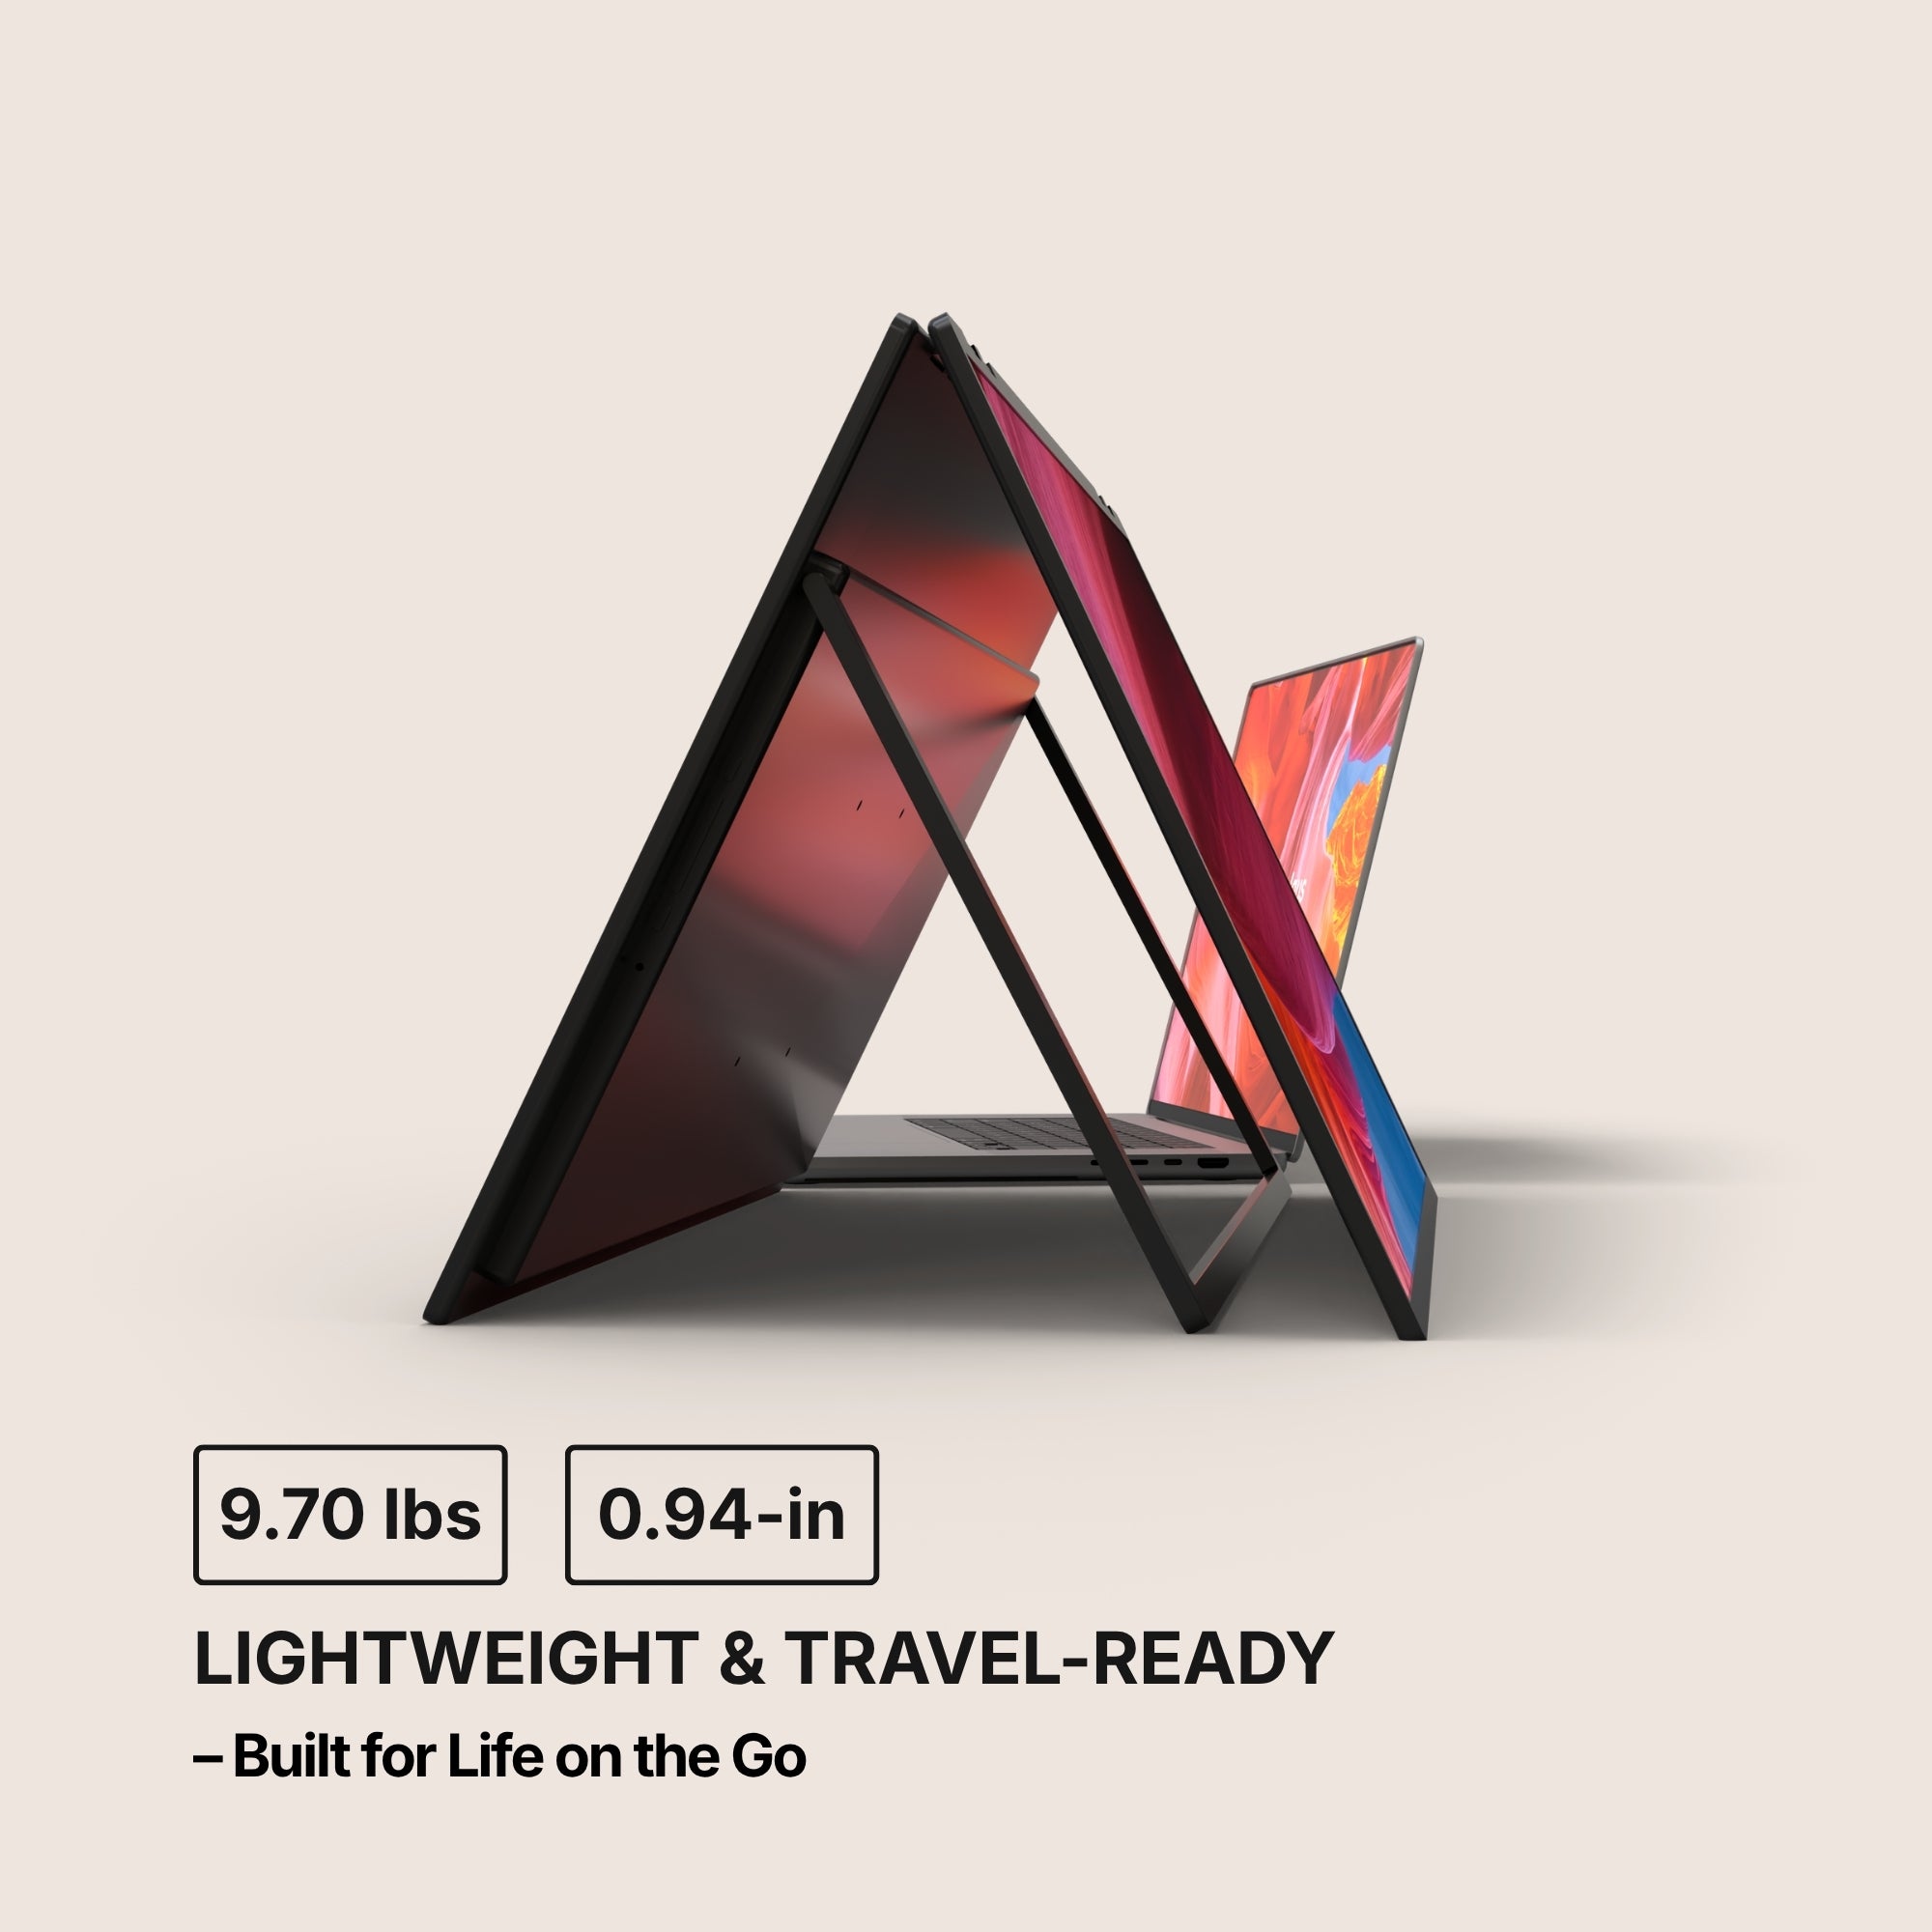
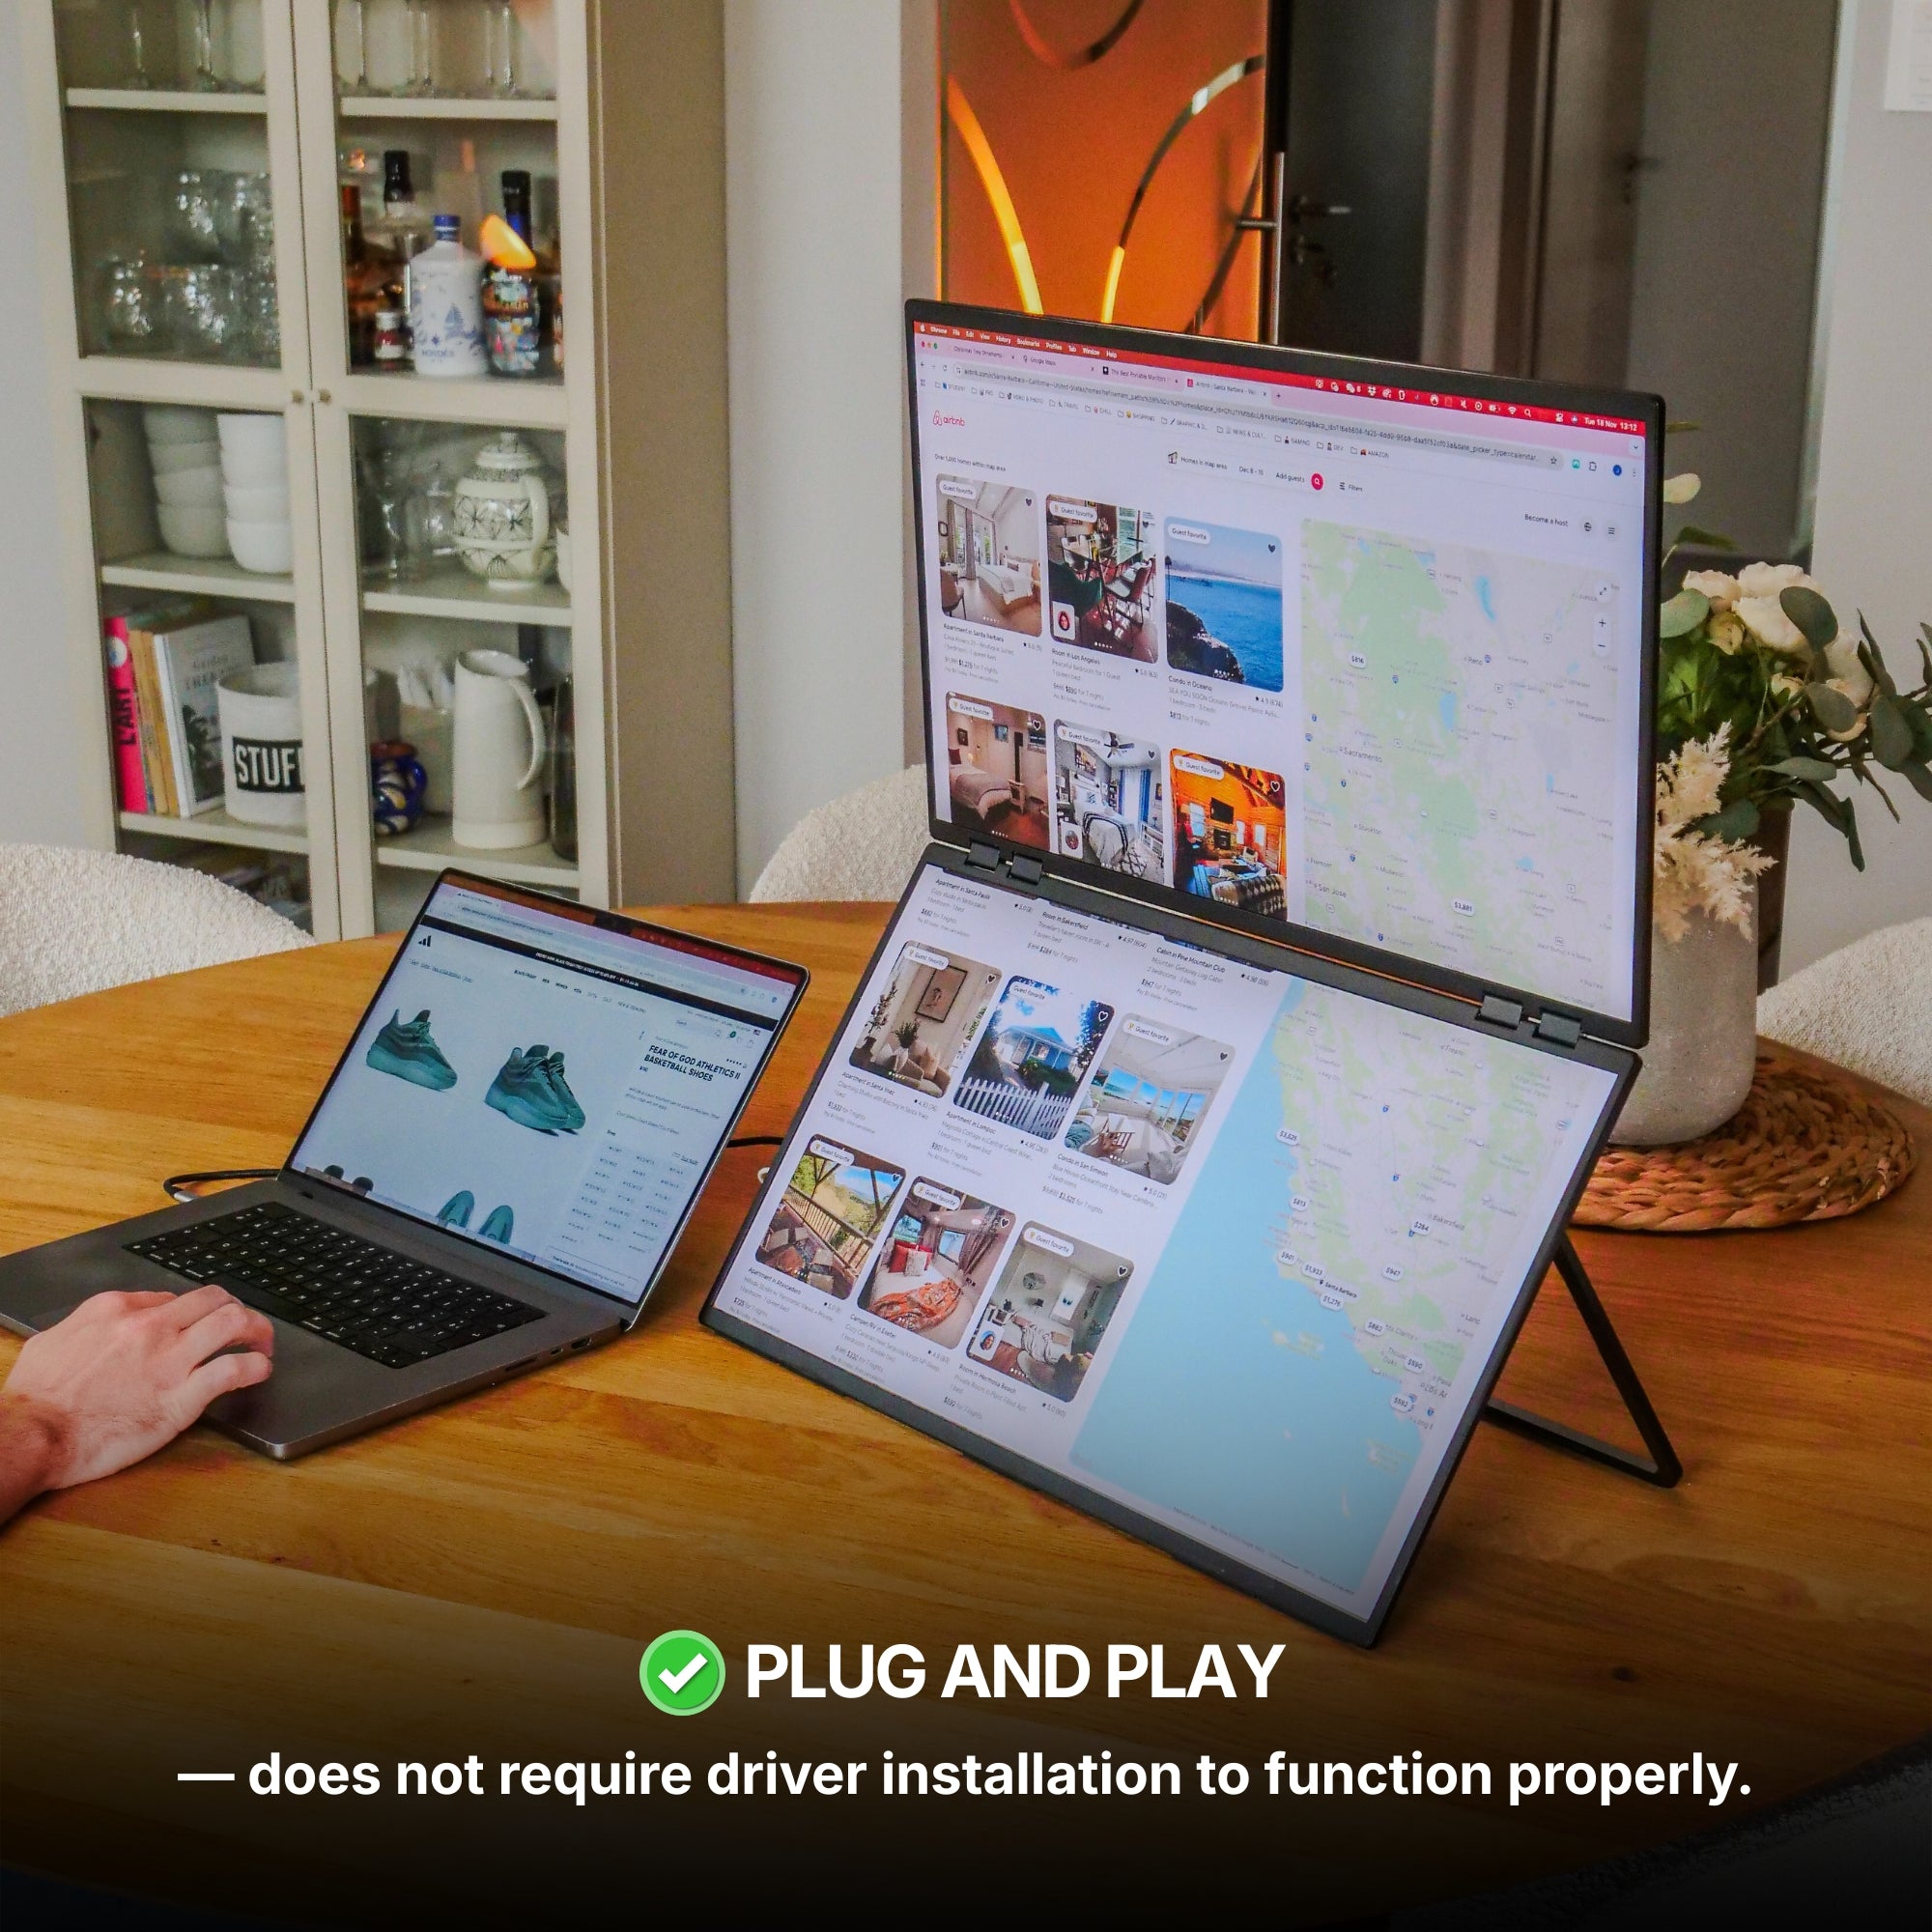
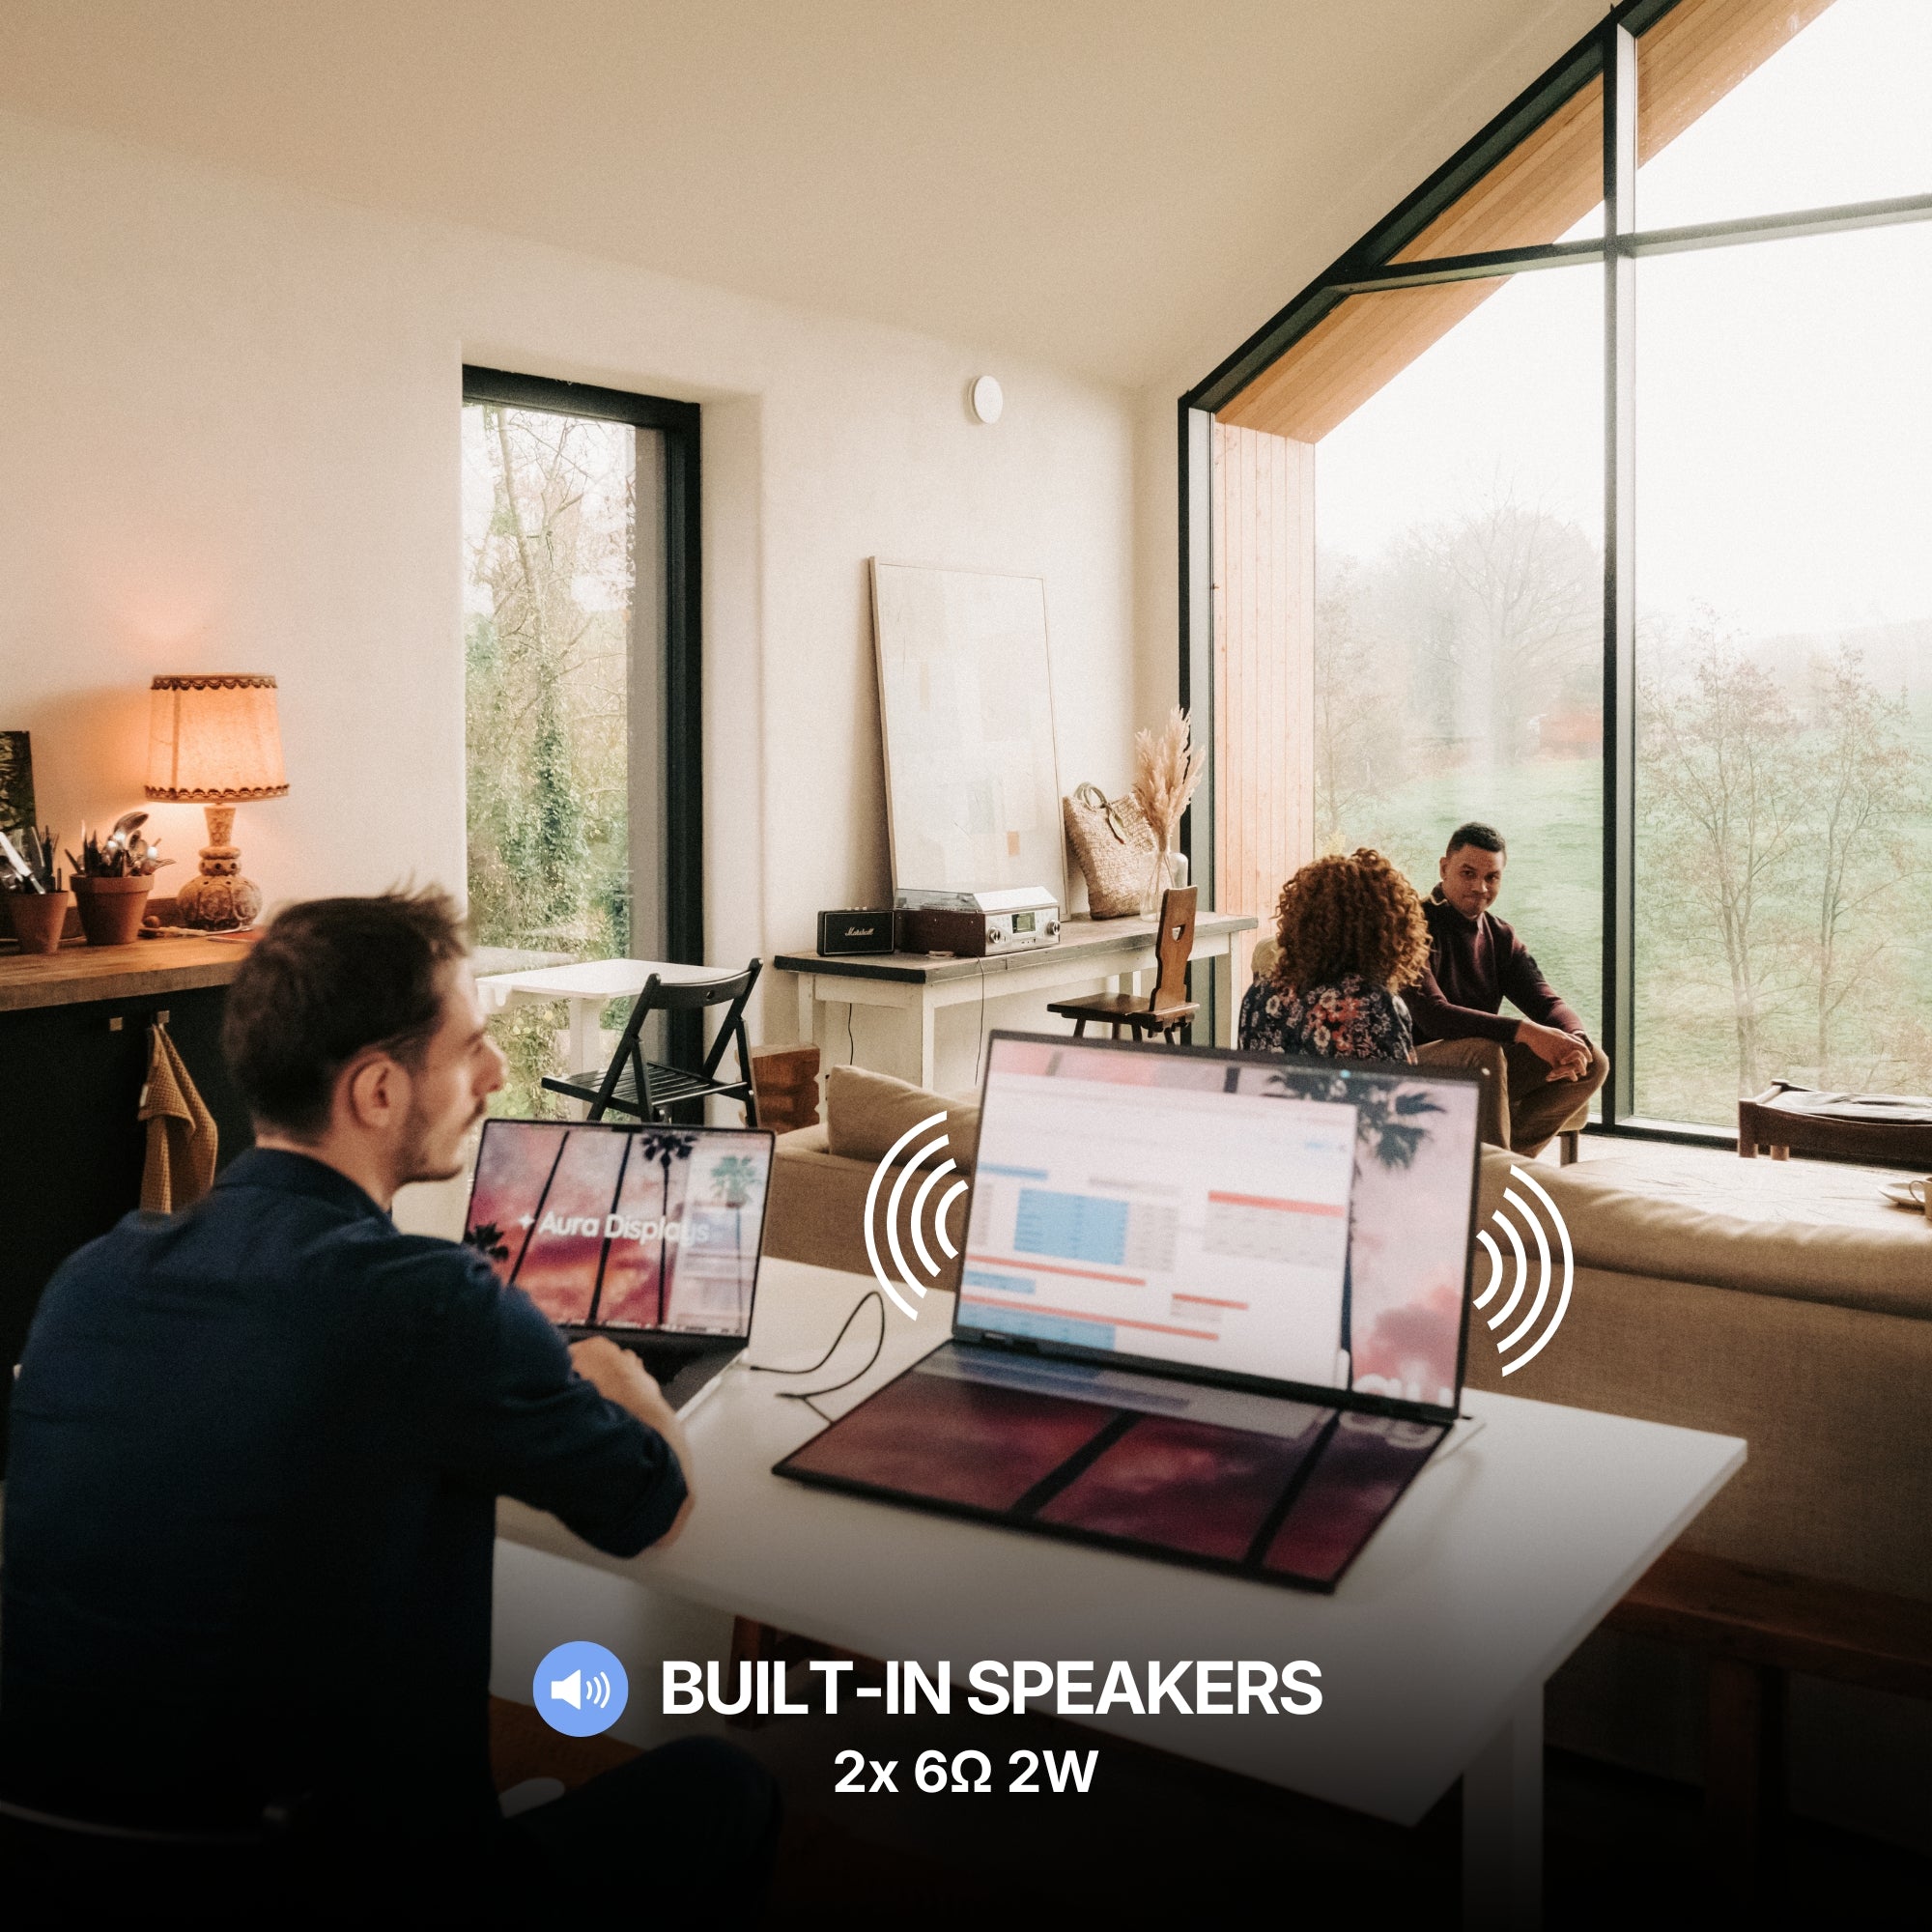
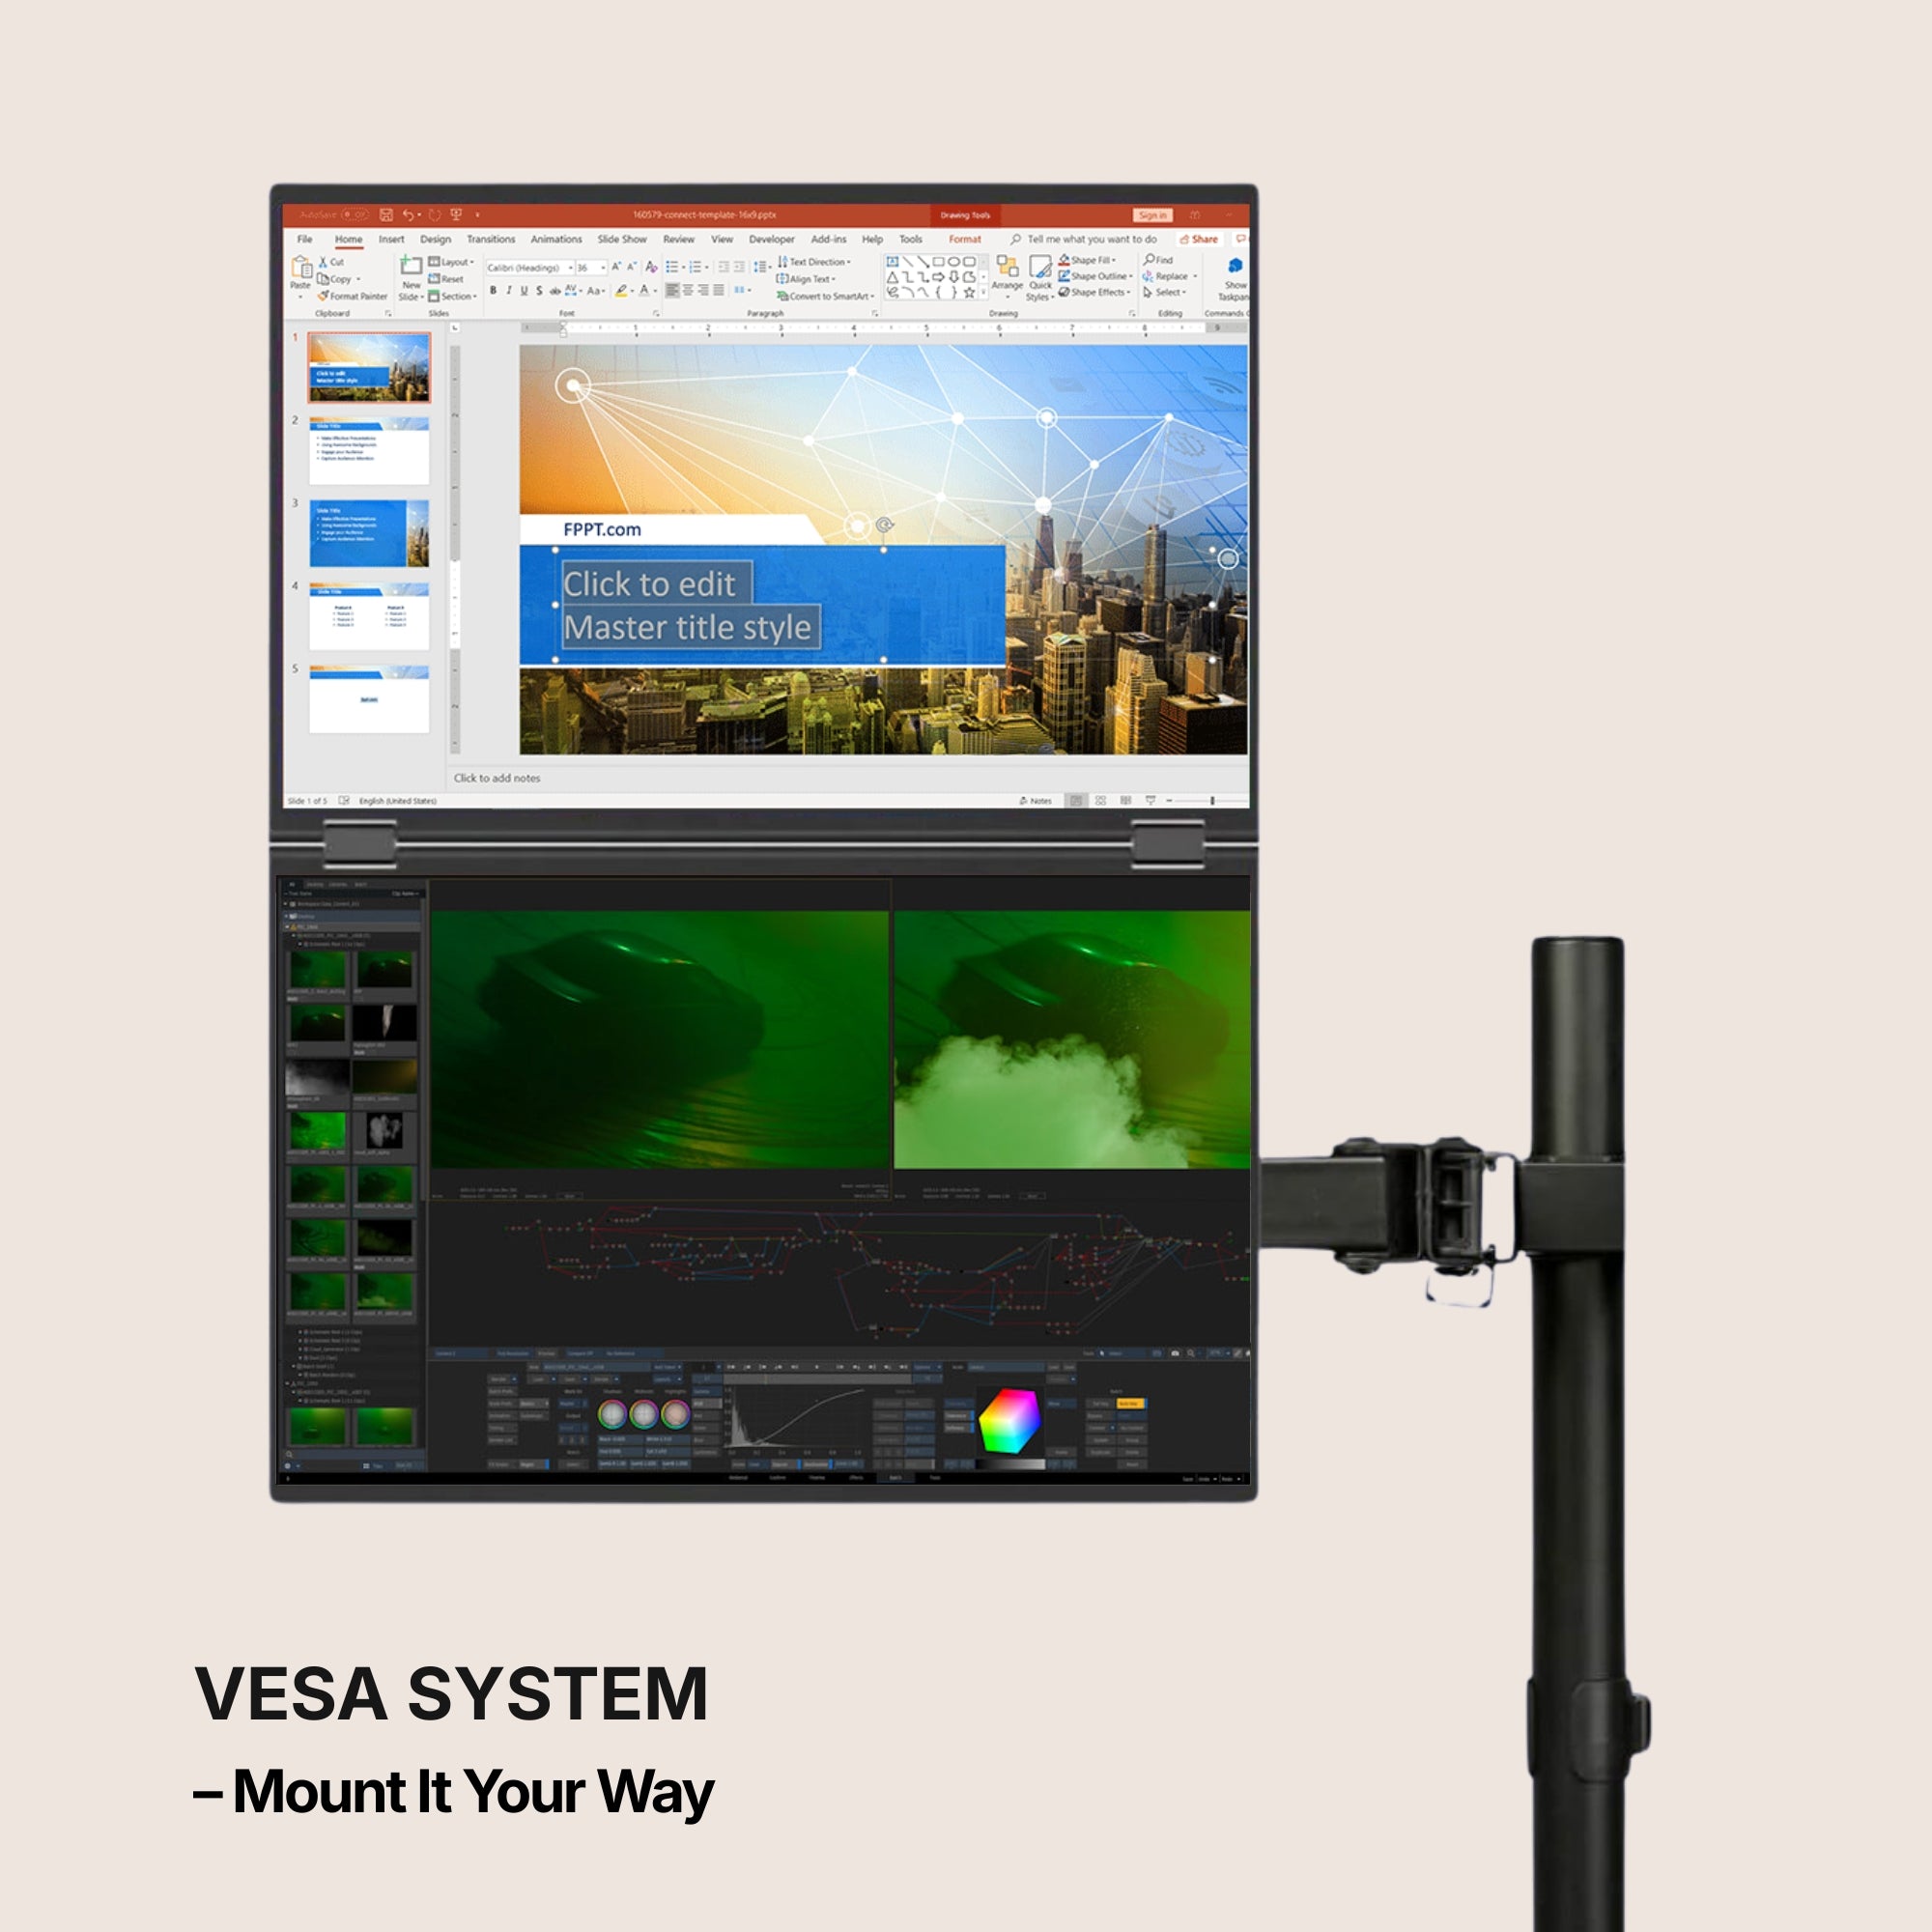
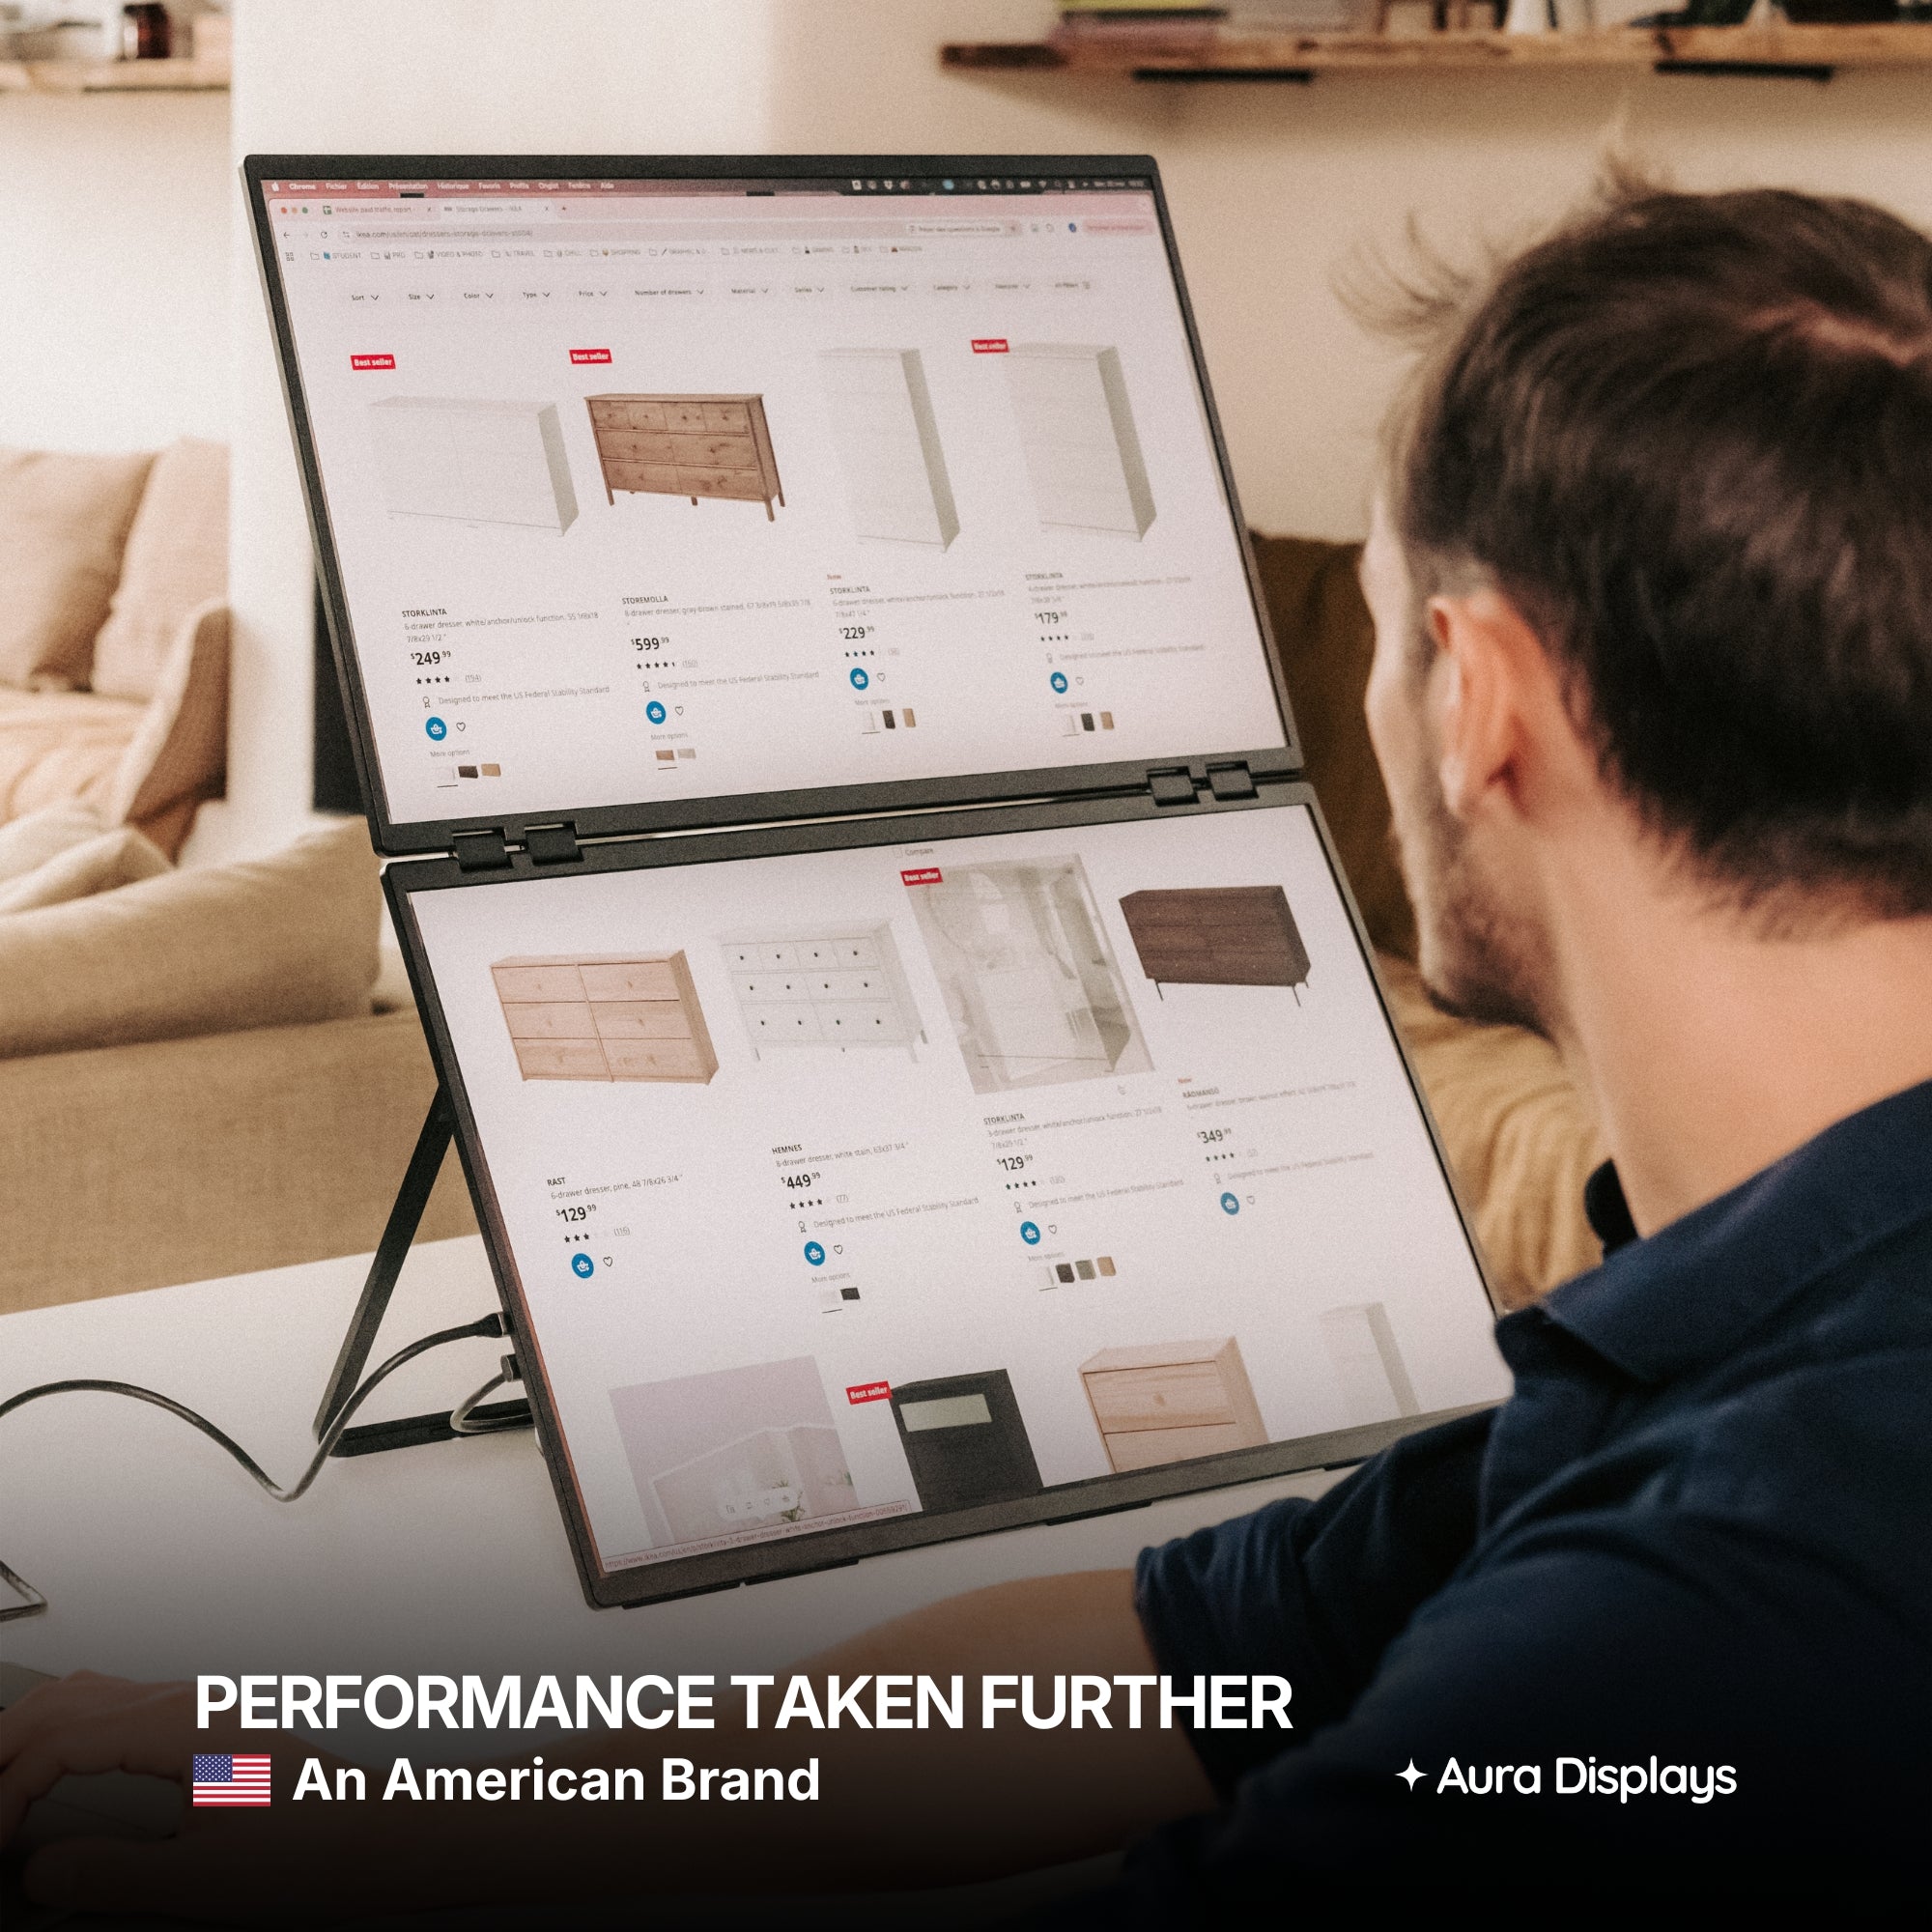
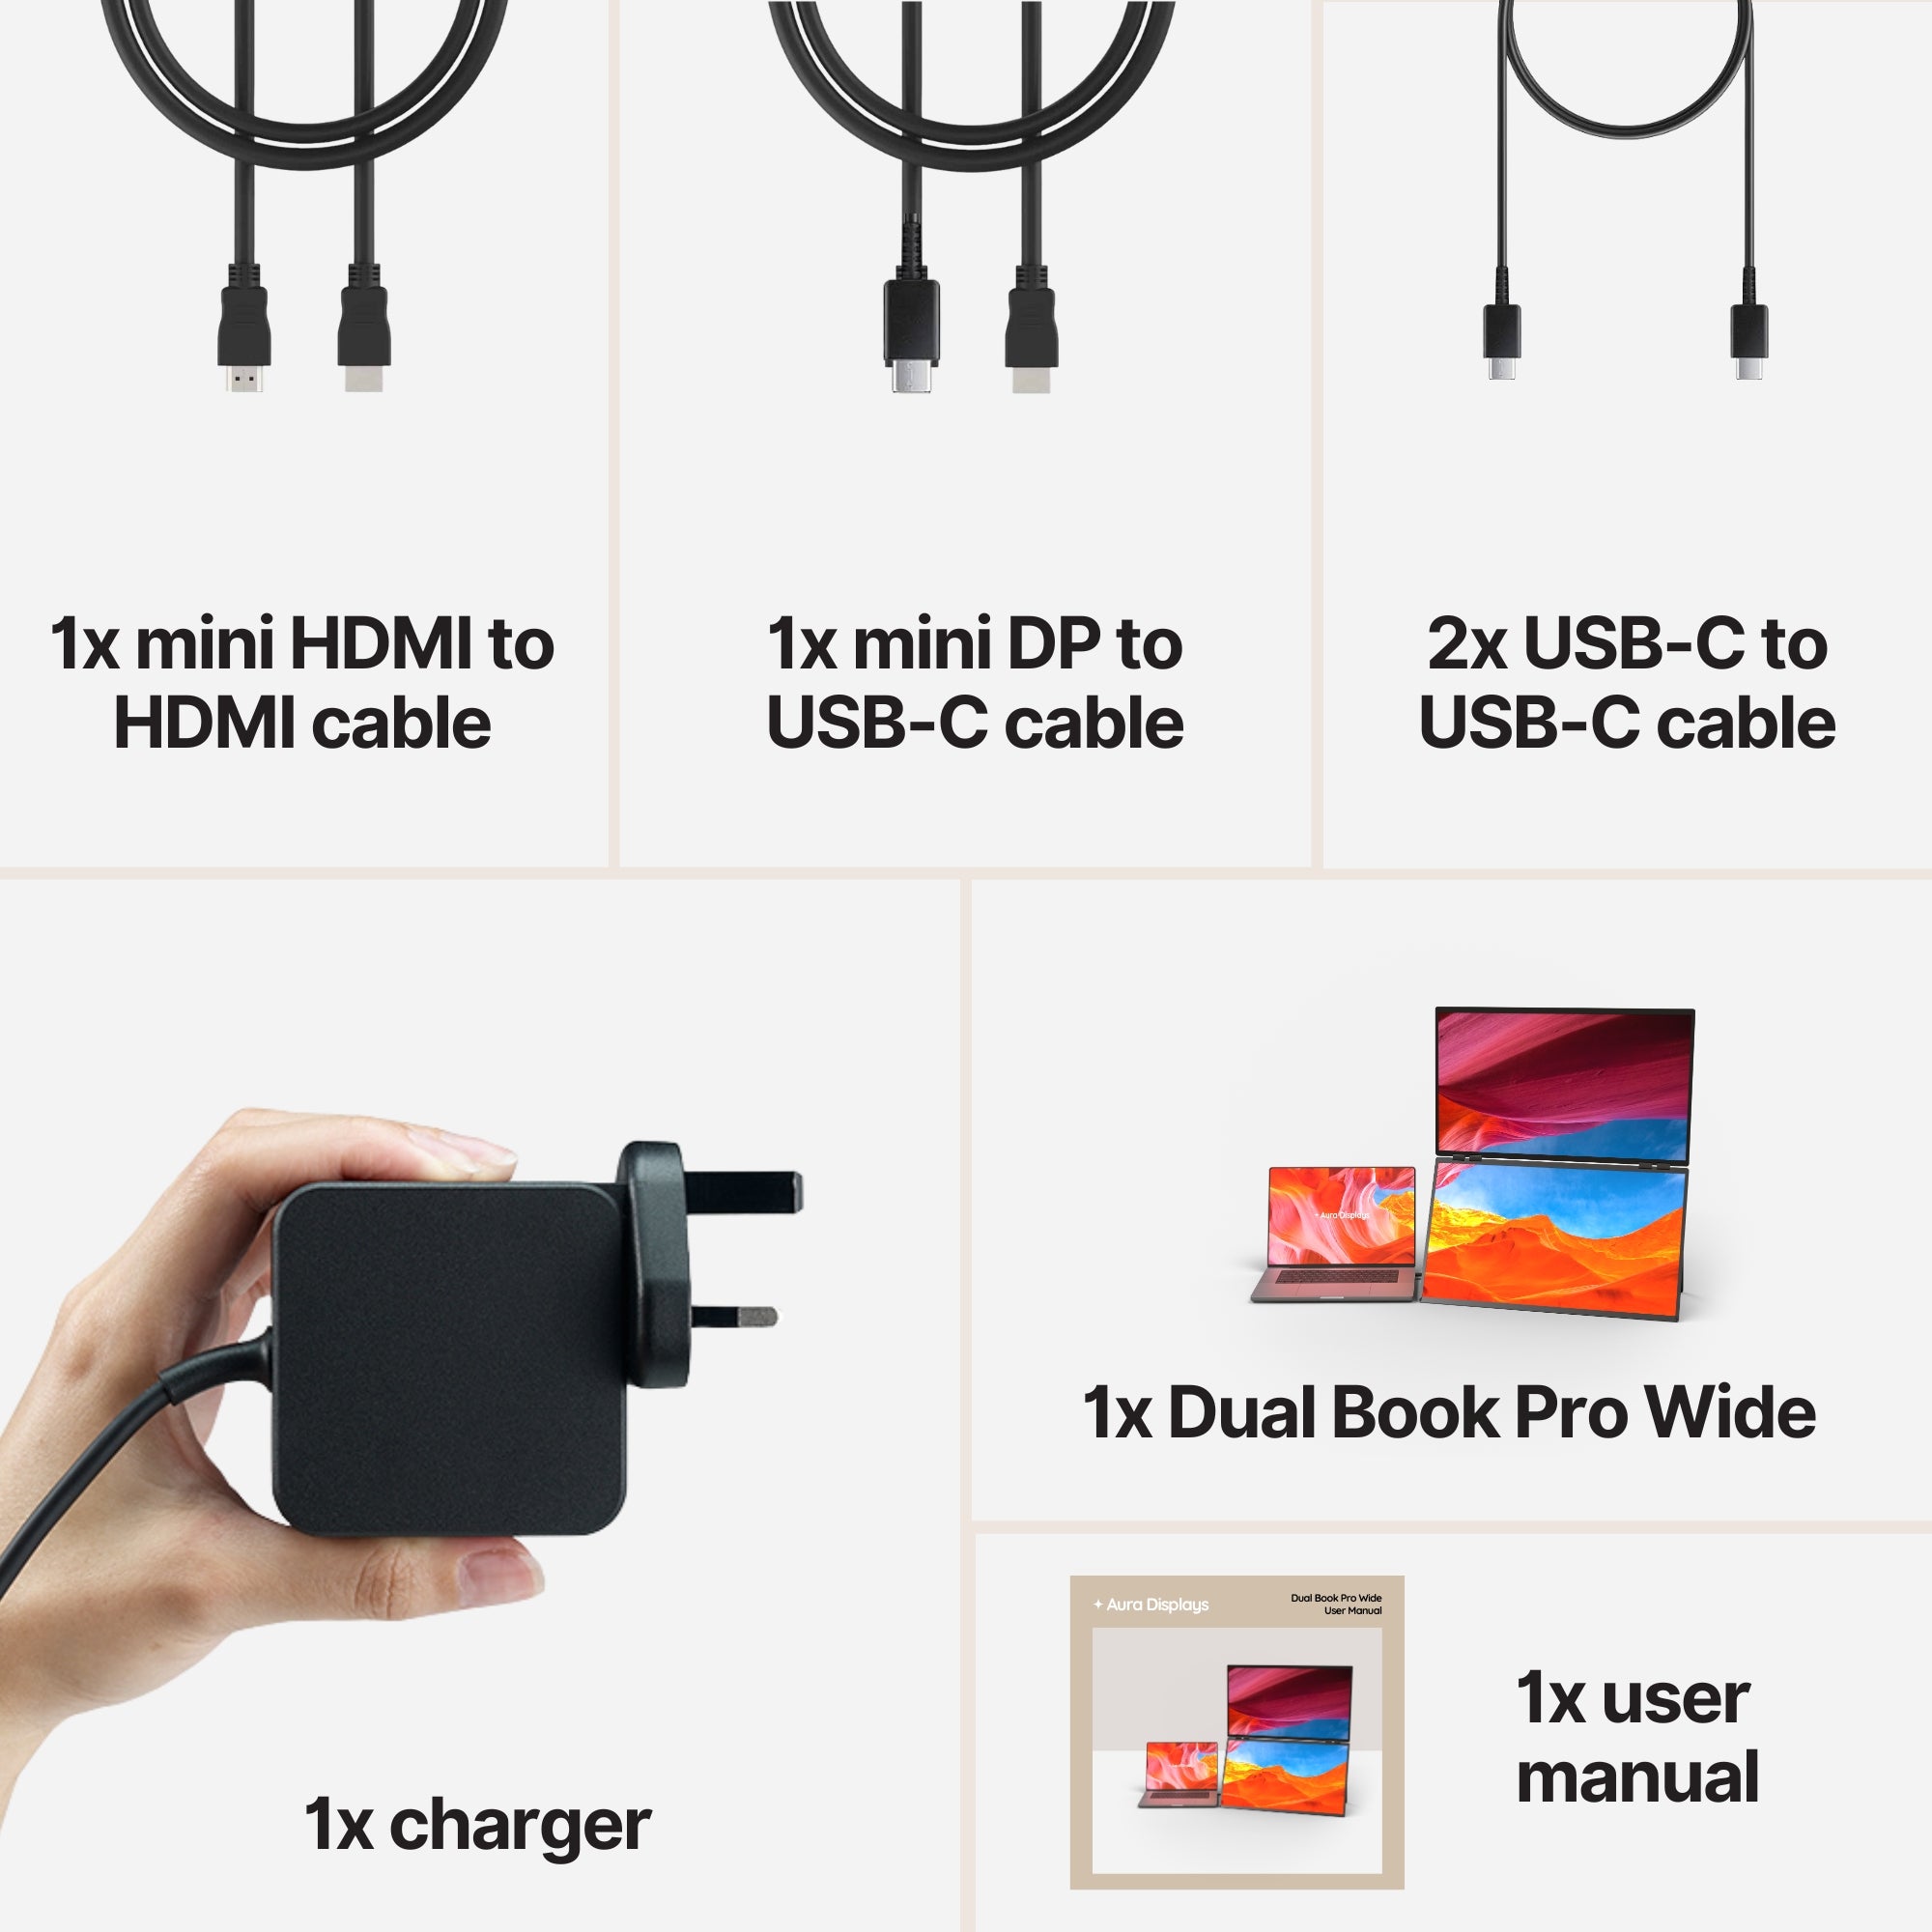
For an editor with a fixed cutting position, the Dual Book Pro Wide 48" (Gen 1) at $599 is the one we would choose. Two 24-inch panels side by side, each 1920 x 1080, which gives you 3840 pixels of horizontal desktop — one panel for the timeline at full width, one for bins and scopes, with your laptop screen left clean for the picture. It folds shut like a book, it is plug and play with no companion software, and it carries 2x USB-C, HDMI, DisplayPort and a 3.5 mm jack, so it also takes a camera or a recorder directly. Rated 4.51 out of 5 across 41 reviews.
If you cut in more than one place, the Dual Book Pro (Gen 2) from $389 is the version that travels — specifically the 16-inch variant at $399, at 1920 x 1200, because those extra 120 vertical pixels are worth real track height on a timeline.
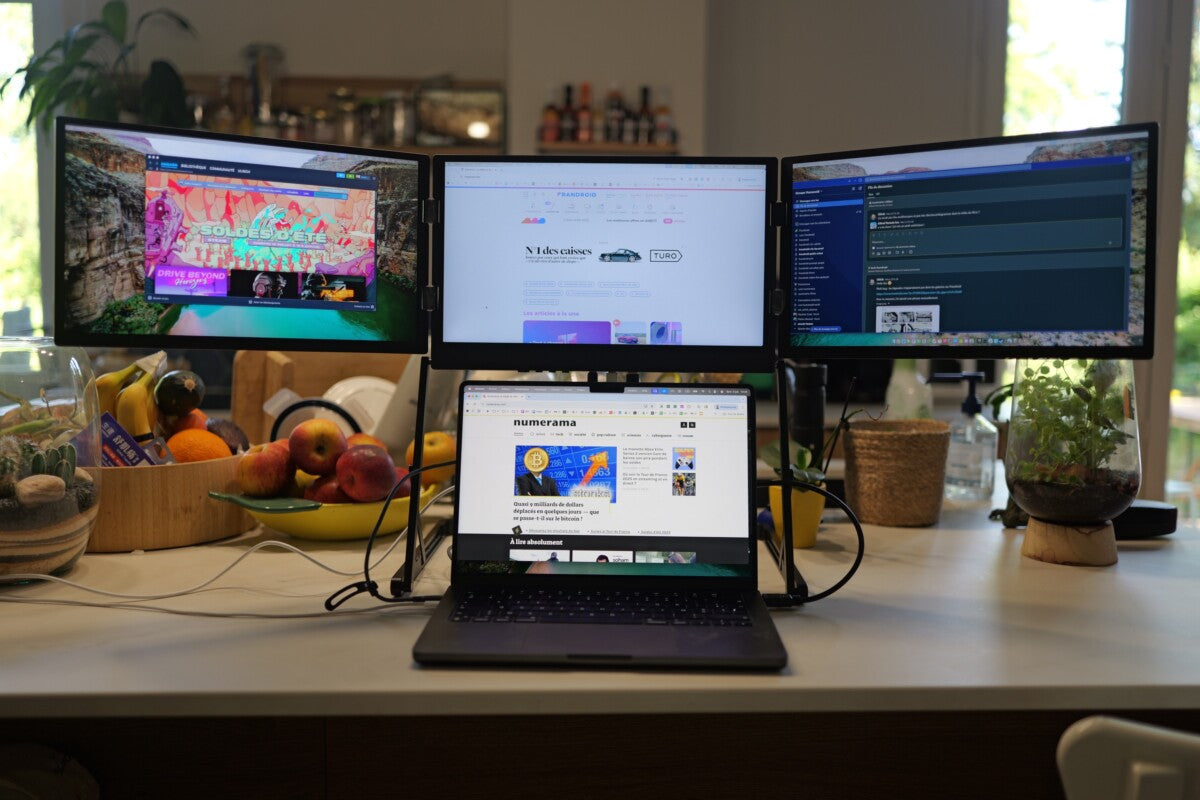
Why we would not push you higher: our triple-panel extenders require companion software, and an edit is the worst possible moment to add one. Your processor and graphics card are already busy decoding and compositing video; asking them to compose a third desktop at the same time takes from the same pool. If you want a third surface for an edit, a wide plug-and-play panel is the better trade than a third software-driven one.










Share: